or maybe I should call it a gift guide for people who do assorted projects with fabrics, sort of like what I do…
These are things (mostly tools) that make me happy in my studio and I think would make great gifts.
When I was thinking about what to put on this list, it became obvious that I love my nice sharp cutting tools. My first suggestion is excellent scissors and Gingher’s are a good choice. I recently bought myself the 5″ knife-edge ones and they are my new favorites- sorry, drawer full of all the other little scissors that I have totally abandoned! They are perfect for all the detail cutting work I do with the appliques. The big ones are good for cutting through layers of fabric and I use them to cut out the dolls. The little stork one, besides being adorable, is perfect for cutting threads in tight places, cutting out REALLY tiny things, and putting in my project bag if I am working on a carry-around project.

If the person you are shopping for already has good scissors, you might research a local place to get them sharpened. In my area (Boston), I can get mine done for approximately $7 at the local Fabric Store or Hardware Store.
My most recent tool purchase is this 18mm rotary cutter. It is perfect for cutting out shapes when I am using a template or little pattern piece- because I can hold the pattern flat and firmly in place on the cutting mat and cut around it. That means no marking on the fabric and no distortion from trying to hold the pattern in place and cut with scissors. The scissors and rotary cutter are available at most fabric stores, local and big name.

Last in the sharp cutting tool suggestions- fabric cutting, decorative edge shears. Unfortunately, my excellent Fiskar ones are no longer available, but I found this other brand. You might be able to find the Fiskars on Ebay sometimes.

On to other goodies.
Yes, a large piece of clear plastic is hard to photograph! This is a sewing machine extender table. I like this table even more then I was expecting. I thought I would use it when working on my bigger, bulkier projects but I have never taken it off since I got it! This is a special order item and fits whatever machine you have exactly. It can take a while to get if you have an older or more obscure machine. Looks like you can buy it online here for a lot less than I paid at my local sewing machine store.

If the recipient loves embroidery, trying out new kinds of embroidery threads is tons of fun. Purl Soho has a huge selection. My new thread love of this year is Valdani pearl cotton– especially the variegated one. Next time I am in NYC, I will be restocking my supply.

Of course if they do embroidery, they might need some needles- I had fun shopping for needles at the Colonial Needle site. Seriously, how cute are these John James pebble packs-


embroidery and chenille needles
If you are looking for a last minute gift because you didn’t have any time to go shopping, a subscription to Selvedge Magazine will save the day!

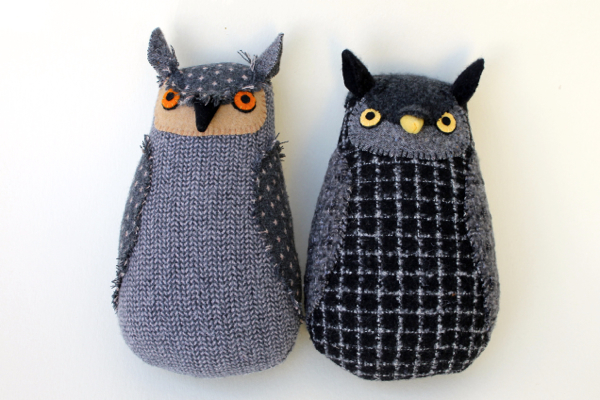
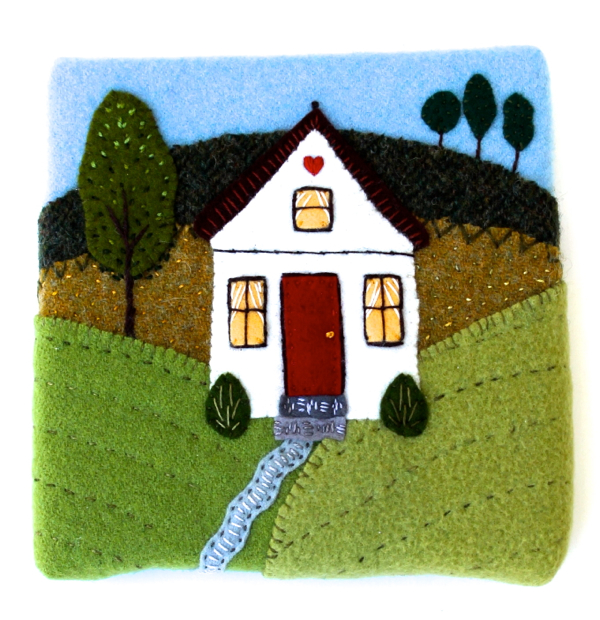
Lastly, if you want to stick to handmade for the season, you could go over to my shop and get a pattern or 2, or maybe a tiny world pin cushion. Or my friend Liz’s shop and check out her amazing selection of pin cushions. Or check out some of the other sewing goodness on Etsy. Try searching for pin cushions, needle books, wool felt assortment, fabric collections, hand dyed threads…. Oh, the goodness! Happy Holiday shopping everyone!
Feel free to leave you suggestions for the perfect gift in the comment section- so I can add goodies onto my own wish list!