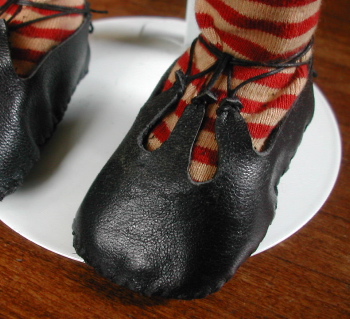
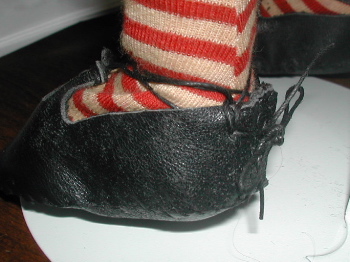
I finished the shoes. I am quite happy with them. They are made from old purse leather so they have a bit of a scruffed up look.

I finished the shoes. I am quite happy with them. They are made from old purse leather so they have a bit of a scruffed up look.
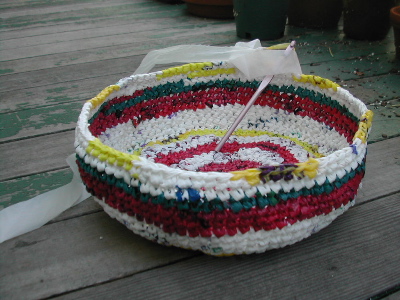
Here is where I am… it is a good project to travel with. It doesn’t wrinkle and is a nuetral and fun topic of conversation.
I am thinking it will be a trash container for my studio… basket type.
Thoughts and observations about this recyled bag (basket) project-
-I am using an I size crochet hook.
-It takes an entire cut up grocery store size bag to do ONE row!
-I prefer to work with bags of similar weight.
-I am going to run out of bags before I finish this.
Thoughts and observations about crochet recycled bag projects in general-
Variables-
-weight and texture of the bags
-color
-size of the bags
-how wide you cut the strips
-number of stitches around the project
Determining patterns-
-length of strip
-color of strip
-the order in which you put them together
-number of stitches around the project
so…
-you can make horizontal stripes- easy, just connect a lot of the same color as you go around.
-vertical stripes- figure out how many stitches you can make per loop, have your total stitches divisible by that number so that the same colors pile on top of each other as you go around. You connect the loops together, alternating colors.
-By alternating colors, you can also make diagonal stripes- determined by the total number of stitches it takes to go around.
-you could have different size vertical stripes on the same project by using big bags (big loops) and small bag loops.
-If you have lots of bags of different sizes and a few different colors, you could make bulging undulating vertical stripes!
and then there is texture, but I’m not thinking about that…
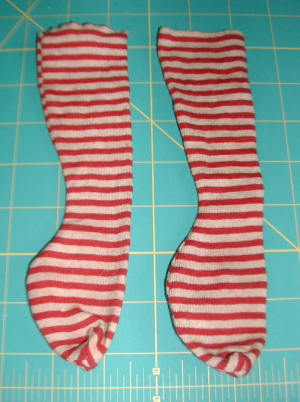
I made socks. Striped T-shirt from Salvation Army, over-dyed… I wanted a yellower color, but this works for me. I have a vague idea for shoes at this point.

Beading on the cape- lots of birds. I have been working along the edges, using some of the techniques I learned at my beading workshop in April- Cool!
The air conditioning is in and on in my attic workspace now- very inspiring during the hot weather. Thanks Ben!
The poppies are just about over in the garden. I ‘ve been pulling out and composting the discolored and drying stalks and trying to fill in where the spaces are glaring. Some of the holes get filled with growing plants- the dahlias and canna, nicotiana and verbena. I’ve put some salvia “Indigo Spires” in some of the other spaces.
I am off to Connecticut for the weekend. Family visit.
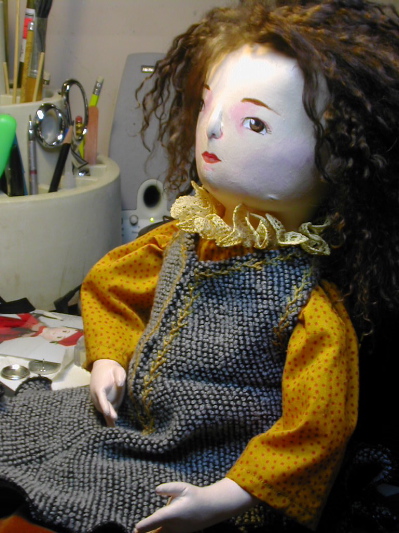
I “dyed” the neck lace- actually this is what I did- I mixed up the color I wanted with acrylics and then diluted it with water. After doing a test swatch, I wet the lace and dipped it in, swished it around and then wrung it out. I flattened out the lace so it would dry in shape and let it air dry over night. When it was dry, I thought the color was too light- it looked like tea dyeing instead of a more golden yellow color… so I rewet it and dipped it into the paint mixture again. At this point I didn’t feel like waiting another day for it to air dry. I flattened out and shaped the lace and then ironed it dry and got on with the project. I gathered up the lace at the bottom edge and sewed it onto the neck edge of the shirt. The shirt has snaps to close it in the back.
I have finished the tunic, I think. I used hidden hooks and eyes to close the front instead of buttons. I might go back later when everything else is done.
I am working on the cape. I am having a hard time with the velour fabric. I am not used to working with this kind of material. It has a great drape but so wiggly when I try to sew it. I have finished off the edges with bias tape- I am hoping the tape will give some body and shape to the cape … I think the velour would collapse when I start adding the bird beads. Also the feather trim is turning out to be a challenge to use. It seems to be meant for a gluing project, not sewing. I’ll figure it out… lots of hand-sewing on this doll’s clothes.
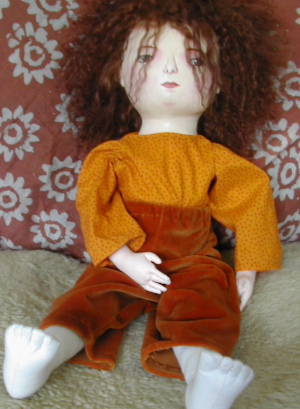
The basic elements of the costume are cut out and assembled- here are the leggings and shirt…
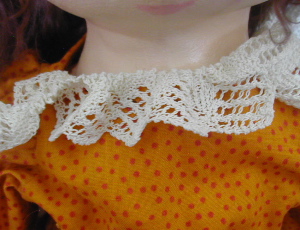
The shirt needs something more at the neck. I am thinking about this lace. I will dye it.
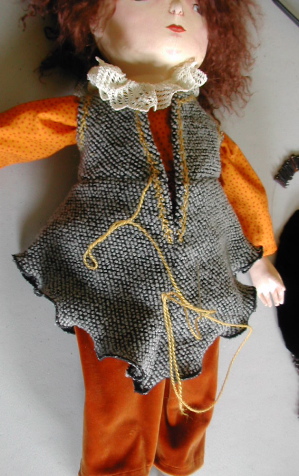
This is the tunic. I am really pleased with the bottom hem- the ruffly look. That was just what I wanted. I feathered stitched around the arm holes and neck opening- seemed appropriate. Maybe I’ll do more… still considering. I have to find the right buttons.
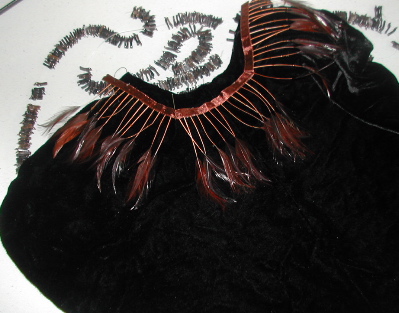
This is the cape. I made a hood for it, but I didn’t like how it looked. I think I will make some kind of hat instead. I am trying to figure out the feather trim placement. I wish I had more of it… hmmm. Also how and where to attach the bird beads for the “flock” element. I have 800 of these bird beads so it can be a large flock if I want!
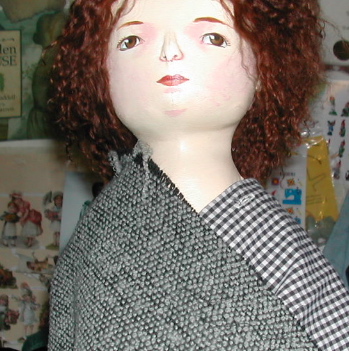
I have moved forward on costuming this doll. I have made a pattern for the cape and cut out the fabric. I am working on a pattern for the tunic. I want it to be black and white- I am looking at these two fabrics. One is a cotton gingham, the other is a more interesting textured wool. I will choose by the way they drape with the pattern I’m working on.
I have a pretty good idea of what I am going to do now, except for the feet.
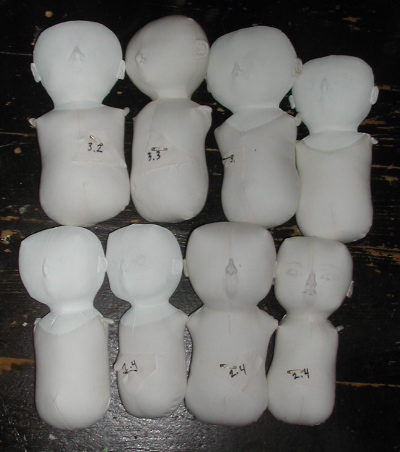
I have 8 head and bodies done. Most are tagged with my pattern codes- so hard to keep things straight. I think I matched them up correctly. I have put the first coat of gesso on 5 of them.
These feel like money in the bank!