
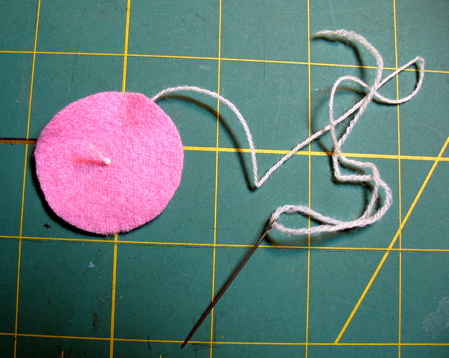
1. Here is the basic pattern. Circle, Fold in half, point A goes to point D, point B goes to point C. Stitch in place.

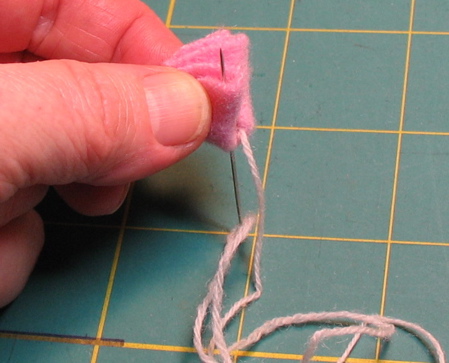
2. Start out by making a knot at the end of your thread. Pull the needle and thread through the center point of the fabric towards the back.
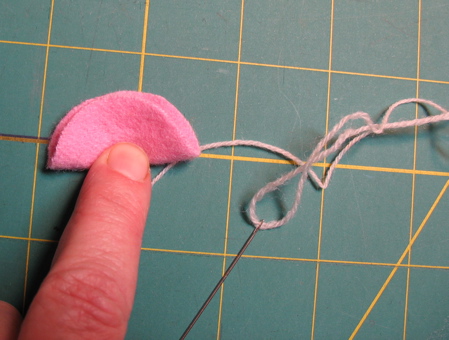
3. Fold the circle in half, covering up your knot.
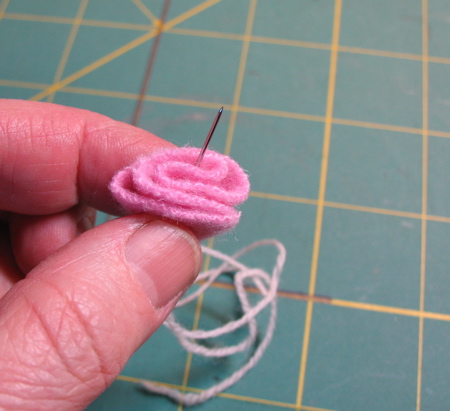
4. Imagine your half-circle in thirds and fold as shown-
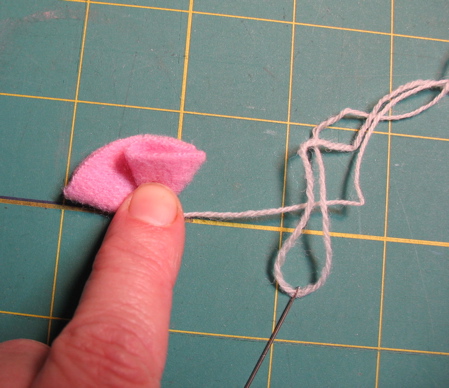
5. Your half circle is folded into thirds-
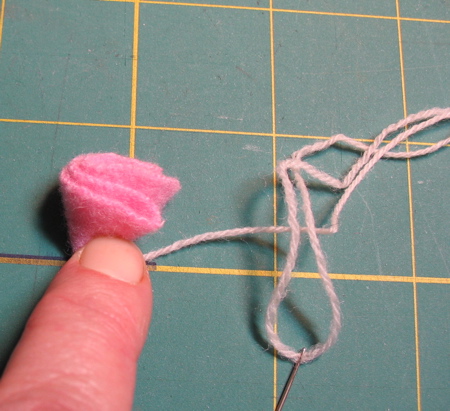
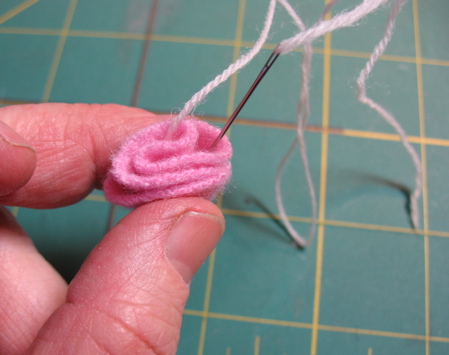
6. Now to stitch it into place. Slip your needle and thread up the inside of the outer petal-
7. Stitch back into the fabric at the tip of the outer point. Slide your needle and thread back down to the bottom- you’ve done one stitch.

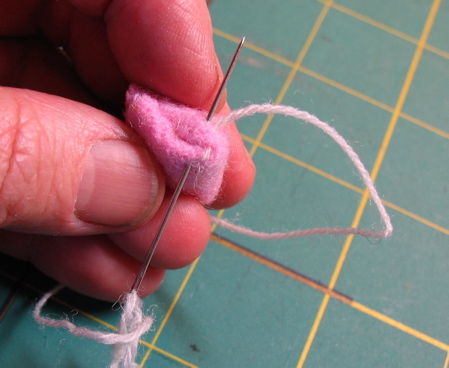
8. Now slide your needle up into the center of your rose.
9. Bring your thread around and stitch back down into the center. This will catch the inner fold and pull it down into the center.
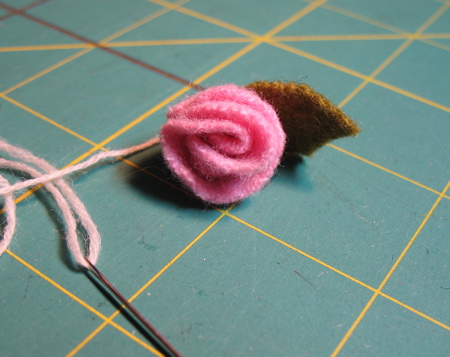
10. Ta- da!

11. Take a stitch or two in the bottom to anchor everything.
12. You can add a leaf or two and then sew it where ever it needs to be!
thanks for the tute! thanks for sharing.
So cute! Thanks for the great tutorial.
Wonderful tutorial! I love how easy it is, and how perfect it looks. :)
adorable!
Fantastic! Many thanks!
Thanks, Mimi!
Thanks for this cool tutorial Mimi.
thanks mimi!! and it’s so well done…bravo!
Ohhow cool! Thanx a lot for this lovely tutorial!
It’s wonderful to see your hands. I can’t quite describe it in a way that will make sense, but your kindness and love (particularly for doll making) is visible in your hands. I hope that doesn’t sound strange since I do mean it in a sincere way.
Sweet. Thanks.
THANKYOU FOR THE INFORMATION LOVE FROM SESGA XX
Pingback: Grab a cuppa - and have a browse « In a Minute Ago
I am so crazy about your nature lady. She is so beautiful and unique. Her wings are a stroke of genius. The felt flowers are lovely as well. Stopping by here is such a wonderful treat!
Happy weekend!
-Emily x
..thank you so much for this lovely tutorial,i love roses and i was not able to make one of this thanks again!!!
Pingback: n°5 rosen in dosen « dieTauschlade
Fantastic tutorial! Thank you, thank you!
I love felt! Thanks for that easy tutorial.
Ali x
Pingback: Tutorial: Easy felt rose · Needlework News @ CraftGossip
Love the rose, thanks so much for sharing. I hope to make many.
Sherry
thanks so much, off to make some in green for my fancy dress outfit!
Pingback: As Flores de Tecido Não Morrem - II «
Thank you so much for this tutorial! I loved it!
thank you sooooooooooo much. Now, I know how to make it!
Wonderful idea and well explained!
Thank you for your tutorial.
By looking at your post, I can easily say that it is so easy to create that rose but I know making that one is not that easy. Anyway, there is no harm in trying ^_^
I really love it…
Just what I was looking for! Thank you soooo much, it really helped me a lot!
Pingback: Hello world! « Felted Jumper Arms
Cool !!! It’s been ages that I wanted to try doing this rose bud but did not know where to start!! Thanks alot for the tutorial. very useful indeed.. I love to make this for my brooch and hair bands.. really love it…
Pingback: 3 Easy Felt Rose Tutorials « DIY Maven
Pingback: Easter Wreath « Casa Sosegado
Pingback: Scrapbooking & Paper Crafting Tutorials
this is gorgeous!!
ola sabichona linda!!!!!
amei, vou fazer um monte!!!!
obrigada, felicidades
Pingback: Easy felt rose tutorial · Felting @ CraftGossip
Very Nice
Paylaşımın için teÅŸekkürler…
That is incredibly easy… I’ll give it a wing. Thank you!
It’s a lovely little flower. Thanks.
Gracias, está precioso.
hermosisimo tu tutorial de rosa
te felicito
Pingback: Cómo hacer una rosa de fieltro - Las Manualidades
Pingback: Mini flor de feltro, rosas para decorar | Cacareco
gracias el tutorial de esta delicada flor esta muy bueno, gracias muchas.
saludos ,Kantuta
Pingback: How to make a Tiny Felt Rose | Colorful Creative Ideas