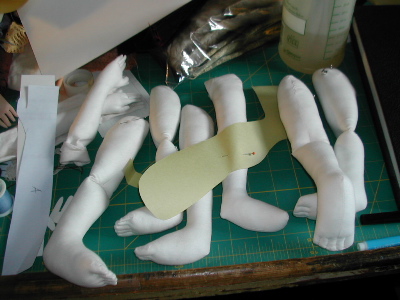
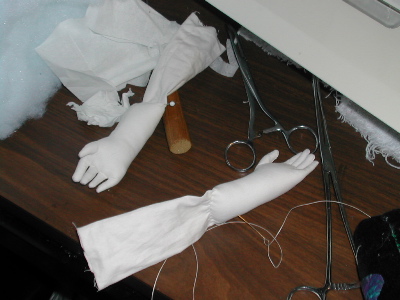
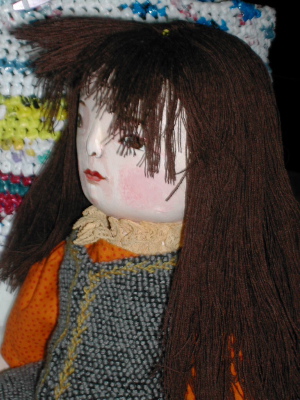
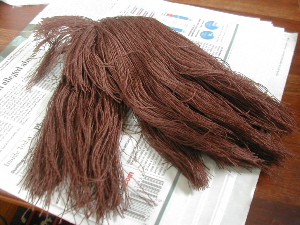
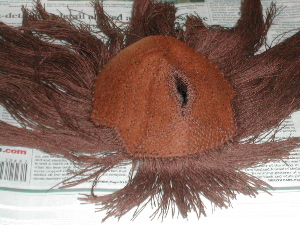
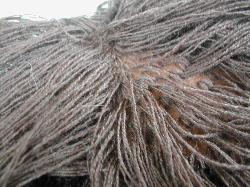
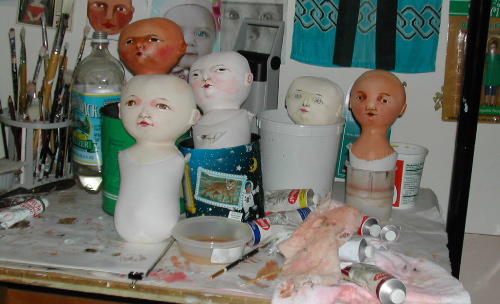
I have been working on these guys, bit by bit… as I do the fiddly bits on my bird girl doll. (Right now I am pressing down her center hair part- I have to wait ’til this dries before I go on and give her a haircut.) It is always a challenge for me to do a face that doesn’t resemble me or one of my children, but I have some ideas that need faces of other ethnic groups… so I’m working on it. The one in front is finished for now and I am working on arms and legs.
Monthly Archives: August 2004
marketing
The marketing part of the art/craft business is what I am really bad at… I work away and I am running out of space for my finished dolls- I really have no clue how to sell these dolls. I tried out some of the doll specific shows, but what I do is so different, they might as well have been invisible. I have contacted a few galleries, places I was connected with when I worked in clay, but they wouldn’t even consider something called a doll… makes me want to come up with a new name! So, today I send out a few more enquires…
vacation thinking
…so we are thinking about/planning a trip to Vancouver for a vacation. The last week of August. Any great places I might miss if I’m not clued in? I’ve never been there and know nothing about it- this will be fun!
stash improvement
After spending a few days doing dutiful daughter stuff, I needed to buy myself a present… I stopped at Wright’s Factory Outlet on the way home from Connecticut on Thursday. Oh, what fun!
I couldn’t resist this ball of yarn- I have no idea what I’ll do with it, but I love these colors.
it’s a bird “girl”
I made a new wig while I was away. Sorry this picture is so bad… in this picture the wig is pinned on and has had a first trim. I will decide what to do for a hair-do when the wig is properly attatched to the head.
This is the wig off the head.
This is the inside of the wig right now. I was able to use some of the things I learned at my wig-making workshop that I took at WOW!- specifically around the bangs and part area.
This is a close-up of the part. I cut through the wig-cap and brought the yarn up from beneath so that the hair in the part would not have any stitches showing. I need to sew or glue a piece of fabric to the inside of the part to close it up again. It needs to be tightly closed to look right.
This is a close-up of how the pieces of yarn are attached. They are sewn on individually.
I used all wool felt for the wig cap and a very fine wool yarn for the hair.
trash-bag-basket
I made some great headways on my trashcan / recycled bag project… for one thing, I discovered that my parents newspaper arrived every morning in a beautiful red bag! They also had other color bags around the house that I could use. And I collected more bags from some friends down there… oh those Connecticut bags- so superior to Massachusetts bags! So I am back in business and hopefully getting more ideas for the next bag project…
I am trying to make dots in this section…
many thanks!
many thanks!
I can’t tell you what a thrill it was to receive birthday greetings from my blog posting! Thank you, thank you! It really made my day.