one more done-
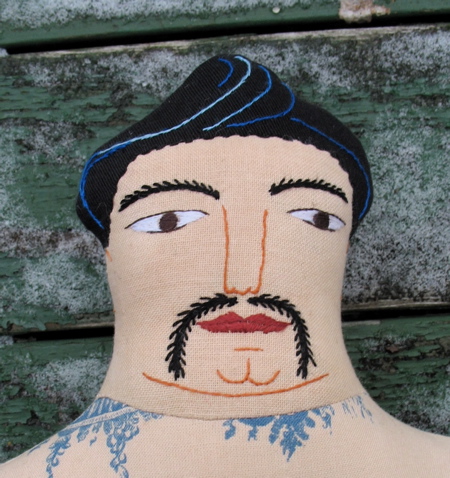
It is very cold. I feel cruel when I photograph him- he isn’t even stuffed with wool to keep him warm!
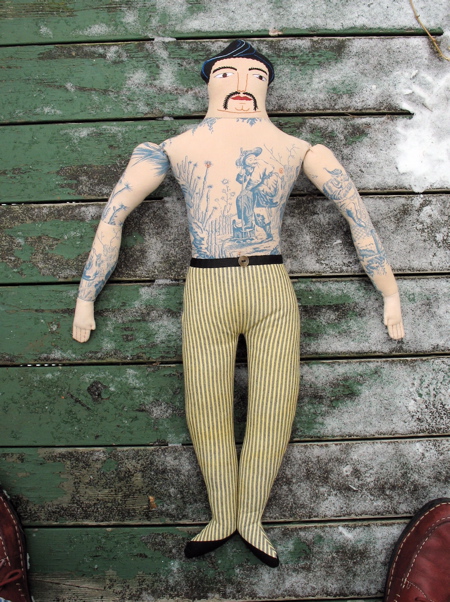
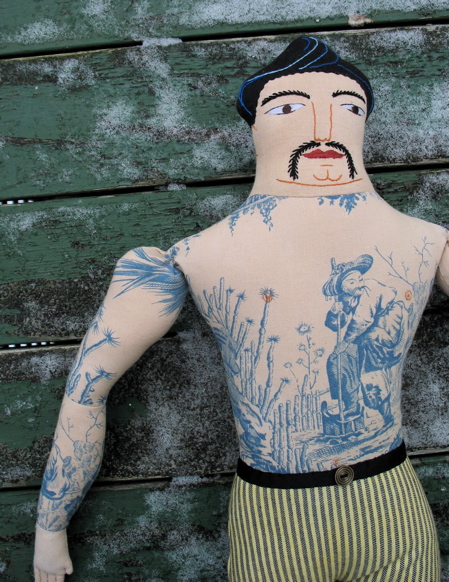
It is so hard to get a sense of scale. I thought this might help. He is 23 inches tall.
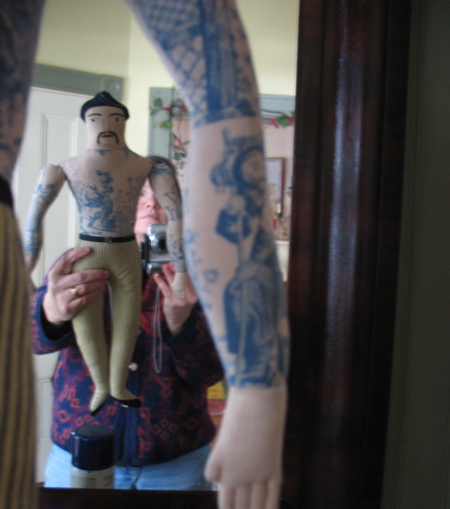

one more done-

It is very cold. I feel cruel when I photograph him- he isn’t even stuffed with wool to keep him warm!


It is so hard to get a sense of scale. I thought this might help. He is 23 inches tall.

I’ve had a lot of things “in progress” and now they are all getting finished up… It will seem like everything is happening all at once, but I’ve been working on these for several weeks now, dragged out by Thanksgiving break and all.
First, the green men pillows-

You saw that middle guy before. Here are the other 2-
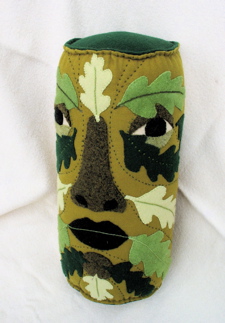
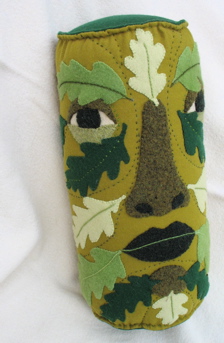
and
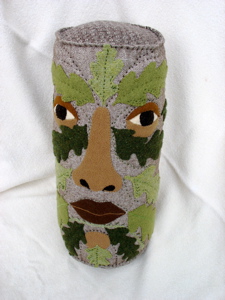
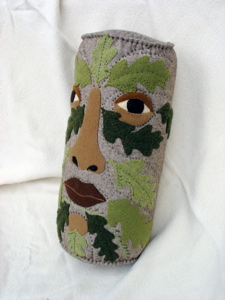
They are approximately 18 inches tall. I stuffed 2 of these with the reclaimed wool stuffing. I will report on that in another post.
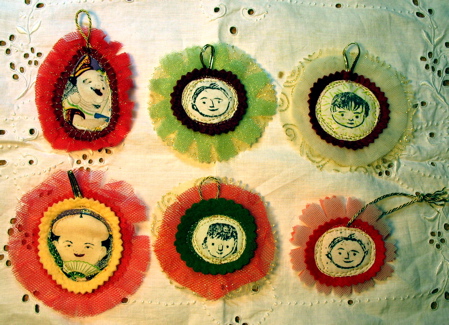
I needed to make an ornament for a holiday swap. This was quick and easy and you could use the same basic idea to make tags, valentines, bookmarks… I don’t know- tons of other stuff!
Supplies needed-
-fabric with decorative image
-iron-on adhesive like Wonder-Under
-Felt- I used wool blend
-nylon net, tulle and/or any sheer or glittery fabric.
-I used gold thread, but you could use anything
-hanging cord or ribbon- 2 inches or more per ornament
1. Collect fabrics that have images you’d like to use- faces, birds, flowers, whatever. I used some commercially printed fabric with an asian design and also some of the fabric I made last summer with carved stamps. You could use commercially available rubber stamps to stamp fabric.
2. Iron iron-on adhesive onto to the back of your images.
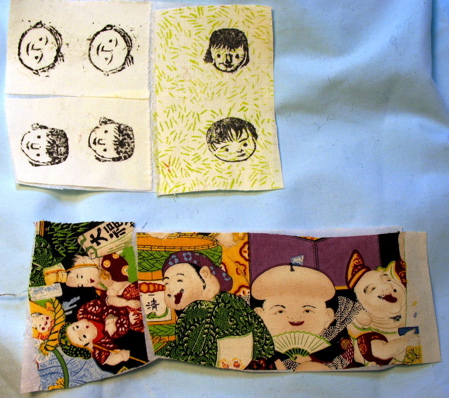
3. Trim your images to shape.
4. Iron onto felt.
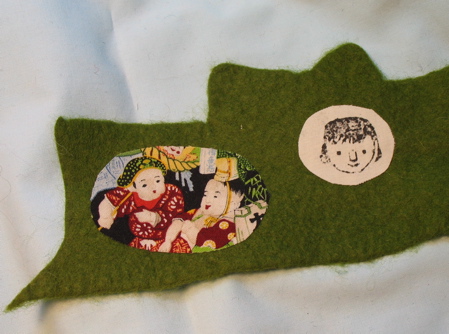
5. Cut out the felt, making a frame around the image. Use all those decorative scissors you own but never get around to using. I used pinking shears and scallop shears.
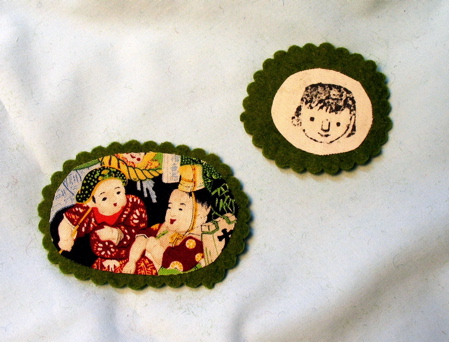
6. Do a bunch!
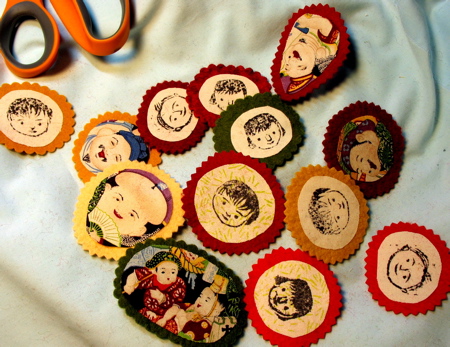
7.Fold up the net so that there are 6 – 8 layers of the net. Make a pile with your little image on top, the layers of net in the middle, and then some other decorative fabric on the bottom (optional). Pin everything together.
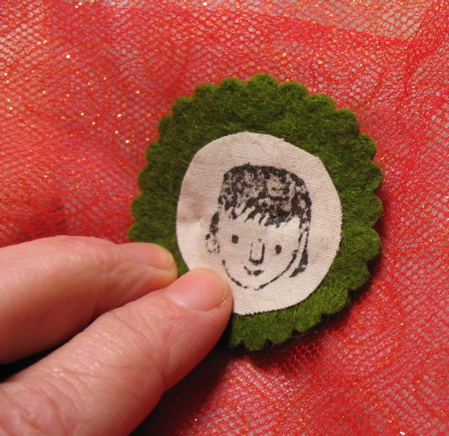
7 continued- this photo shows the layers-
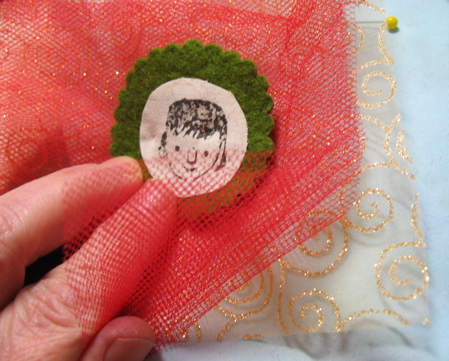
8. Move your “sandwich” over to your sewing machine. (I sewed mine with free motion embroidery, but you could use zigzag, hand embroidery, or whatever else you are comfortable with.)
Fold your hanging cord/ribbon in half and place at the top of the ornament. Make sure you put it far enough down so that your stitches will catch it. Start sewing by going back and forth a few times over the hanger.
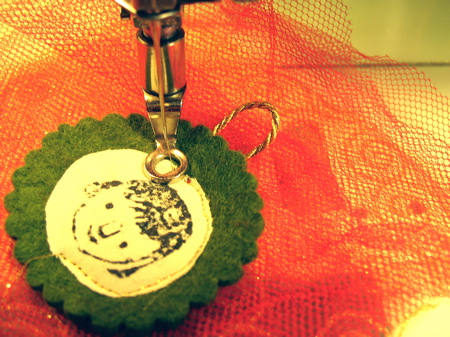
… this photo does not show that though, because I forgot to put the hanger in EVERY TIME I made one!!! Mostly I remember to stick it in before it was too late, bit if you don’t, no problem. You can see that some of mine have a cord strung in the top of the ornament afterward. Easy!
9. Now sew around the edge of the image. Since I did mine with free motion embroidery, I went around the edge enough times so that the gold thread showed up and everything was well stitched down.
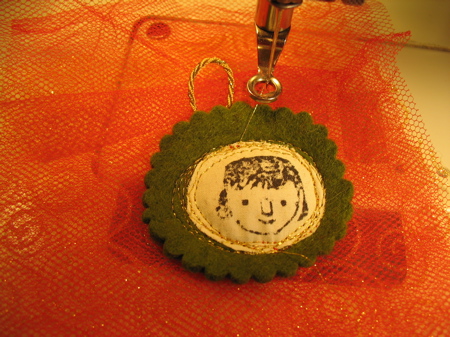
10. Here is a view of the back- I used red thread in the bobbin-

11. When you are finished with the stitching, clip the threads. Trim the net into a nice circle around the edge of your ornament. You can cut the net separately from the bottom fabric.
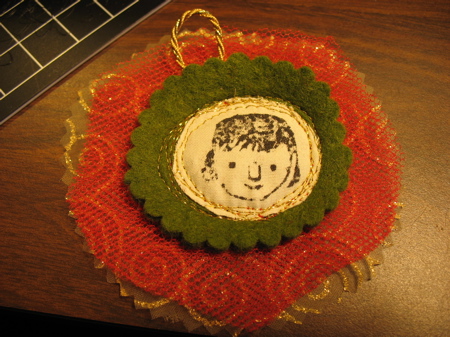
12. If you want to be even fancier, you can cut the net in decorative ways-
-clip it all the way around for a fringe effect
-cut out wedges and it looks more like a star
Here are some more photos for information and inspiration-
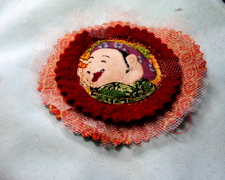
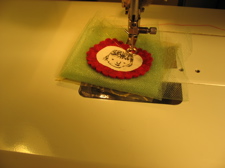
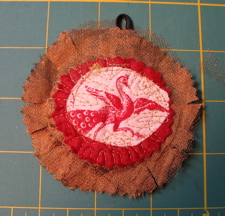

I’d love any feedback on this. Are the written directions and the photos clear enough? Have I left anything out? I can never quite figure out the fine line between too little information and too much. Have fun!
I was so pleased to receive this photo. What a beautiful baby. I love to think that a doll I made will be part of her life.

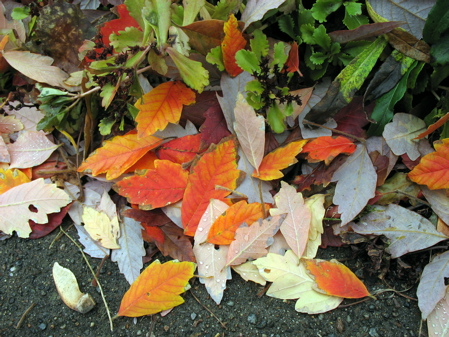
Fall was late to arrive this year, but when the leaves finally started to change color, they were amazing. I need to collect my photos here and I can remember, now that the trees are bare and the leaves are brown. Of course, we still need to rake them before the snow.
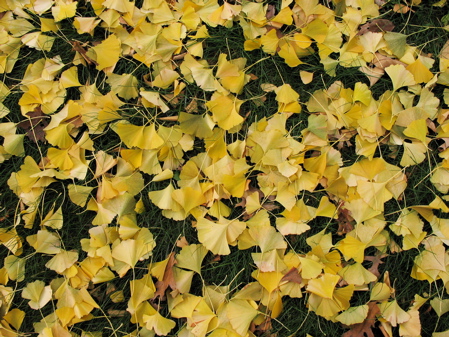

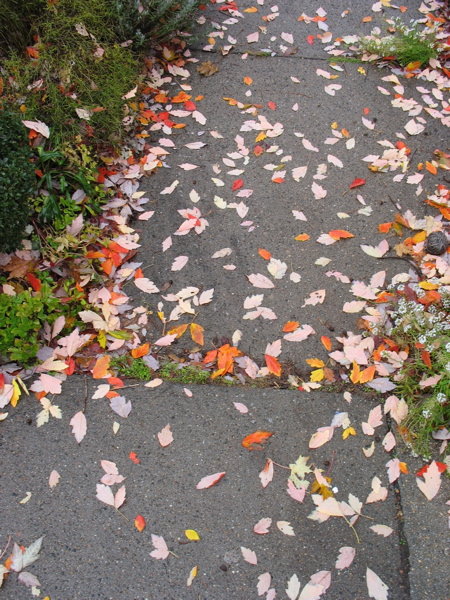
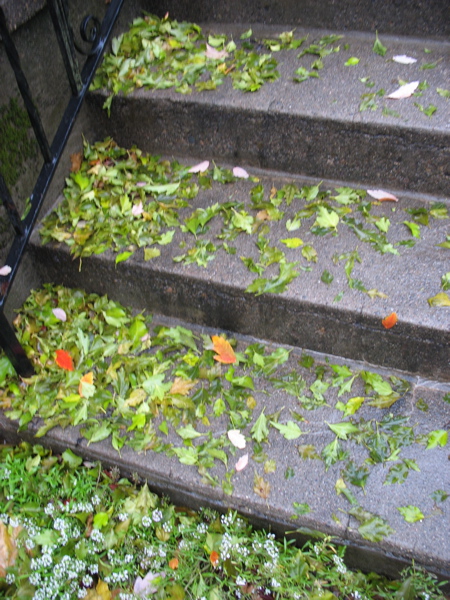

this was in Chicago- Eleanor’s feet-

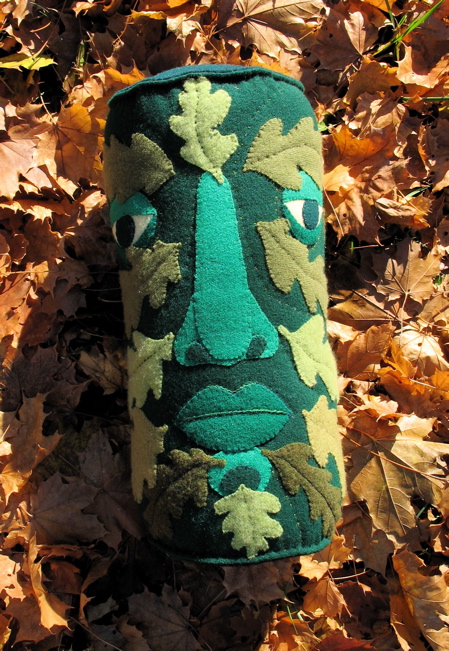
I’ve finished something. It’s been a while. This is the first of the green men. No, not little green men… Green Man men.
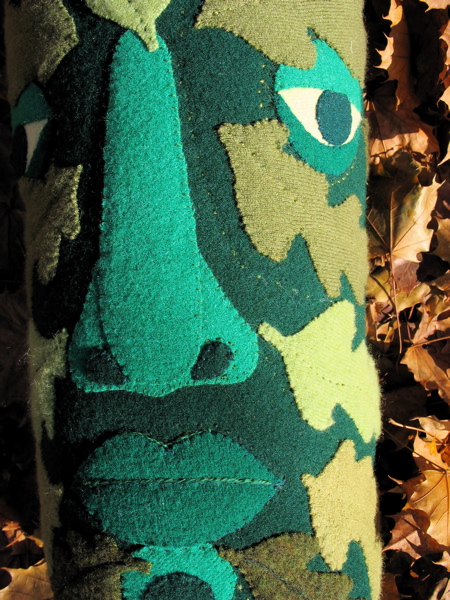
a detail-
This is how it works at my favorite thrift store. The stuff is marked with colored labels. Prices are as marked, on Monday and Tuesday. On Wednesday, one color label is half price and one color is $1. This week, for the first time, I decided to try to go over on Wednesday morning. Woohoo. I came home, feeling like Santa Claus, with 2 large full bags of wool goodies. I spent $13.
3 jackets, 2 skirts, 2 coats-
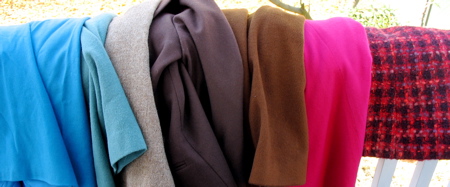
and 2 cashmere sweaters, 1 wool and angora, and 1Â wool vest that someone in the house might actually wear.
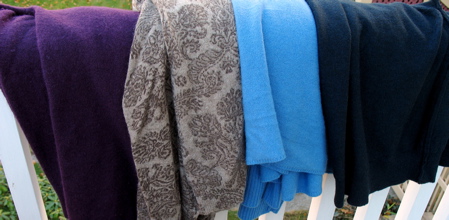
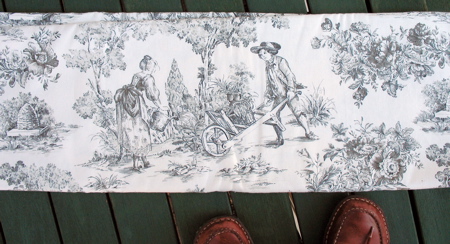
So, I come up to the door, dragging my booty and there is a package on the stoop. Presents! Kristen sent me this wonderful toile tablecloth which she thrifted!
A great day for scoring materials! I spent much of yesterday and this morning, cutting apart and washing all the woven wools. I will do the knits another day.
Tomorrow night is the Craftland opening. I’ll be there, for at least part of it. I am looking forward to seeing the space all set up, the other work, and meet other artists.

I spent another day out of my studio… when I have been away for a while, it can be hard to get back into the groove. Today, I drove down to Cape Cod and had lunch and a visit with Salley Mavor. I got to see the projects she is working on, such as this self-portrait-
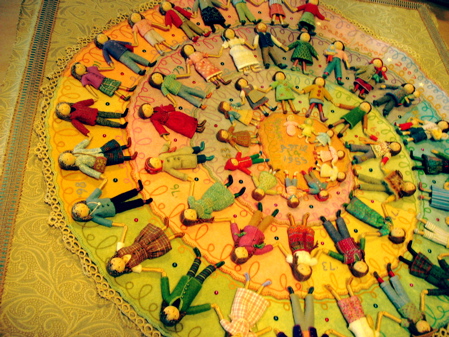
She is also working on a book of nursery rhymes- she has been working on it for 2 years and thinks it will be another 2 years before it is finished. She showed me pages and pages of her beautiful work. It is truly inspirational. I picked her brain about card making and selling and also about book publishing. All so interesting. And, Theresa, she has your magnet on her fridge!
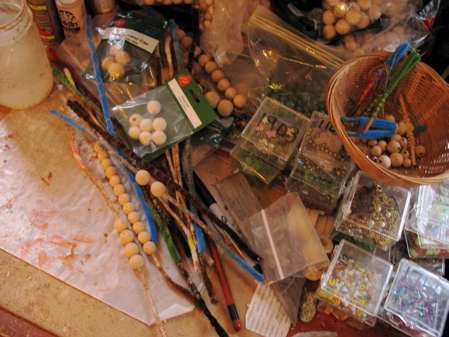
desk photos- I love to see how people work!
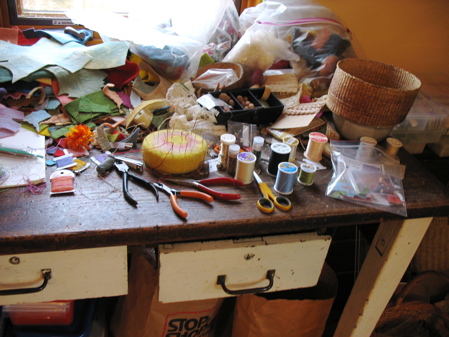
All the beads on the pipe cleaners have little faces painted on them-
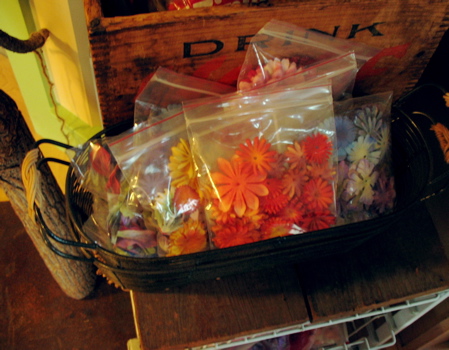
Bags of flower parts, sorted by color-
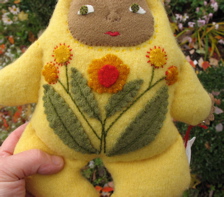
I used to think it was somehow a sin to go back and change (or fix) an artwork that I’d considered “finished”. I seem to have gotten over that. Some of the pieces that stay around for a while, continue to talk to me. This baby has been around for a year or so. I redid the applique. Much better-
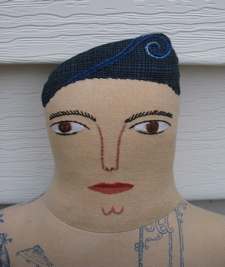
And, I decided this fellow needed some more oomph in his hair-
I’ve been pondering the notion of balance (in ones life). Is there any intersection of passion and balance? I don’t think of myself as ever living a balanced life… I get involved in things very intensely. These passions- my artwork, garden design, etc- take over. It is what I think about, dream about, bore everyone around me with… And then there is the question of being passionately involved in ones work versus being a workaholic. That came up at Thanksgiving with my daughter, her roommate (a painter) and me. My reply was that a workaholic is what other people call the person who is passionate about their work. It is that other persons’ way of saying, you are not paying enough attention to me. I have continued to think about it though.
I’m back from Chicago. Despite a bad cold, I had a wonderful and mostly relaxing time- ie, more family time then attractions. I will go to all those museums next time!
I love this sculpture–
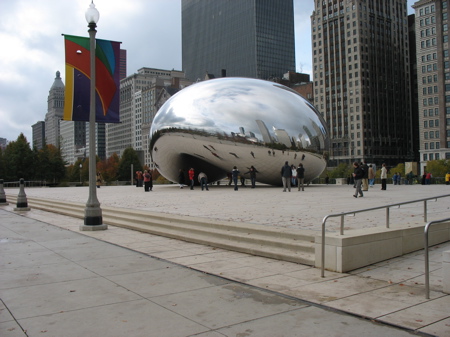
Everybody, and there are crowds, is having fun as they admire and interact with this art.
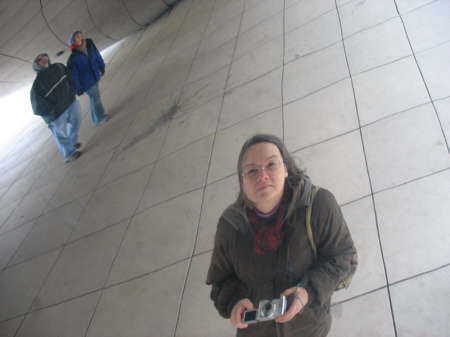
It is inspiration for anyone with a camera.
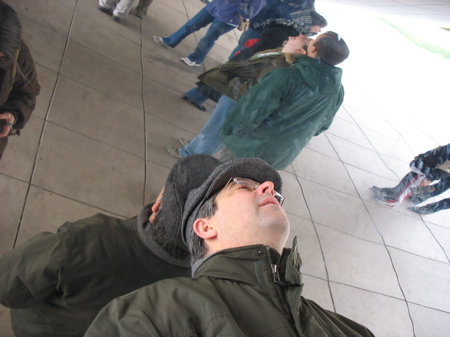
No one can resist a self-portrait.
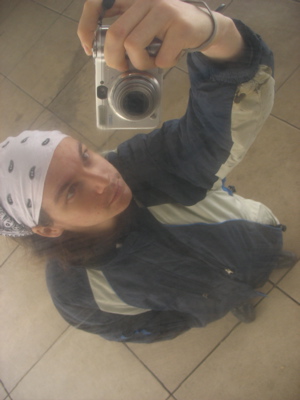
This is a view looking up from underneath-
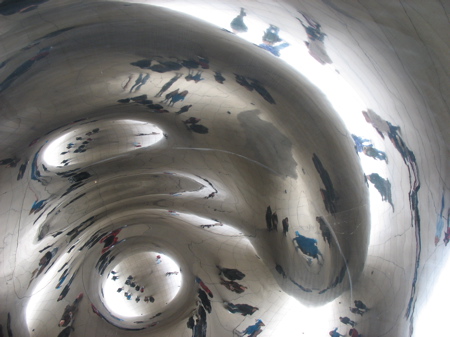
While we were there, 2 construction workers were also looking at it. They proudly told us that they had worked on the assembly and pointed out where the seam lines were.
While in Chicago, we toured the School of the Art Institute of Chicago. I was blown away by the facilities and the size of the school. The huge studio for fabric printing made me want to go back to art school. Our guide talked about the importance of writing for an art student. The students need to be able to write proposals to galleries for shows because all art is now conceptual art… huh?! Yeah, right. What a very limited definition of art… it made me sad and also reminded me of the down side of art school education.
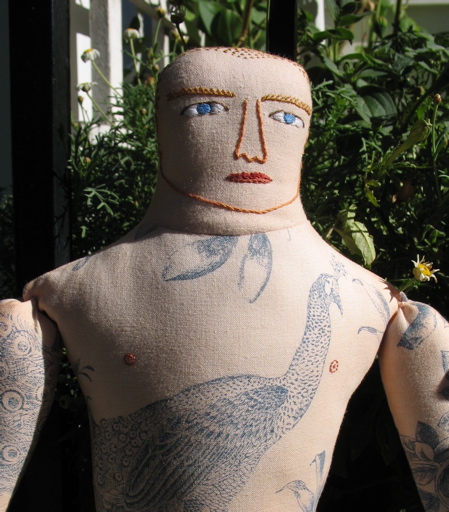
I’ve been going in all directions for the past few days. I spent the weekend trying to figure out where I was with everything. Sorting inventory for Craftland meant pulling everything out to see. Sometimes looking with fresh eyes is a very good thing. Hello to this fellow’s NEW face-
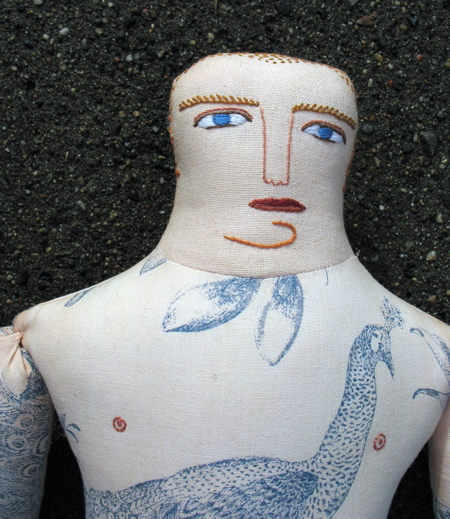
below was his OLD face. It had been bugging me. I am happier with him now. Just a little cosmetic stitchery!
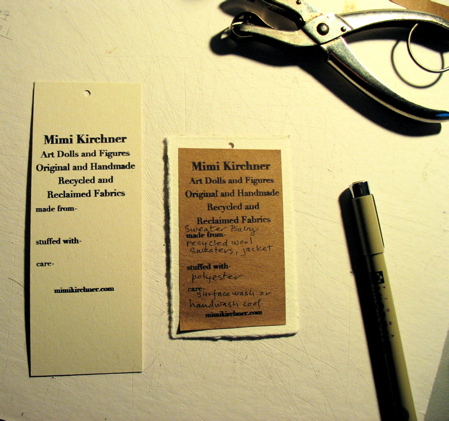
Getting inventory ready has inspired me to think hard about the hang tags for my dolls. What do you think the difference is between “recycled” and “reclaimed”. I wrote both since both words seem accurate. Any thoughts?
And my desk and work table are showing the strain of me going in several directions.
I have 3 more tattooed guys in progress but have set them aside to cut out some of the green man faces. I want to have a project to take to Chicago and since I do most of the work on these faces before I stuff them, they are easier then the dolls to travel with. Then, I also have a few pieces that need a little rework before they go on to Etsy or Providence. The tattoo guy on the left of the sewing machine for example. I’m going to give him a belt before I declare him finished (again).
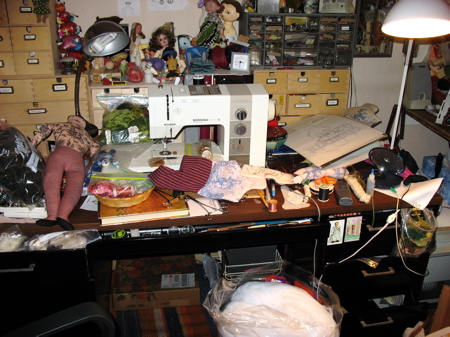
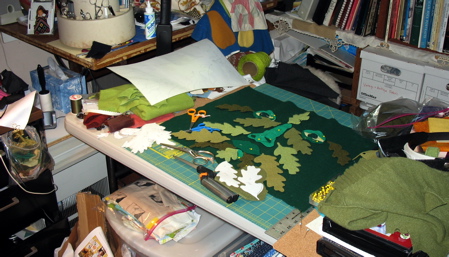
Piles and piles everywhere!
I posted an annotated photo of the work area here at flickr.