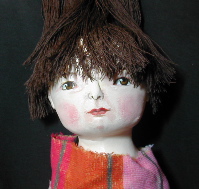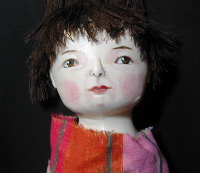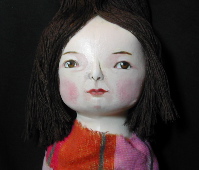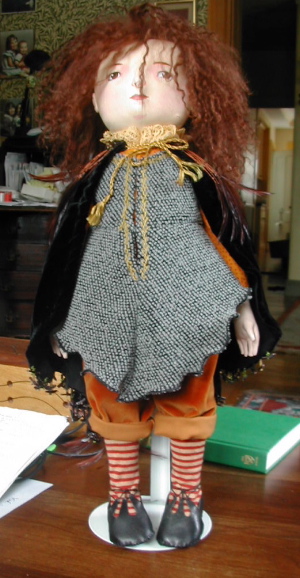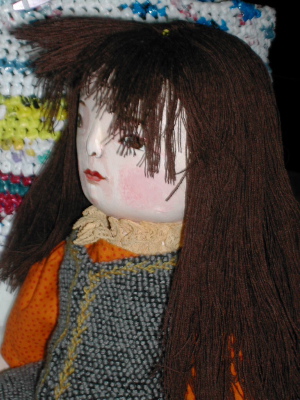
I made a new wig while I was away. Sorry this picture is so bad… in this picture the wig is pinned on and has had a first trim. I will decide what to do for a hair-do when the wig is properly attatched to the head.
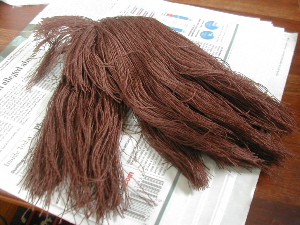
This is the wig off the head.
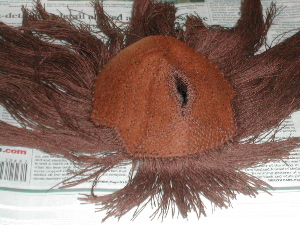
This is the inside of the wig right now. I was able to use some of the things I learned at my wig-making workshop that I took at WOW!- specifically around the bangs and part area.

This is a close-up of the part. I cut through the wig-cap and brought the yarn up from beneath so that the hair in the part would not have any stitches showing. I need to sew or glue a piece of fabric to the inside of the part to close it up again. It needs to be tightly closed to look right.
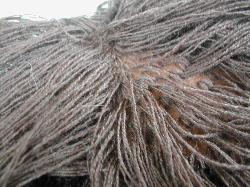
This is a close-up of how the pieces of yarn are attached. They are sewn on individually.
I used all wool felt for the wig cap and a very fine wool yarn for the hair.