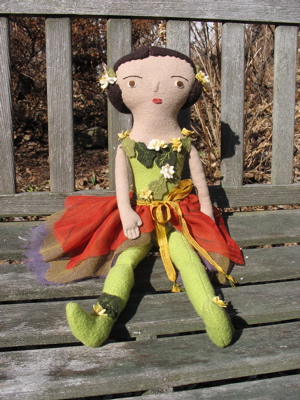
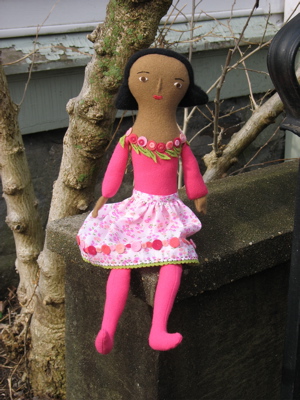
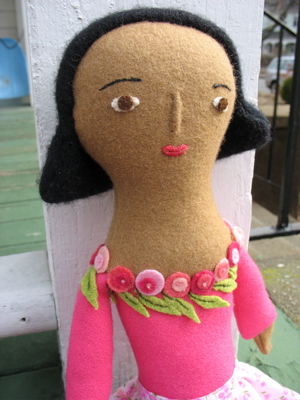
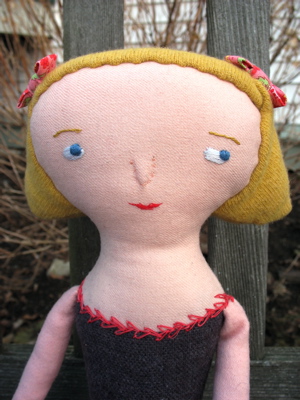
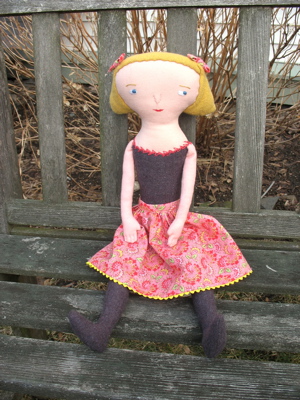
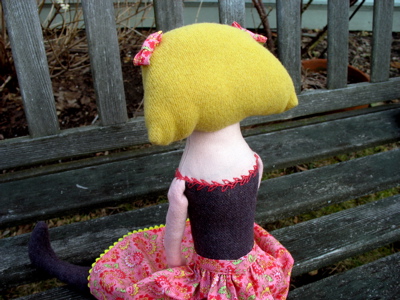
I thought I’d show you how I do the hip joints since people commented on them. First of all though, I have to give credit. I learned this technique from a Judi Ward pattern. Judi Ward’s patterns are about the best way to learn dollmaking that I’ve come across. Her directions are clear, the pieces fit together, she invents techniques that are so useful, they become part of your design thinking. I would highly recommend her patterns as a learning tool, although she also teaches online classes, another excellent way to learn new skills. I think her babies are especially endearing. Here is a doll I made from her Emma Rose pattern. **Disclaimer- this is my way of doing this technique- it might not be exactly the way Judi described it originally, but how it works for me.
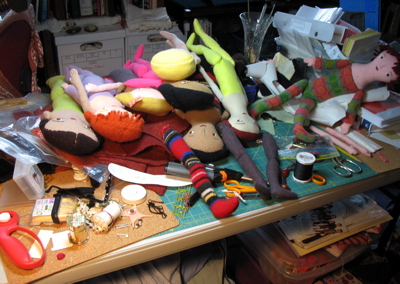
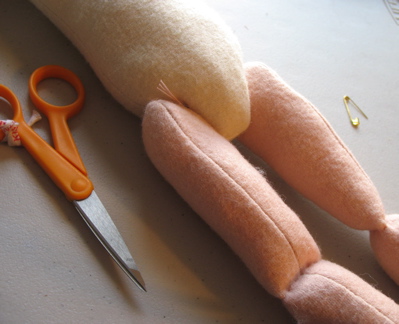
I’ve got the legs lined up, ready to finish. They are sewn and mostly stuffed with an opening at the top. The buttons used are the metal shank buttons – the kind you can cover with cloth, but not for this project. I buy them online from Joanns, because I can never find them locally when I need them. And, I like to have them on hand. You can use either the flat or domed style. I usually use 7/8 inch or 1 1/8 inch size.

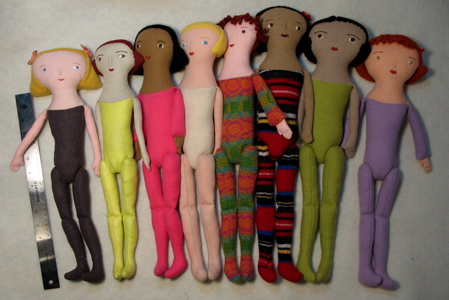
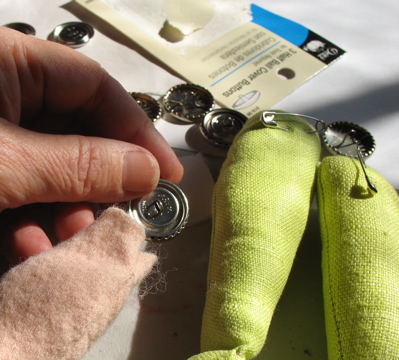
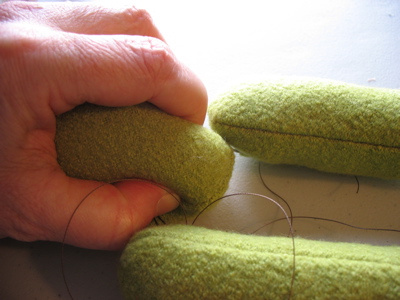
-Snap the 2 parts of the button together- the top and the back. Slip the button into the opening at the top of the leg and safety pin into place. I don’t worry about the direction of the shank when I pin it- it can shift around a bit. The green legs on the right show the finished leg with the button sewed inside.
-finish stuffing around the button/hip area and sew shut. I use a ladder stitch to close the leg.

-I use nylon upholstery thread to make this hip joint- it is super strong and is available at my local sewing stores. I’ve switched doll legs here, because the thread shows up better on the green. Measure off a long piece of thread- at least 36″. Double it up (I cut it into 2 pieces at this point) and stitch through the shank of the button. Center the thread and then stitch around the shank one more time. Even up the 4 ends of the thread. I am using a doll needle here- it is about 3 inches long.
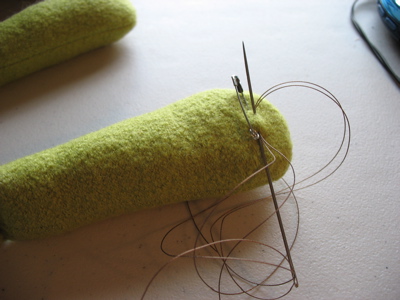
-Take the four ends and thread them through the eye of the needle-

-Pull the 4 threads through the hip.

-Remove 2 of the 4 threads from the needle. Stitch through the shank. Unthread the needle and rethread with the other 2 ends. Sew through the shank going in the opposite direction. Hopefully the picture makes it clear.

-Take one set of threads in each hand. Pinch the hip area as you pull to tighten up the threads. Yes, I know, sounds like you need 3 hands- try pinch, then pull, pinch and pull again.
Now this is the really hard part because I couldn’t take a photo! Pull the threads tight. This is one of the reasons you wanted a long piece to start with- you might want to wrap the thread around your hand for leverage. When you think it is tight enough, wrap one side of thread around the joint once or twice and then tie a solid knot. Clip off the excess thread, leaving about an inch. I usually just leave it like that, although I suppose you could sew it back into the body where the thread came out at the hip.
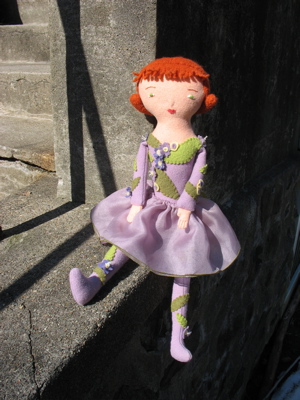
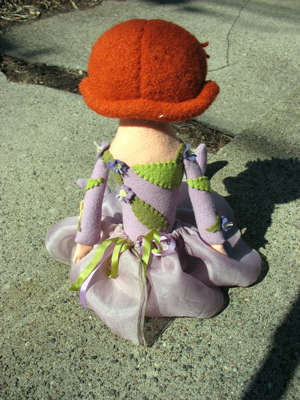
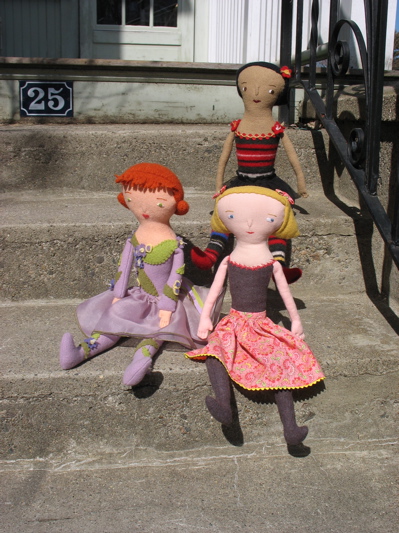
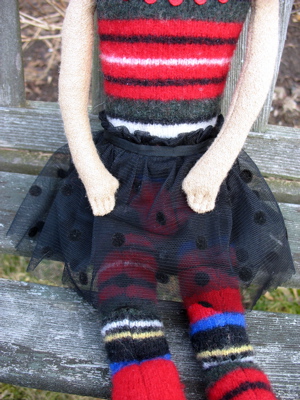
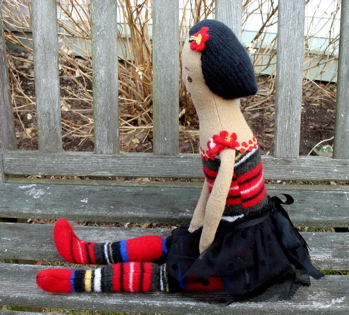
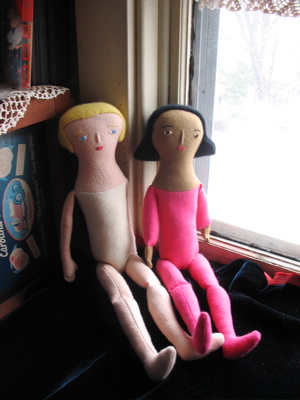
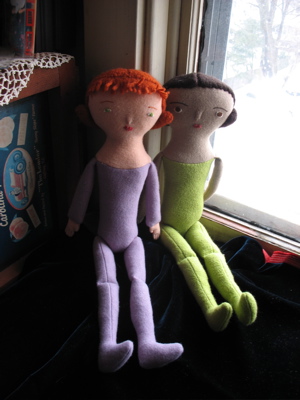
If you get it right, and it is usually a matter of getting the thread tied tight enough, your doll should be able to sit up, very nicely, all by itself. It takes me 2 tries about half the time.

In case you can’t figure out what the heck I’m trying to say, I found another description of this technique here.