this past week

nothing terribly interesting got accomplished. I got the air conditioner off the floor and into the window and it’s been cold and rainy since then. I was inspired to do some cleaning in my studio (much needed)… boring, boring, boring. The floor and desk under all my piles is now clean so I’ve started back to work- here are the in progress shots of this week-

the one that’s going well-

bluerobot

and the one that’s not-

redrobot

and here is Mango, our very camera shy kitty, trying on a box for size-

mango

“ah, just right!”

I was suppose to participate in a street wide yard sale today, but it got rained out- I am keeping my fingers crossed for a better day tomorrow since I now have a big pile of junk sitting by my front door- ack! And of course, I am just dying to go shopping for my neighbors junk!

playing

I’m working on the fourth robot. Actually, I am having way too much fun with this one…

here he is on my messy desk-

r4

I am using buttons inside to reinforce the joints- sort of like what is used in teddy bear construction. I’ve got all the pieces done and I love how he flops around-

flop

He has a rather inebriated appearance!

stairs

I now have him mostly finished- time for tweaking.

robots in progress

This is what I’ve been working on-

robots

After I made the robot heads it seemed that the bodies would be easy, but it hasn’t worked out that way… getting started is easy until I hit the next block. So, I’ve been working on these in an unusual (for me lately) way. I get started until I can’t figure out what comes next and then I pick up a different head. So, I’ve got 4 in progress.

I am always amazed when people show their desks and it is a calm sanctuary of space and work gets done there. My workspace always looks like a tornado is in progress. Well, except when I am not getting anything done and I’m in some kind of funk. This is a tiny bit of my desk today-

desk

See that blue wool ball? I tried that out as a body for the blue head robot- I didn’t like it, but it gave me an idea for the brown headed one- I am trying to go bobble-headed for that one.

I bought myself a bunch more bobbins on ebay- I feel so rich!

bobbins

kitty 2

Yesterday was doll club, and I wanted to have this kitty finished. I decided it was a boy cat and all the cotton fabrics weren’t working for me.

kitty2

kittyface

I’m just not all that excited about the kitty- I have not succeeded in making one that appeals to me as much as the knitted ones I made a while back. What I am still excited about is the robots. I was working on a new one and getting too tight. I decided to just do a bunch of head. I am always inspired by the faces, my favorite part of any doll.

heads

Now that the faces are looking at me, the bodies designs are much clearer in my head. Onward!

the latest distraction

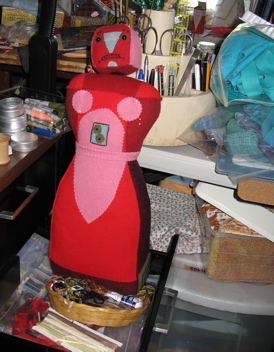
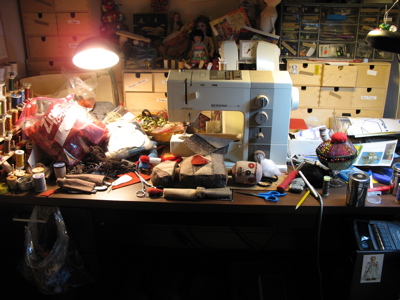
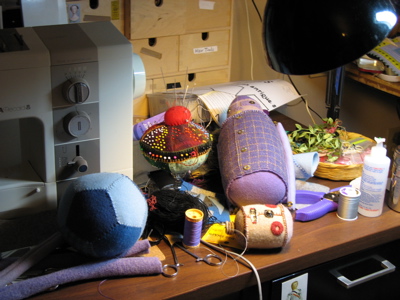
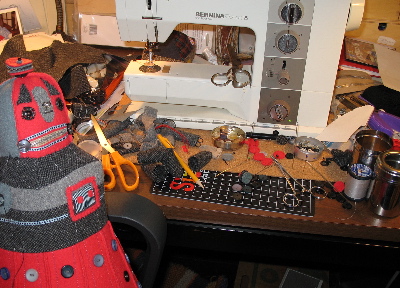
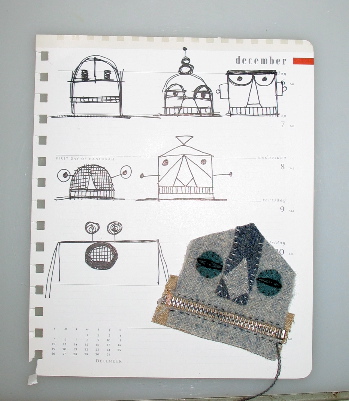
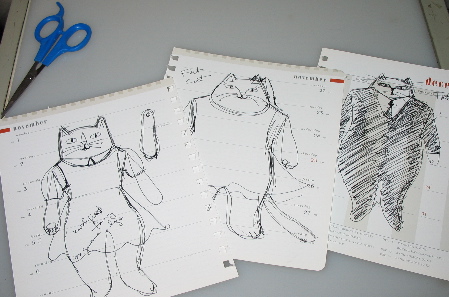
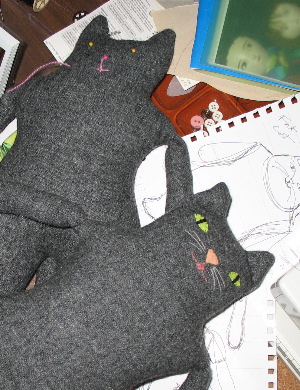
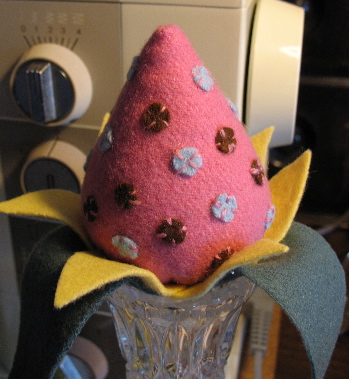
this is what I am in the middle of-

kitty2

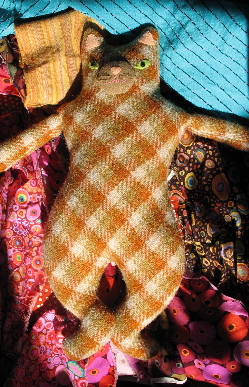
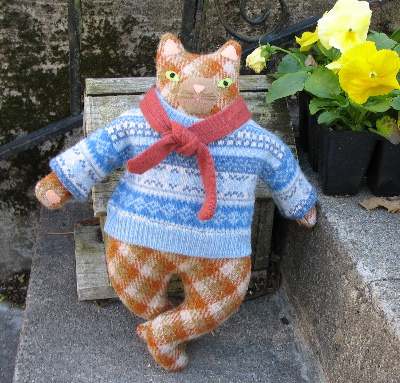
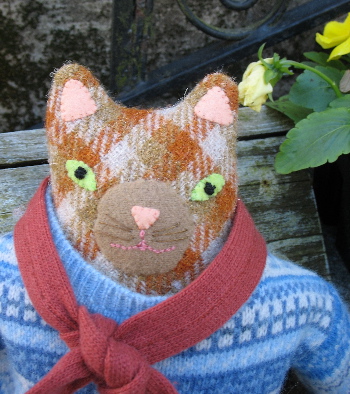
I am trying to choose some clothing fabric, trying to decide if it should be a boy or girl Kitty and trying not to make it be completely and obviously inspired by Tar-tan’s amazing creations.

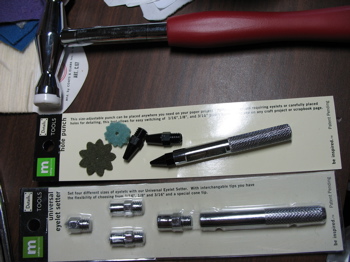
What I’ve been doing instead-

I took a workshop last weekend with Sherry Goshon. Our doll club brought her to town to do a gourd doll class. I signed up with several ideas about what I could get out of it. I thought it would be interesting to see and try someone elses approach to gourd dolls. Also, I thought it might be a very good idea to take some more classes… to see what it is like sitting on the other side of the table. I was pretty discouraged with teaching after my last workshop.

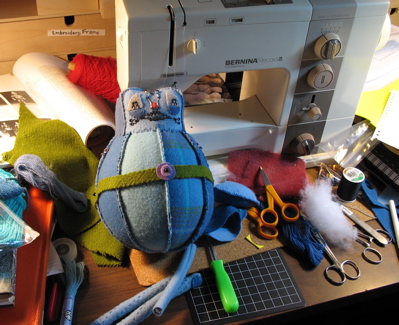
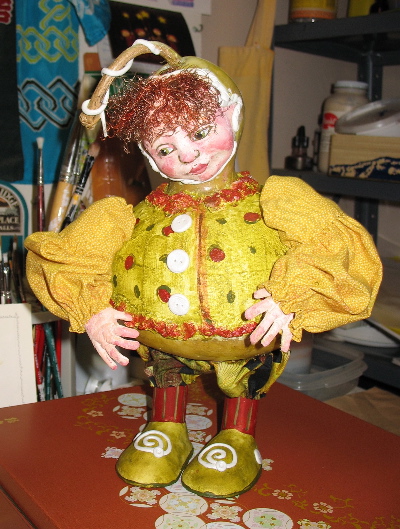
Of course what you think you will get out of the workshop is very rarely what ends up being the pearl that makes it worthwhile. We got to play with lots of materials that I seldom or never have used. We made the faces using polymer clay in Sherry’s pressmold. Here I am gluing the face to the gourd-

workshop

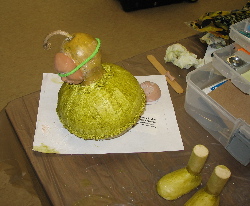
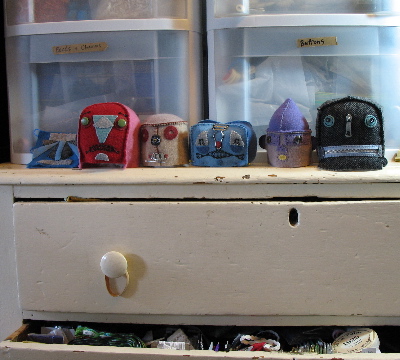
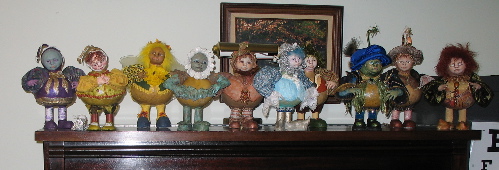
you can also see the legs and shoes. The shoes are paperclay over aluminum foil. The “jacket” is made of plaster impregnated cloth- the kind of stuff they used to make casts out of. We used epoxy sculpt to attach the face and legs securely and also for embellishing. After 2 long days, this was what was accomplished- Sherry’s doll is the 5th from the left, in the middle of the crowd.

gourddolls

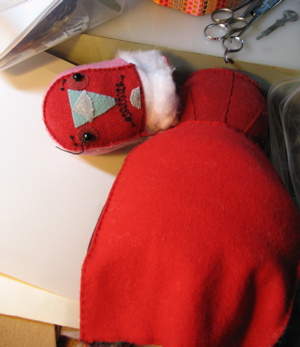
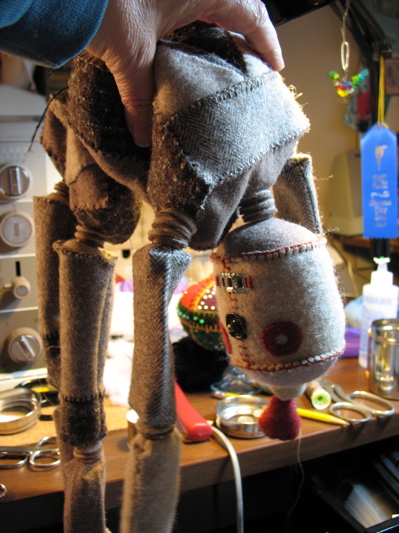
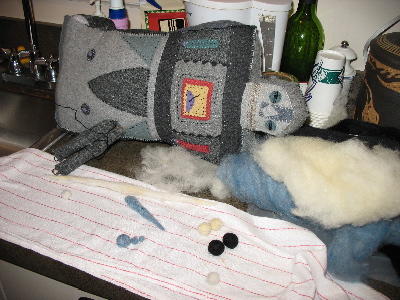
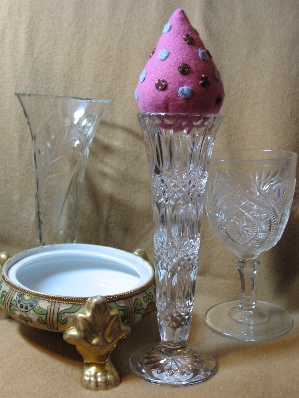
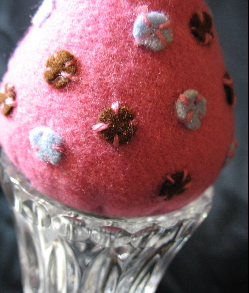
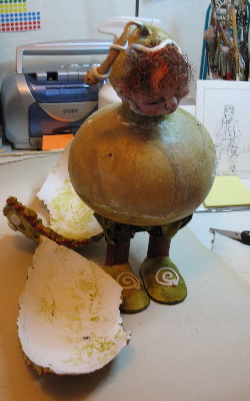
Most of the dolls were not finished. This is what I brought home-

gdoll1

this is what I’ve done to it since I brought it home-

gdoll2

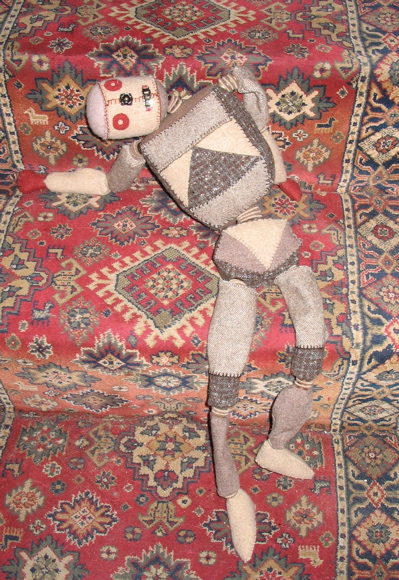
I cut off the arms- they were really bothering me. Then I cut of the plaster cloth jacket. It seemed to get the paint chipped off everytime I looked at it. I sanded everything a bit and then put some more paint all over it. And made some new arms and hands.

gdoll3

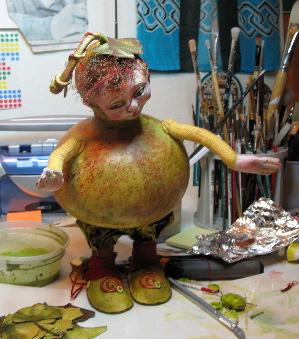
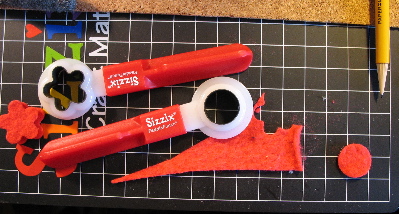
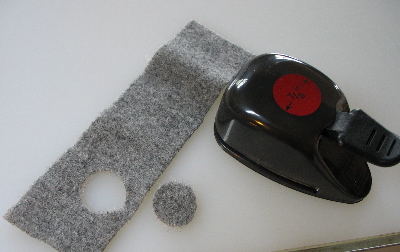
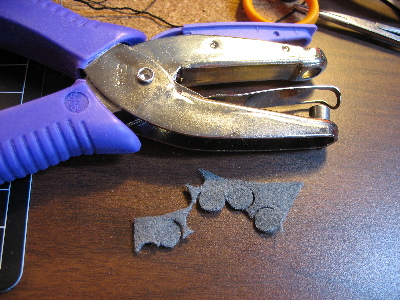
I’ve cut out and fused some backing onto some ginko leaves from the fabric I used for the pants. So, this is pretty much where I am now. Hopefully, I will be able to post the finished doll tomorrow- I can’t let this take over!

cutting circles

Sometimes I just have to give it a break…

mess

I’ve been struggling with this Robot 2 to try to get “arms” that I like. My desk is piled up with rejected parts. Time to do something else.

Some of the tools I use for cutting circles out of felt and wool-

sizzix

A while back I bought a sizzix’s cutter to try, not realizing I needed a kit to use it properly. I was a little reluctant to spend more then $20 on something that might not even work. I cut my risk by buying it on ebay for a lot less. Anyway, it turns out it is great! It cut the felt very cleanly. You can place the cutter anywhere on the fabric and then you hammer it to cut through and get the shapes. It is easy to cut 2 at a time. I haven’t tried more layers then that. I wonder how long the individual cutters will stay sharp.

Here are some of the other less successful tools I use-

bigpunch

I have bought several of this type of punch, but the small, inexpensive ones don’t work at all. This one is pretty good. The problem with it is that you have to squeeze the felt into a slot to punch- this often causes a misshapen circle. Also, it limits the felt to the thinner pieces. It does not cut completely cleanly, but that is easy to fix by going over the circle with scissors.

handpunch

This paper punch is one of many that I use. As you can see, it also doesn’t cut a nice clean circle out of the felt. I have to trim them out and I’m not very good at it when I am doing the smaller sizes (1/4″). I know the sizzix comes in a 1/4 inch circle so I will probably buy one of those.

I like using repeating shapes to decorate the dolls. If you know of some other good shape and/or die cutters that work well, I’d love to hear about them.

make-dos- I have a question

I’ve been thinking about making more make-do pin cushions since I made this one.

I’ve collected glasses and other things that I think will make suitable bases- I found a number of good candidates at my parents house during the clean up. I’ve saved glasses and vases with chips out of the lips and pressed glass that has interesting patterns. These are a few-

makedos1

That strange footed thing in the picture is something that sat on the shelf for years at home- when I was packing it away, I realised it is obviously missing a lid. I think it would make an excellent pin cushion- very stable. I was thinking I would use the tall glasses to make holders for my Mom’s hat pin collection. I’ve started in on that project-

makedo2

makedo3

So here is my question- how do people attach the fabric to the glass? When I made the last one, the fabric wrapped around the outside and so I gathered in the fabric and tied it tight. This time the stuffed part needs to sit inside the the glass. Also, what should I put in the clear bottom of the glass- I want the glass pattern to show up nicely… hmmm, problems…