hints…

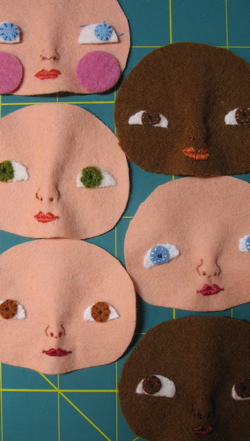
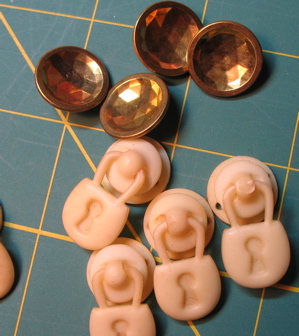
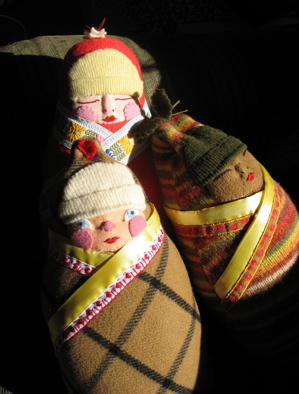
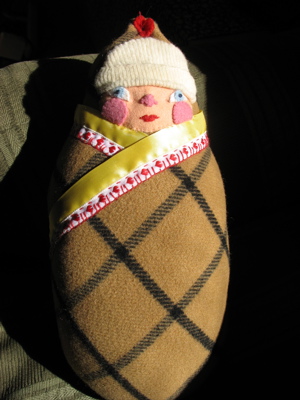
I’m no good at word clues so here are some photo hints-

hint a

hint b

hint c

hint d

Hopefully it’ll be done later today, but I probably won’t have the time or light to photograph later. This afternoon, I am going to a jury for a Holiday Show- I’ve got to show them my stuff so they can decide if it’ll work for them. It is one of those mixed emotion things- I want to get in, but am not really sure that it will be the right venue for me. So, I’ll give it a try.

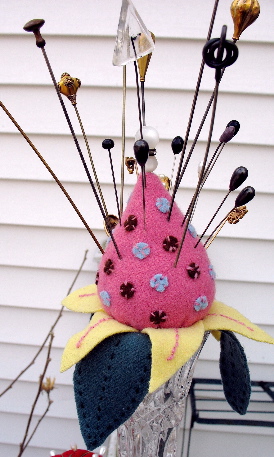
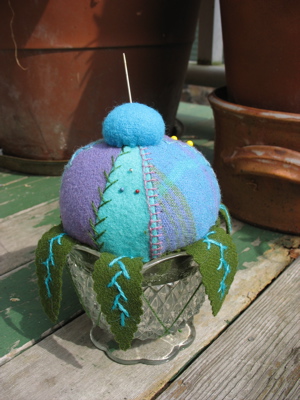
make a make do pin cushion

I wrote up this article for my doll club’s newsletter, so I thought I might as well put it up here too.

make do 1

make do 2

close-up

make do 3

materials-

-cups, glasses, anything with an opening to put a pin cushion in or a shaft to put a pin cushion around.
-wool fabric
-embroidery threads
-wool for stuffing

I have had fun making pin cushions by recycling chipped and broken decorative glasses. I have used crystal and pressed glass, wine glasses, ice cream glasses and parfait glasses. I have been using ones that I found at my parents’ house when we were clearing out, and now I keep an eye out for anything special at Yard Sales.

The first one I made was inspired by my daughter. When we picked her up at the end of her first year at college, she handed me a broken wine glass – just a stem with some jagged glass of the bowl. She said to me “I kept it for you mom. I knew you’d want to do something with it!” She knows me so well!

My pin cushions have all been essentially the same- a fabric ball sitting in or on top of and enclosing part of the recycled object. I looked at other peoples’ work on the internet and this is the most common design. I have used wool fabrics for mine. I like wool for several reasons- firstly, I have a ton of it, secondly it has a nice “country” look, and thirdly it seems to hold up well to sticking pins in it all the time. I have not had such good luck when I have used tightly woven cottons, velvets or velveteen’s. The fabric seems to disintegrate sooner then I’d like.
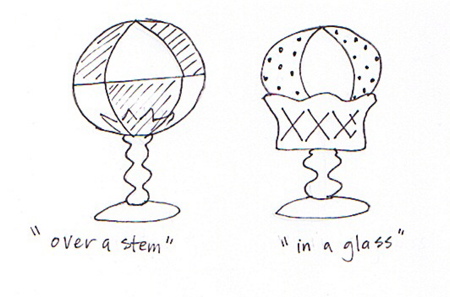
illus a

CAUTION- MATH AHEAD! Two easy shapes for making the pin cushions are triangles (or diamonds which are just 2 triangles put together) and a half circle which make a strawberry shape. You need to know the measurement for the circumference of the ball you will make. If you are making an “over a stem” pincushion, that measuement can be approximate. If you are making an “in a glass” make-do, you will need to measure the top edge of your glass.
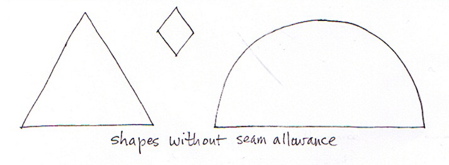
illus b

To figure out what size to cut your shapes- For Triangles- the pin cushion will be 4 triangles around. Divide your circumference measurement by 4. That measurement is the size of each of the 3 sides of your triangle. For strawberry- The circumference measurement is the length of the curved edge of the half circle. Don’t forget to add seam allowance to your pattern pieces.

illus c

Putting the pin cushion together-
for all pincushions- Sew up the seams. Stuff firmly. Decorate with embroidery or appliques if you’d like. I put some cut-out leaves around some of mine to make them look like flowers. I also stitch a small second pincushion on the top as a place to hold my needles. It looks like a cherry on top!

When I used the broken glass, I wrapped the broken top of the glass with some quilt batting so I would not cut myself and the sharp edges would not cut the fabric. When doing an “over a stem” make-do, you will have to leave the bottom open enough to fit in your base. The ball or strawbery is gather up around the base with strong (nylon) thread and tied as firmly as possible. You can put a ribbon or something to hide your stitches.

To attach the “in a glass” make-dos, I used Goop glue and pushed the pin cushion into the opening as firmly as possible. I then clamped it by using many rubber bands and string to hold everything in place until the glue
dried.
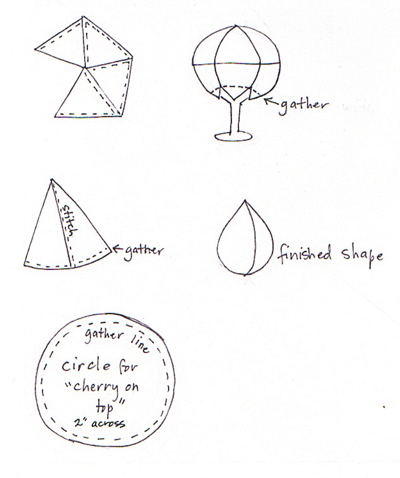
illus d

Update 7/09- this post has been getting a lot of traffic lately-  Thanks for visiting! I have written up and am selling a pattern for a make-do pin cushion here on Etsy.
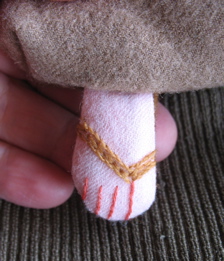
more babies

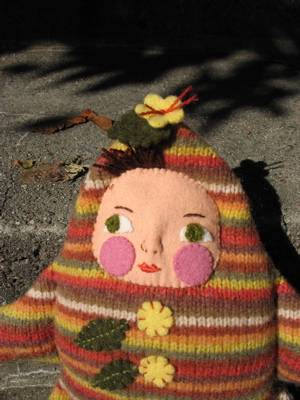
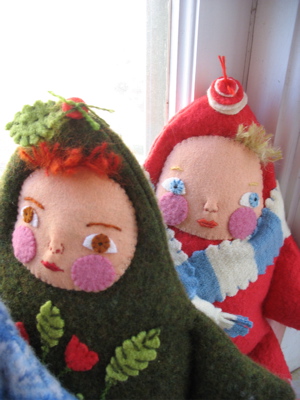
Sweater babies- all ready for the cold weather.

babya

babiesb

babiesc

babiesd

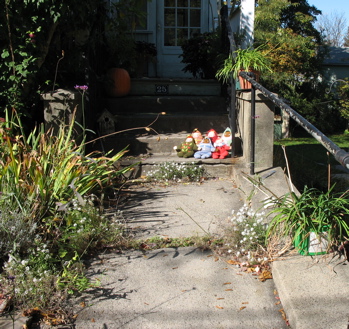
The chorus line arrangement here on Flickr. And here they are, out in the sun, on my front steps-

sunny

I was feeling totally uninspired and uncreative with the robot and so have put him aside- Here is a peek at what I’m working on- can you guess what it is?

leaves

lucky me!

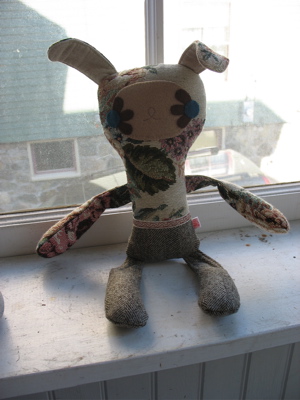
Yippee! Finally, finally, the stars have aligned and I have gotten myself one of Rosa’s wonderful dolls. Of course, it is much better in person then this photo-

624

there is a better photo on her site here.

this and that

Our elusive kitty, Mango. He doesn’t usaually allow photos.

mango

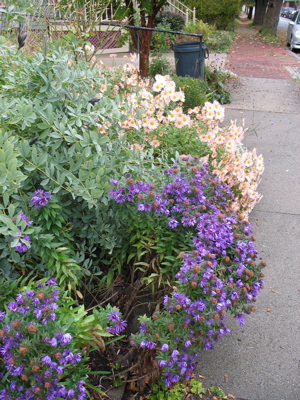
Fall flowers- asters and chrysanthemums. We haven’t had a frost yet and the flowers are still blooming.

fall flowers

How I drive myself crazy… working away and lose one eye. Search everywhere, waste way too much time. It showed up eventually.
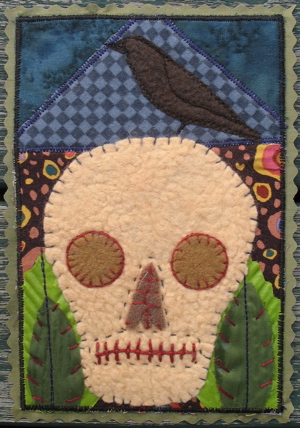
eye

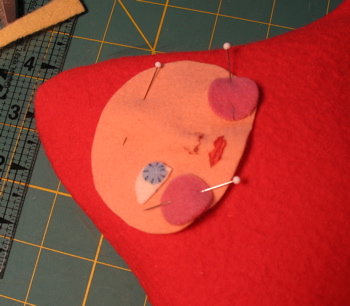
I am working on a group of sweater babies. I thought I should finish them up before I get distracted by the robot.
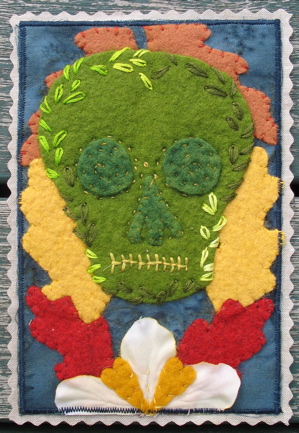
faces

yesterday and today

Last night was a farewell dinner with Mary before she returns to Portugal. I’m so glad we got to meet and become friends while she was here. Someday I will get to Portugal and sit around in her house and talk dolls again.

pie

Today, a friend from my doll club spent the day with me and we worked on robot dolls together. She wants me to make a pattern, but since that is unlikely to happen in the near future, I figured I’d just show her what I do. It was a great day.

robots

And look at the great stuff she brought me- buttons

buttons

and beautiful vintage ribbons-

ribbons

Some other fun stuff too, but not so pretty for photos!

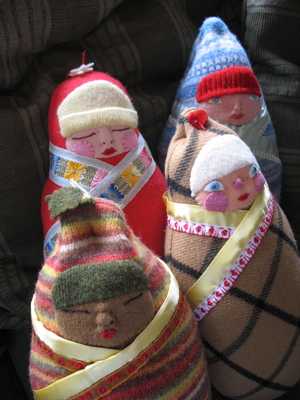
swaddled babies

swaddle babies

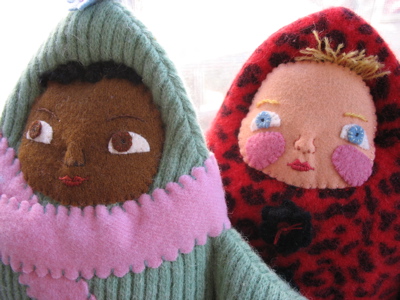
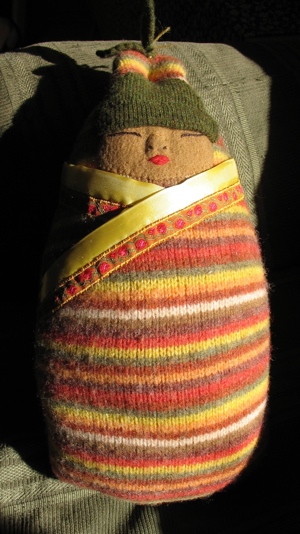
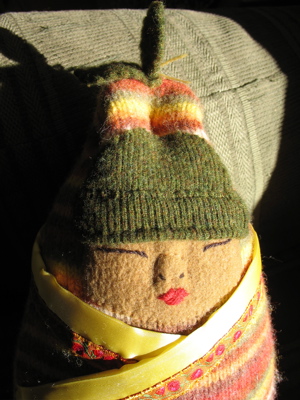
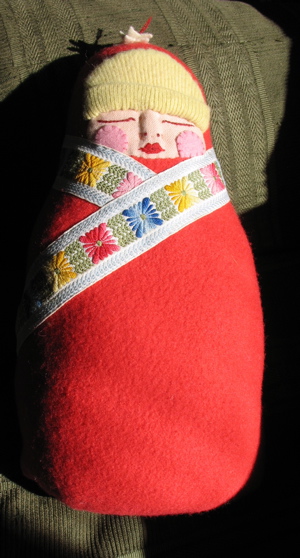
I did the adjustments from this photo. In case you don’t notice, I changed the hats on 2 of them- the beige checks and the fall color stripes. Made them bigger, 2 layer and not stitched right to the edge so there is more dimension to the whole face. I took off an inch or more from the red baby’s blanket on the bottom. It makes for a better proportion in my eye. I’m picky, picky, picky about this stuff.

sbaby 2

sbaby 3

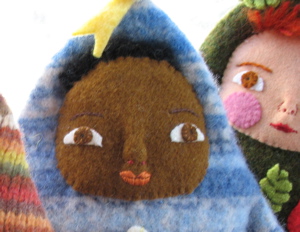
sbaby 3 face

sbaby 4

#2- recycled woven cashmere check, recyled vintage sweater hat
#3- recyled wool sweater body and hat, cashmere face
#5- vintage wool knit fabric (fulled), vintage ribbon, recycled wool sweater hat

all stuffed with polyester stuffing.

moo

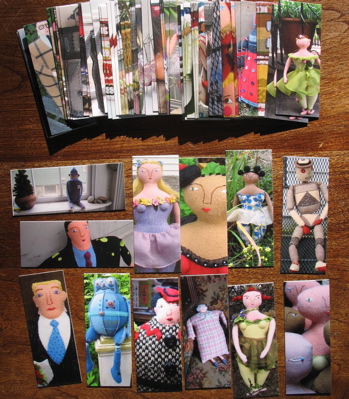
my moo cards came – the 100 batch that I paid for, not the 10 that were free.

moo

They are fun- and interesting to look at and think about. They are a long thin shape. Some of the images work really well, some are pretty awful. I think I like partial faces the best. The colors work in some, not in some others. I will use them for tags- they are perfect for that. A bit small for business cards, but maybe okay.

I was having fun, clicking around Sharon’s Saturday blog round-up, and came across this great blog- Woof Nanny. Two postings really caught my interest. This one about making children’s clothing from tablecloths. It is so interesting because I am always trying to use vintage table linens in my work. I also like this post about old children’s books, especially The Make-It-Book. She talks about pouring over it as a kid. I had this same book when I was little, I still have it and like hers, it is held together with old yellow scotch tape. I think it was probably the most used book in our house (by me anyway) until I was about ten. Well, actually after that I started using it for babysitting ideas.

I worked on the swaddled babies today and fixed up what needed fixing. I’ll post them again tomorrow.

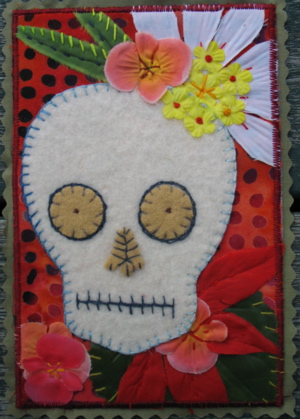
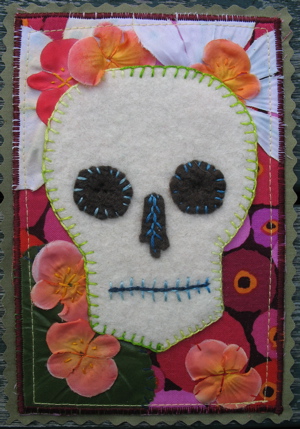
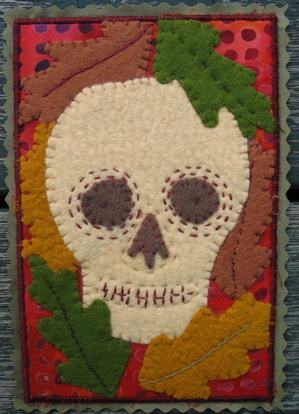
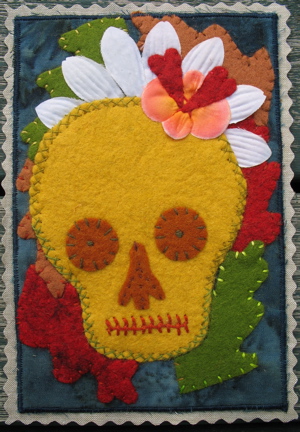
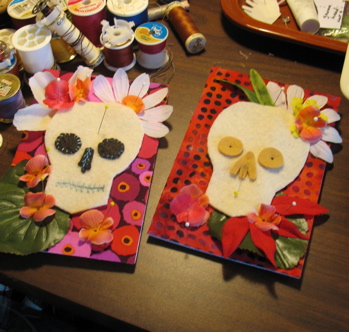
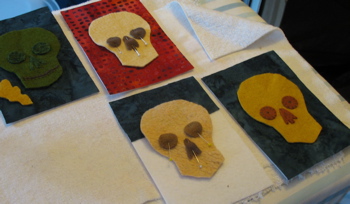
Day of the Dead postcards

for a swap. I need to send out 4. This was probably the hardest swap I’ve done. I struggled to find a way to relate to the subject. I looked at google images to get inspiration. I ended up thinking about it in terms of the end of the natural year… as in the garden, autumn.

a

b

c

d

e

f

In the end, I am happy with how they turned out- especially this last one. The actual cards took me a lot longer then I expected/hoped. All the embroidery is labor intensive and my fingers are like pin cushions now. I’ve got to get back on track to make things for the sales I’m doing.

progress report

I thought these were done- the blue one was finished months and months ago, but I ‘ve made 3 more. I brought them down from my studio, set them up to photograph and then I could see… not done. Hrmph! They’ve gone back up for a little more work.

babies

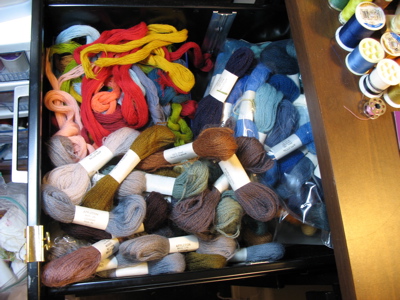
I did a little rearranging this morning. I cleaned out a drawer in my desk- it was full of patterns for dolls and doll clothes, most of which I’ve never looked at, none in the past 2 years. I put them all into a box and filled up the drawer with my embroidery wool- much better use of the space.

wool

Then, I got to work on my Day of the Dead postcards for a swap.

dodead

dayof d

I’ve worked on them all day- I was hoping to get them done today, but not gonna happen.