pug redux

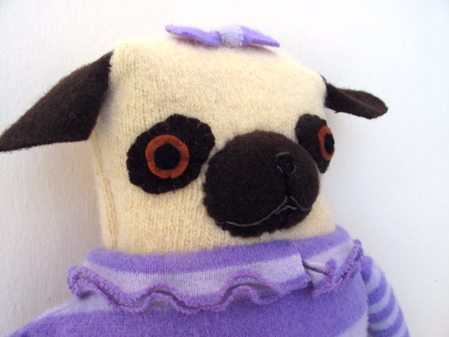
this is where we started-

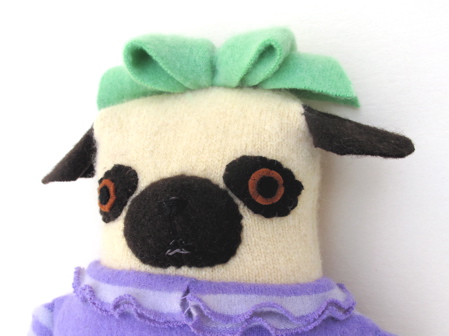
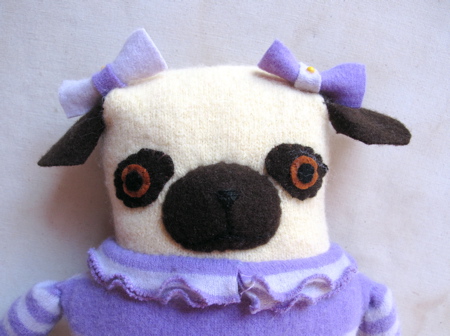
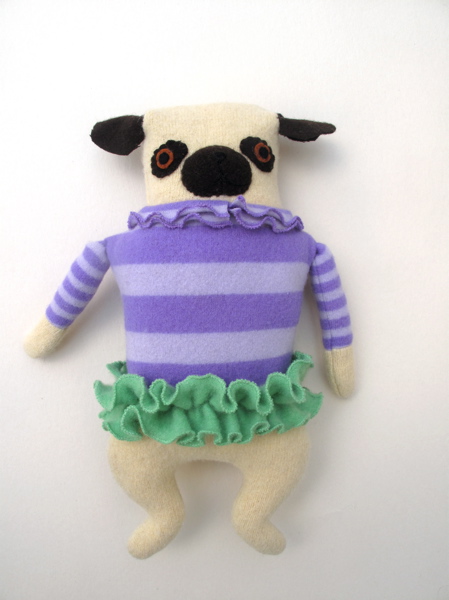
And this is where we are now!

In between, I tried a giant bow, and I tried some embroidery to highlight the mouth. It looks like some scribbling.

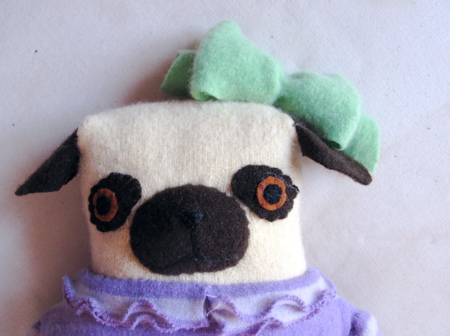
I moved the bow to the side-

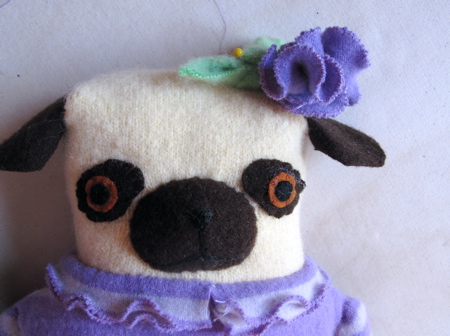
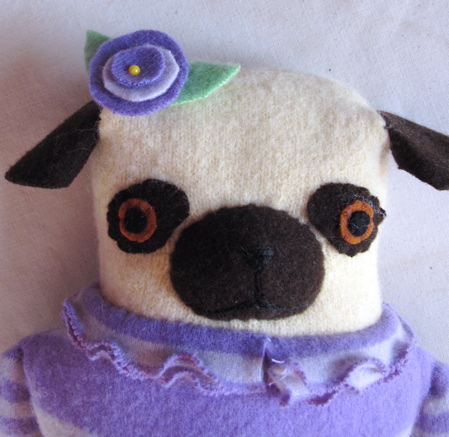
How about a flower?

Maybe with some leaves?

That was definitely too much ruffles for one pug. How about a simpler flower-

Nope, back to bows-

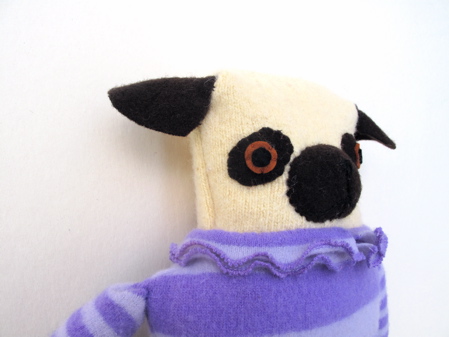
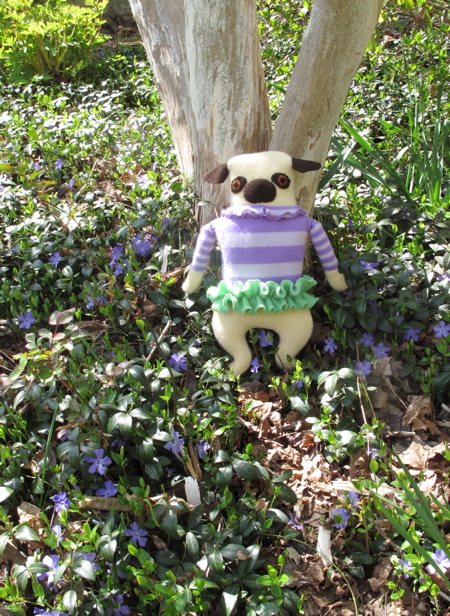
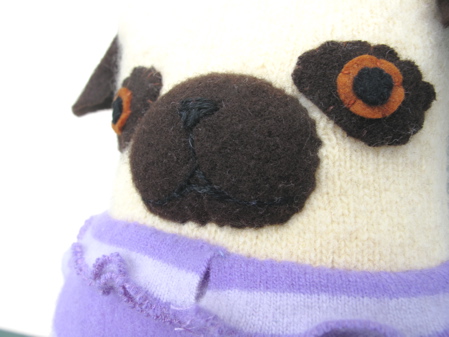
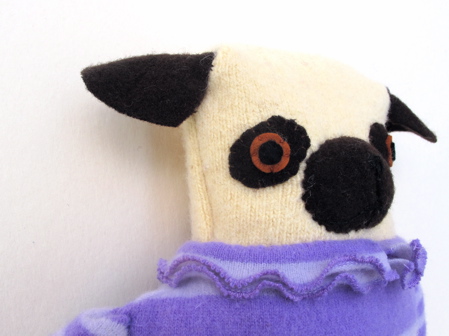
Finally I decided that one small bow was just right. Also I restitched the mouth, over the black, with a warm gray so you can see the facial features (not in this photo but notice in photo #2). Much better- now I am satisfied.

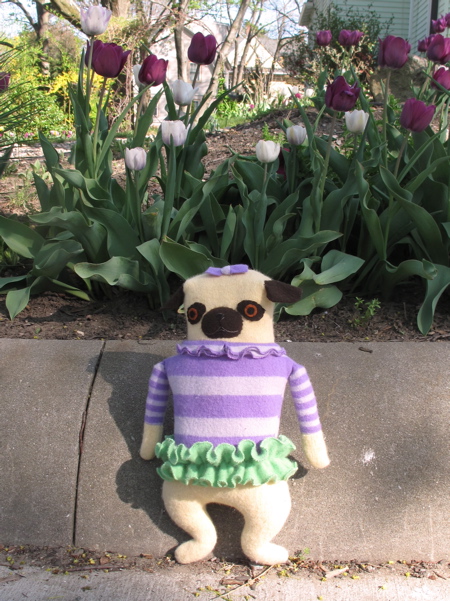
And here she is, enjoying a beautiful day!

Arf!!

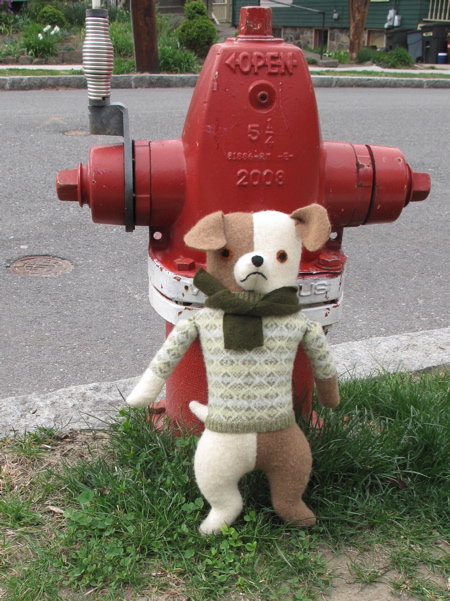
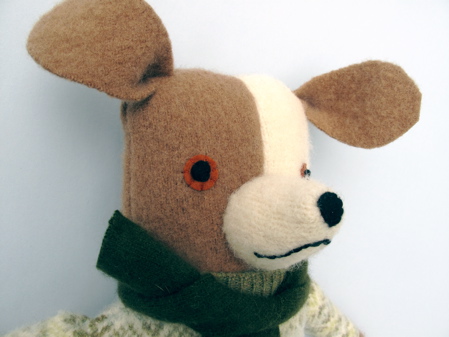
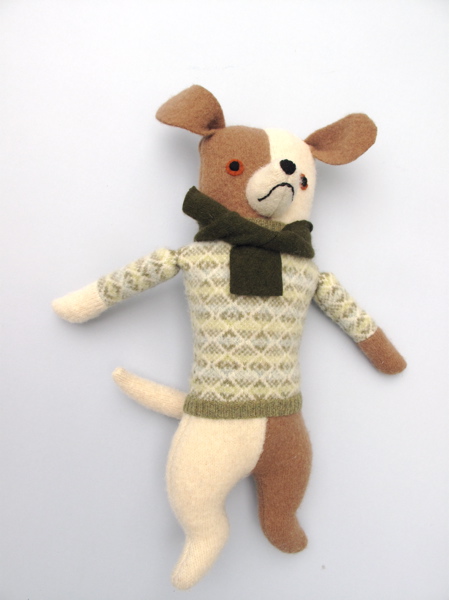
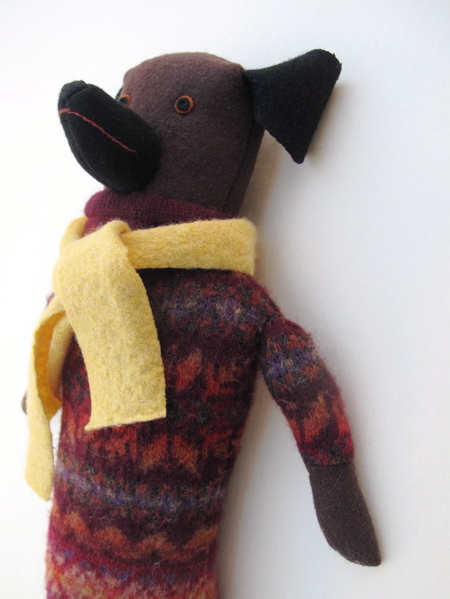
a 2 color dog-

In my head, this dog looks like a classic childrens’ book illustration of a dog from my childhood.

So many possibilities with dogs, so much variation!

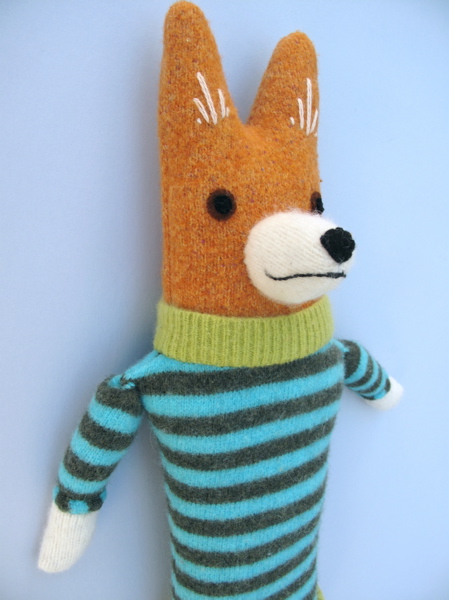
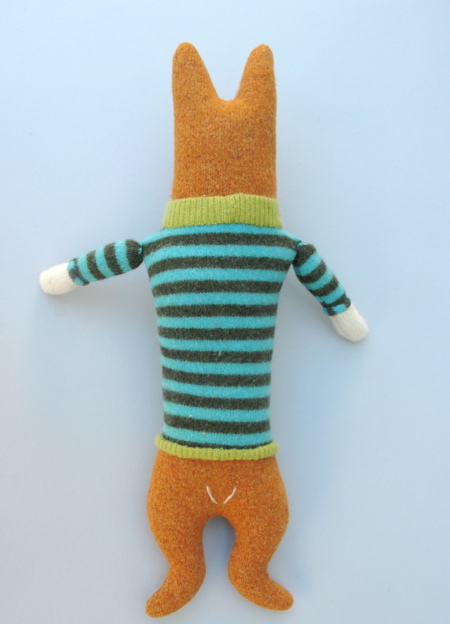
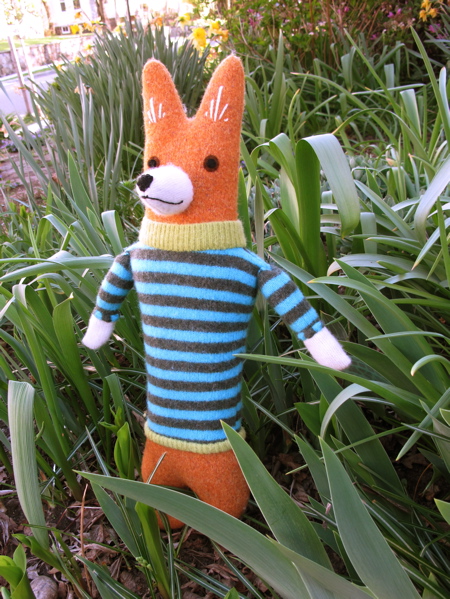
not quite a corgi

I was trying for a corgi but he is not stocky enough- especially the head. I think he is so cute though that I will just assume he is a corgi/??? mix breed.

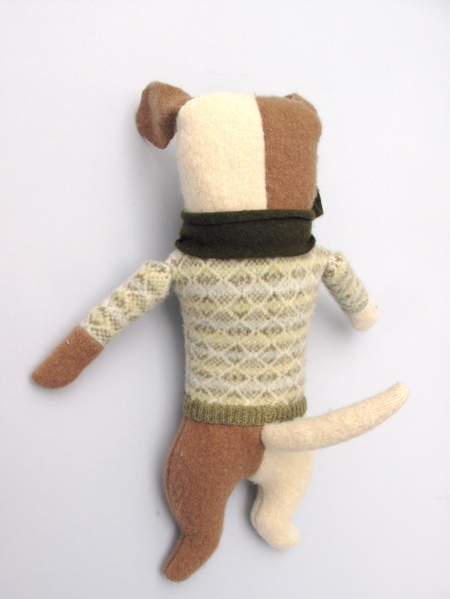
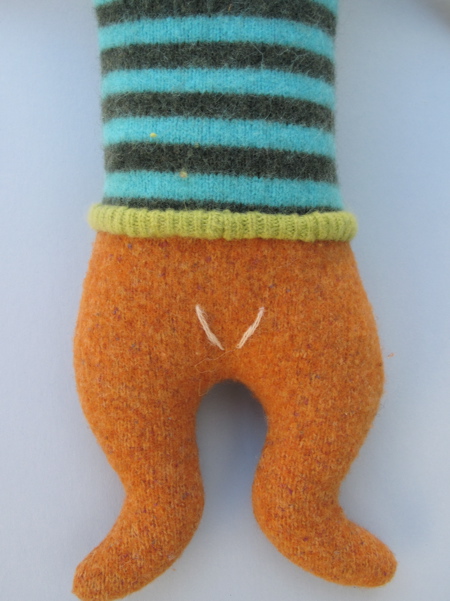
I love his corgi non-tail.

Thanks so much for all your input on the dogs. I’m still working on the pug. I decided that Liz’s comment about the dachshund’s “arms” was correct (they were too long) and so I’ve shortened them here-

Yes, Better! More dogs and tweeking ahead!


tweek 2

and now a dachshund.

He is a challenge to photograph!

He’s got a soft cashmere nose and ears. And a wired tail.

Okay, I tried a bow on her- what do we think? I’m not entirely sold.

And this was yesterday afternoon, pre-bow. Mango was supervising the photo shoot.

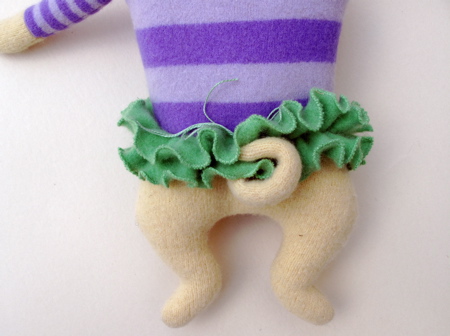
And the tails!

trying out the new dog pattern tweeks

Here is the first of the pattern tweeks. I cut the pattern down the center (lengthwise) and added about one inch in the middle. Then new nose, new tail, shorter arms and slightly different ears.

Voila! A pug!

I put a pipe cleaner into the tail so I could make it curl.

I am still wondering about the mouth. The black stitching doesn’t show up in the photos- I’ve lightened it up here.

It is all pretty dark in real life too. I might have to think about highlighting it. I’m still thinking. Also, she might just need a giant bow on her head…


so much going on

First- HAPPY BIRTHDAY PETER!

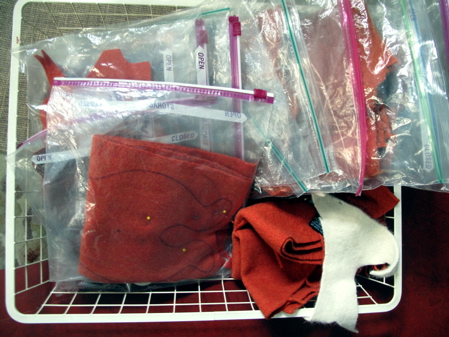
Now, to business- I continue to be in the mood for cutting out so I am piling up the zip-lock bags.

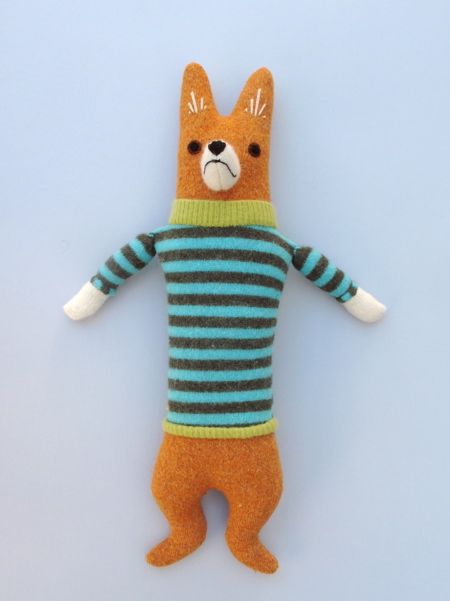
This basket holds 12 bags of fox. I pulled out my bin of orange wool and basically cut up anything that was big enough. Then, when I was done and had moved on the the next thing, I found one more sweater. It’s in the fox basket, waiting for me to get back to these.

And dogs. I never got to fully play with the pattern when I first drew it up. Now I’ve done some modifications (different varieties) and am in the midst of cutting out a bunch. That meant pulling out all the stripes-

And all the wool that seemed like “dog”.

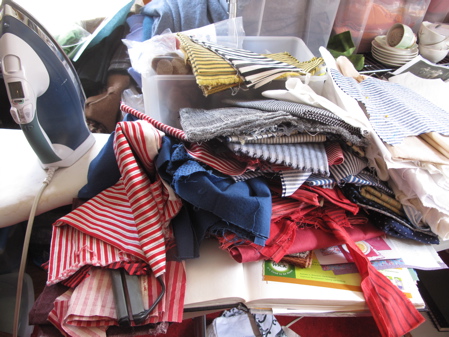
I also cut out some more Lumberjacks and also some new design wool men- I will keep it a surprise. You know, in case it turns out to be a big flop. I am having a great time, pulling out all the bins and enjoying all the fabrics. Of course my studio looks like a bomb went off but I will get it all back in place soon enough.

I got my box of samples back from that book project I contributed to. I’d sent these off a year ago! I’m happy to have them home again.

Let me see. What else do I have to report? I will be in Brooklyn for the Renegade Craft Fair on June 23 and 24. It is in a new venue- Williamsburg Waterfront. I am so excited to be participating again this year!

I applied to be in the San Francisco Renegade show in July. I’ve got my fingers crossed. Flying across country to do a show is a bit scary but I’d love to try!

I’ve been kept away from my studio for more time than I’d like by too much computer-based business but it always needs to be done. The Land of Nod work was keeping me busy last week and is moving forward. So much going on!

Last thing- I have decided that I’d like to try hiring someone to help with my sewing. I’m thinking that I’d start with just 1/2 day per week and see how it goes. If you are local to me and are interested, shoot me an email- mimik@pobox.com. I’ll be putting signs up at some local fabric stores. Not sure how else to find the right person. The latest Craftypod interview with Lorna’s Laces gave me the last little push that I needed (I’d been thinking about it all week!) to explore hiring someone.

more work in progress

There are the times that I am finishing up a lot of dolls and the times I am starting them. I find it amusing when people comment at how quickly I finish and post dolls when I am in finishing mode. They don’t realize all the pre-work that goes into each one. I have been working on these tattooed men since last Wednesday (3/28). I work every day, even weekends, although not all in the studio unfortunately. On some of the days I could only spend a few hours on them.
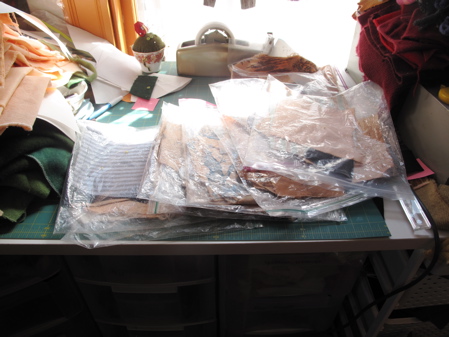
As I said in my last post, I started out with some tests of my new cutting and dyeing system. I spent all of last Thursday cutting out the fabric to be dyed (ie only the “skin” pieces). I cut out enough for 20 dolls. Friday was for dyeing, washing and drying. Then everything needed to be ironed, the other pieces needed to be cut out- shoes, boots, pants/tights, the sewing lines marked, then the sewing began. I divided the pile in half and started in on the first 10.

I sew them by starting with a flesh-ish colored thread. I sew the hands to the arms, the head to the body, etc, through all 10 dolls. Then I thread the machine with black thread and do the shoes/boots, etc. You get the idea. As they get sewed up, there is trimming to do and lots of clipping of curves.

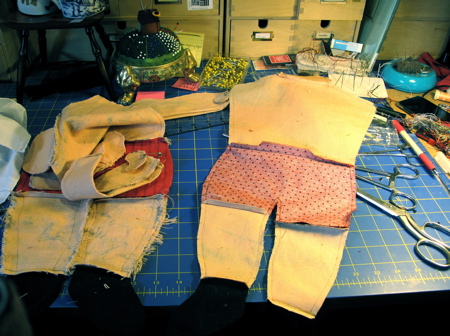
Lastly comes turning them right-side-out. It is always a magical moment!

And this is where I was at lunch time today, 8 1/2 days later. I had 7 completely sewed and turned, 2 waiting for final clipping and turning, one where I forgot to sew one of the boots so it will wait until the next round of dolls gets to black thread.

This afternoon I started in on the next 10.

And this is just the beginning. Next comes the stuffing and finally, the giving them life part, the face and personality. And by the time I get to that, this part will all be forgotten!



work in progress- men

I have finished making up most of the backlog of partially finished dolls. So, time to start making new ones! I am starting in on a group of tattooed men. The first step to making the tattooed people is dyeing the toile. I decided to try something new this time. Instead of dyeing whole pieces of fabric, I decided to try cutting out the pieces first and dyeing these smaller pieces of fabric. It worked really well!

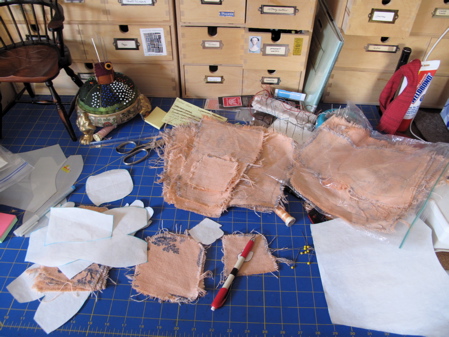
I have had trouble getting the larger fabric pieces to dye consistently- in other words, I’d end up with a lot of blotchy fabric. (I’m really not all that good at the dyeing part.) This time I cut out all the toile pieces for each doll and also the parts of the doll that are made of plain fabric- the head, hands, and ears. I safety-pinned the parts together at an edge. I did a test group and they turned out well enough to give me the confidence to cut out a whole lot more. I now have 20 men cut out! That photo is a pile of parts, dyed, washed and dried and still pinned together.

Next, I unpinned them and ironed each piece flat, then marked the pattern onto the back sides. I keep the individual doll pieces together in zip lock bags.

I now have a lot of fabric that looks like this-

And I still have to make the pants/tights and boots for the fellows. I’ve pulled out all the fabric possibilities.

I seem to be in the mood for cutting. I’m not sure if I will go forward with sewing these guys or keep cutting out more dolls and piling up the zip lock bags!


and the last lady for now

This lady is the last of the partially finished tattooed ladies that I had stacked up. She was the one who needed the most love and came very close to ending up in the trash bin. I put her together many months ago- last summer I think? She was “done” but I wasn’t happy with her face. I kept looking at her. Eventually I decided to un-pick the embroidery, a little at a time. Maybe it was the eyebrows that were wrong. Nope. Try taking off the eyes. Still not good. On and on until the face was gone. And then the hair too. There ended up being a sort of shadow where the embroidery had been. I tried washing. Well, that faded the dyed fabric of the face. At that point I tossed her into the think-about-later pile and there she stayed for many months.

I used a very traditional fix on her. I cut out a piece of new fabric and carefully stitched it onto the front of her face. This is a technique used to fix cloth dolls for many generations. When I first got interested in doll-making, I did a lot of research into early painted cloth dolls. Apparently when some of these dolls came into museum collections, they were found to have many layers of painted faces. How fantastic is that!

So now she has a new embroidered face and a new hair-do and I couldn’t be happier with how she turned out!

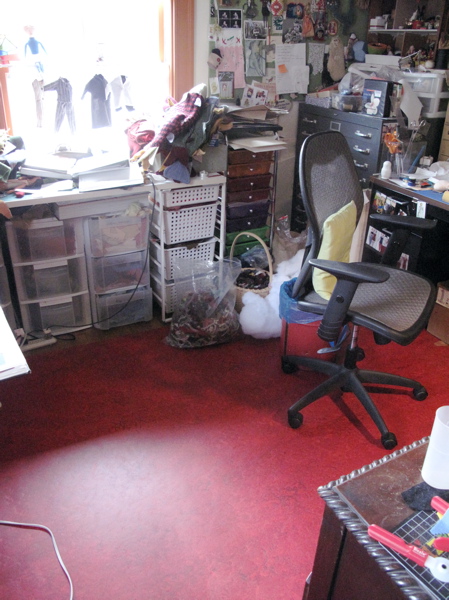
studio floor

I’m pretty excited about this!

I bought a big piece of Linoleum and put it down on the floor of my studio. My chair rolls around with no obstructions. WooHoo!

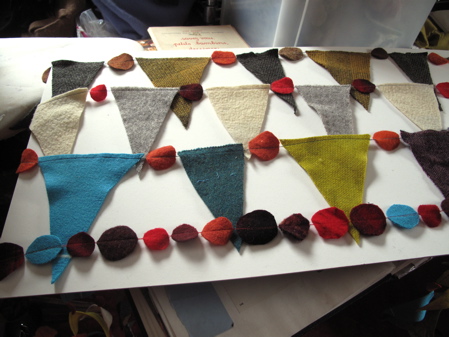
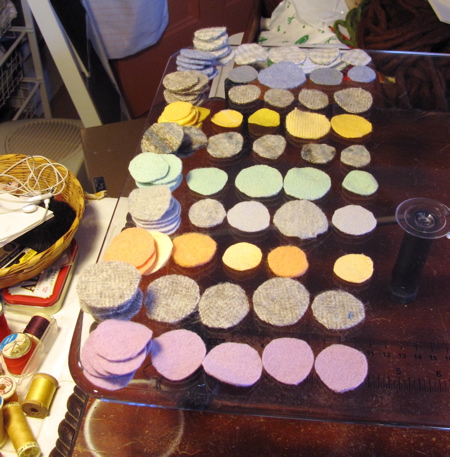
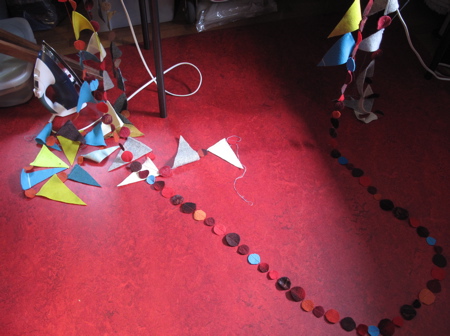
It was a fun weekend. First, the new floor. We had a visit from my SIL and SIL and ate delish Middle Eastern food. On Sunday we went to Craft Boston– the kind of show where they have special tags for artists to label items that cost less than $100. I know, I shouldn’t laugh! In between I played with my wool scraps and colors and made some flags and garlands.

All lined up for sewing-