and a bunch more guys

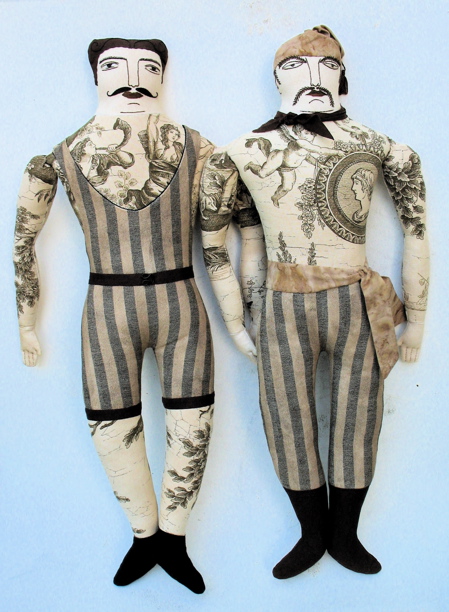
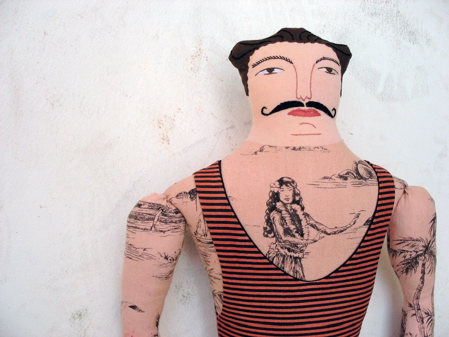
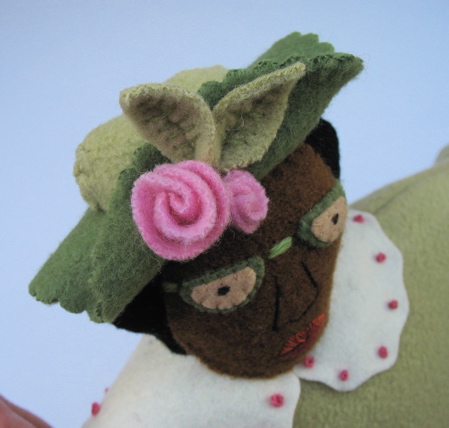
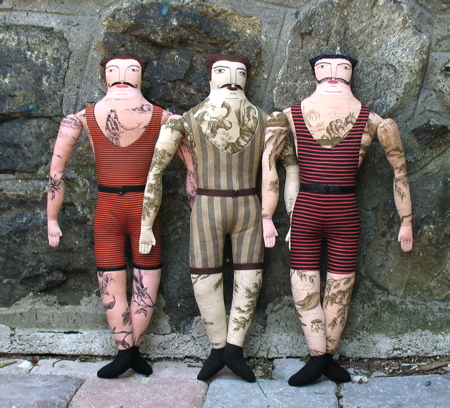
Three more men in vintage bathing suits, one sepia tone. I decided to wait and post these as a batch instead of one at a time, Wednesday, Thursday, Friday… seems like that would be repetitive and boring. I think that the sepia fellow looks odd with the other 2. I took loads of photos and was not satisfied with any of them. He looks better when paired with his other sepia friend.

Here they are in the order I finished them in-

#1

#2

#3-

I recently got an updated version of WordPress. I hate trying to adjust to a new system. I get so frustrated, it makes me feel so stupid and  I am right back in 7th grade trying to memorize a french assignment. As far as I can tell, what I get for this aggravation is tags. What I have lost is understanding how to put pictures where I want them (among other things). So, I am sorry about how spread out everything looks- I couldn’t figure out how to put the long thin photos next to each other. I’ll probably figure it out in a year or so- right before the next upgrade. Whine, whine, whine….


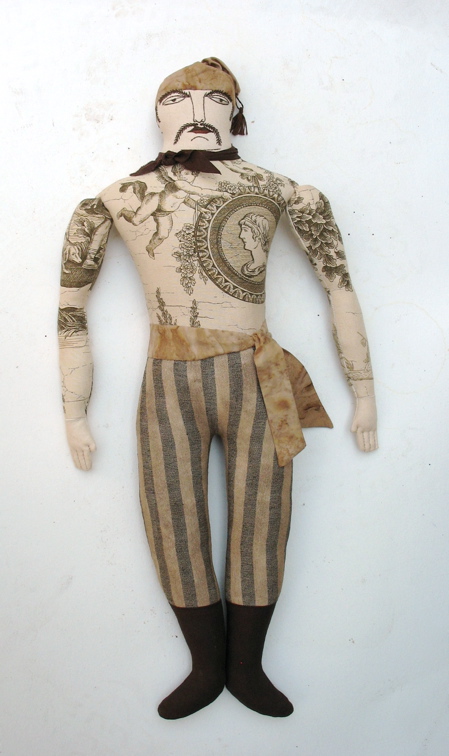
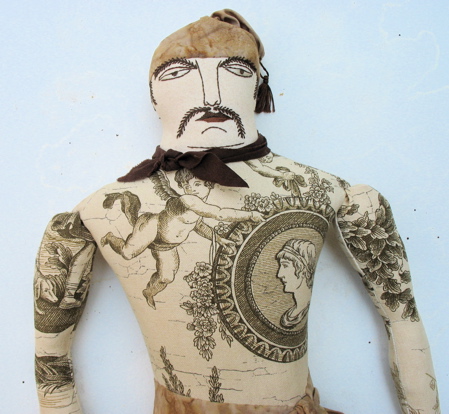
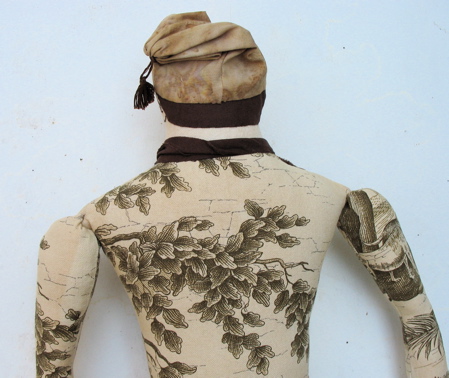
sepia pirate

I’ve been thinking about some different ways of approaching the men dolls. I got this idea about old photos- black & white and sepia tones. And also trying some other characters- hence this pirate.

He is various shades of browns. It was harder then I expected to get the browns right.

Back views-

tomato tutorial- making containers

I want to grow tomatoes this year. I want to have a LOT of tomatoes instead of a few very precious and expensive ones from the farmers market. Unfortunately I live in an old house with toxic soil around it- not unusual in New England urban and suburban areas. The soil has years of lead paint scrapings, car fumes (more lead) and who knows what. It is not soil anyone would want to grow edibles in. The solution is raised beds or containers. I am going to try to write a tutorial about how I planted my tomatoes based on the excellent suggestions of Bella Dia.

I think I’ve mentioned before that I have a house full of stuff. That makes me reluctant to go out and buy more stuff- like containers to grow tomatoes in. Here is how I made my own, hopefully biodegradable, containers and got my tomatoes started.

material list-

an old cotton T-shirt, size X-Large

some garden fencing that was stuck up in the rafters of the garage, already starting on the biodegrading part- ie rusty.

compost from my compost pile

commercial potting soil

tomato plant

Step 1: Cut the label out of the shirt since it is probably not cotton and wouldn’t decompose.

Step 2: Make a circle shape out of the wire fencing. Mine is about 16 inches across.
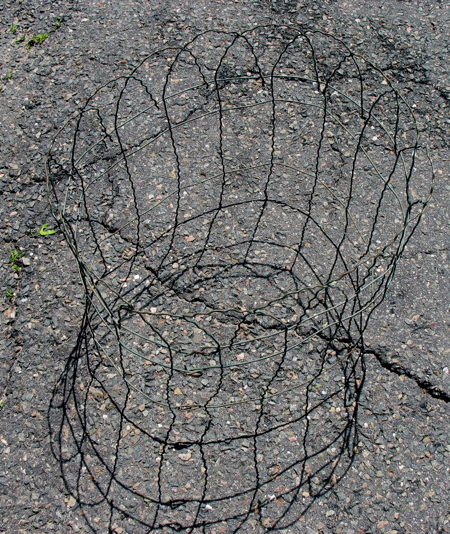
Step 3: Place in the garden and push the wire prongs into the soil.

Step 4: Put the t-shirt into the circle, collar edge down. Stretch the bottom edge of the shirt around the top of the fencing. I didn’t worry about weeds underneath- whatever was there will be dead soon.

Now there is a “pot”!

Step 5: Fill it half way with compost or other clean filler dirt, like all last years window boxes that you are replanting. I used compost from my compost pile. Push and stretch out the sides of the t-shirt as you add dirt.

Step 6: Center the tomato plant on top of the compost. Loosen up the root ball.
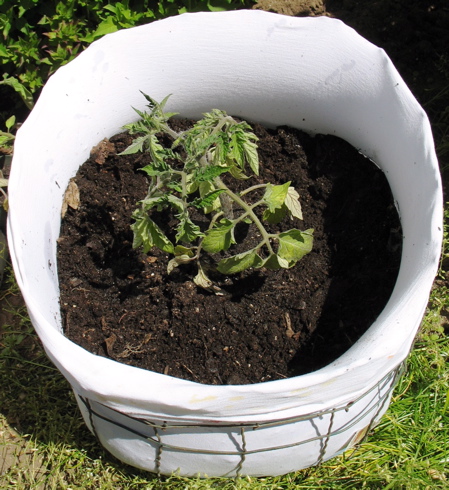
Step 7: Use the commercial potting soil to fill in around the plant and up to an inch or so from the top. Yes, you are burying 6 inches of stem and leaves. Trust me, that is a good thing. Water thoroughly.

Step 8: Wait 2 months. Hopefully, tomatoes!

I’ve got 4 done. One more to go.

weekend- Vermont and South End

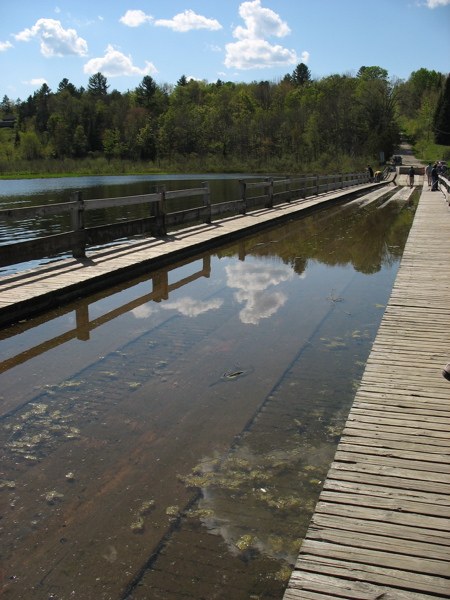
On Saturday we drove up to Vermont for a wedding. It was a beautiful day. The photo is of the floating bridge in Brookfield.

519bridge.jpg

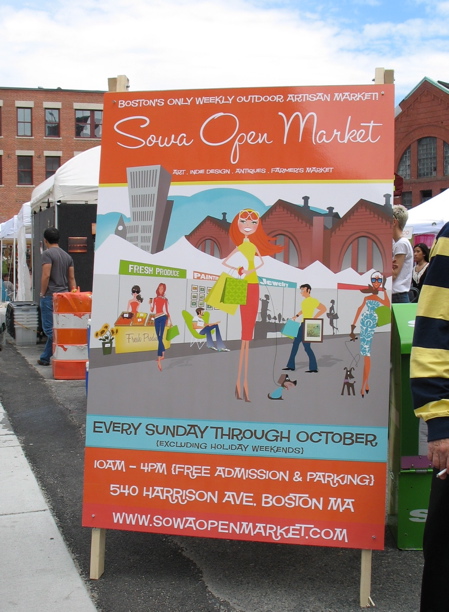
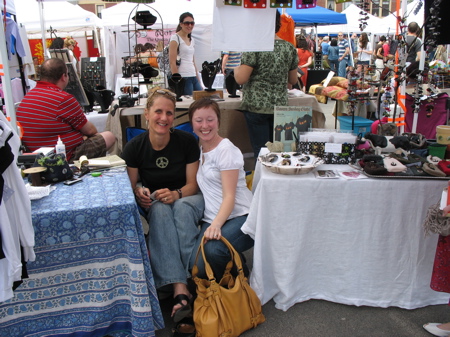
Sunday was opening day of the South End Open Market. Lots of friends were there!

519sign.jpg

Amy Burhoe and Beth

519beth2.jpg

Betsy of Stonehouse Studio

519betsy.jpg

Brian and Jen– yikes!  They are moving to Brooklyn!
519brian.jpg519jen.jpg

Louise and Amy Olsen, who had stopped in right before I got there-

519loiseamy.jpg

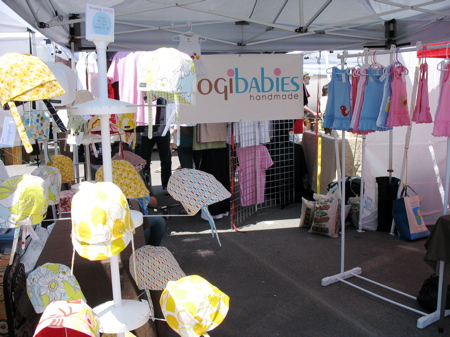
Pogibabies

519pogi.jpg

And I saw Katy. She was there, of course, since she is one of the organizers.  Amazing to think about- I went to the market early last year- maybe not opening day, but early in the season.  I only knew one person there.  What a difference a year and a little networking can make- hurray for Boston Handmade!

After the market we went over to Jessica’s open studio.  Lots more great artwork to see.  A wonderful weekend!
clothing related hardware

First things first.  Happy Mothers Day!

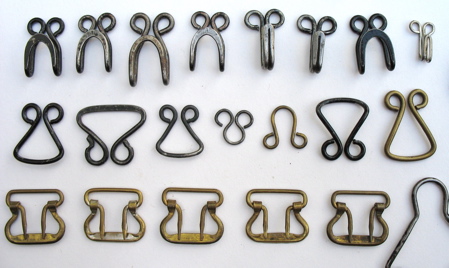
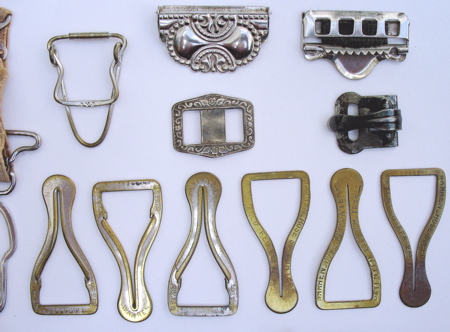
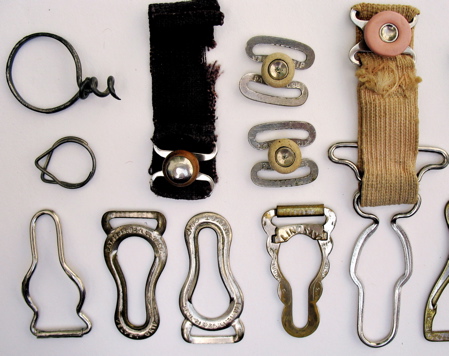
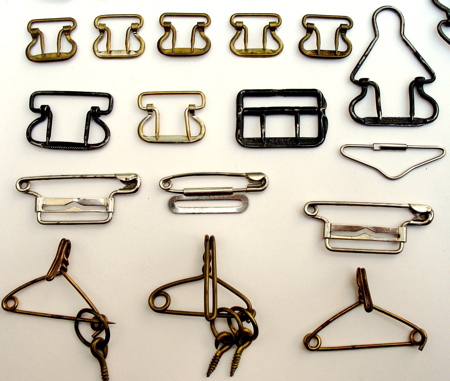
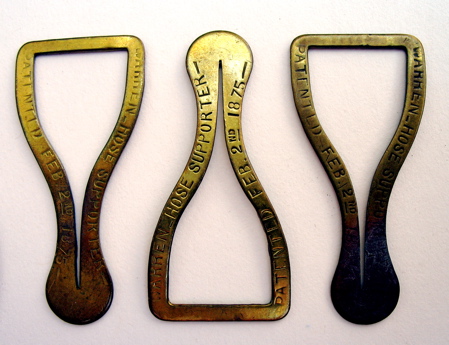
A friend from my doll club gave me a small plastic bag filled with metal clothing hardware.  I brought it home and spread it out-

511garters.jpg

close-ups:  paper clip, hook. eye, clips, stocking and sock holders.

511hardware3.jpg

511hardware2.jpg

511hardware1.jpg

511hardware.jpg

511hardware4.jpg

511hardware6.jpg

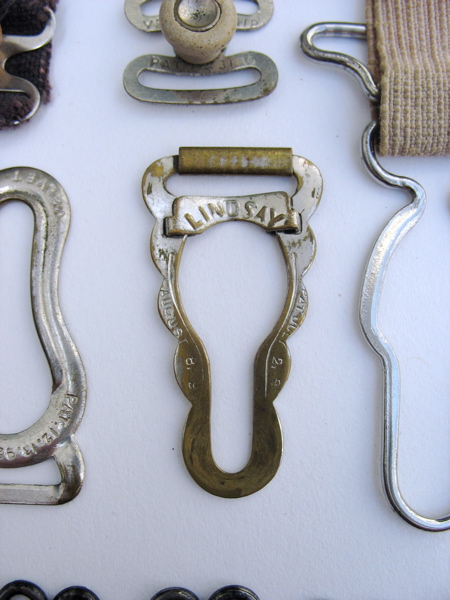
Lindsay-

511hardware5.jpg

I don’t know what lots of this stuff is for.  So curious.  I am feeling inspired to think about robots again… maybe over the summer.

summer lady 2 and some history

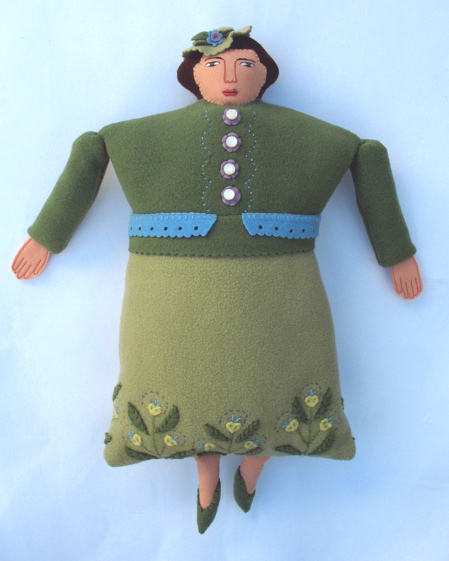
58summerlady2.jpg

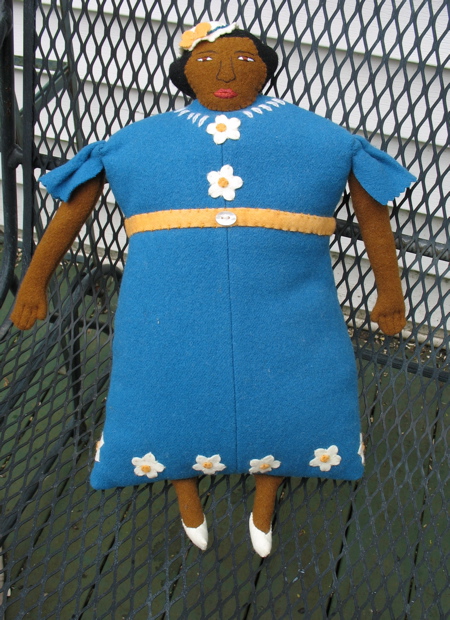
Summer lady 2

5958summerlady2torso.jpg

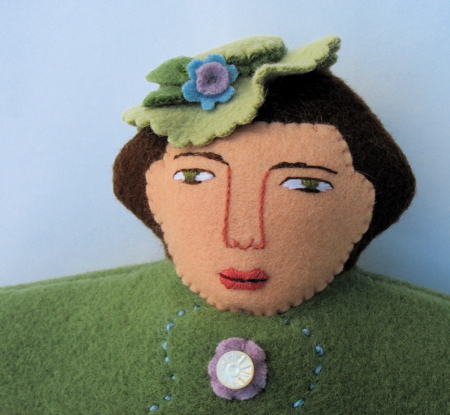
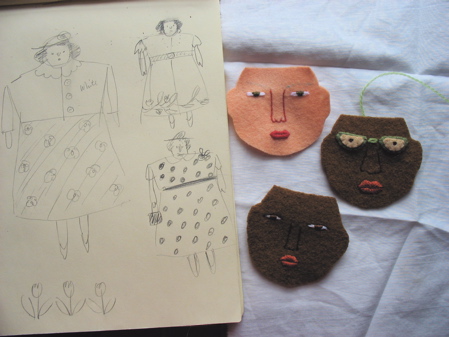
Here are some sketches and some faces that I’m working on.

58facessketches.jpg

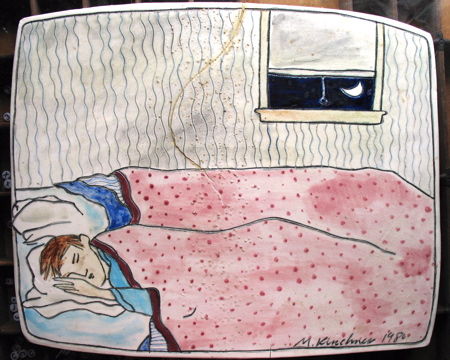
And, I decided that Loobylu‘s Friday Archive was a great way to add to my category of “my art history”. So you know I used to work in clay. I made a lot of single decorated tiles. They were meant to be hung up on the wall individually. I always thought of them as art for the kitchen or bathroom- places you might have a problem hanging paper art. And, you could put these pieces through the dishwasher if they got dirty! I have the ones that were defective- you can see that this one has a big firing crack in it. It is dated 1980. It hangs in my studio now.
58tile.jpg