pears in progress

I’ve gotten a little done on the pears. Here they are, all basted down. They are made from 5 wool recycled sweaters and one piece of woven wool.
34basted.jpg

I am appliqueing them, using that method I learned at Purl last summer-

34back.jpg

and now they are sewed down. That’s a piece of cashmere that they are sewed onto, from my Mom’s stash.

34pears.jpg

I’m sorry about all the problems with the blog and comments and all. Hopefully we will figure out a way to get things running smoothly and consistently again.

scarf for Julian

The night before leaving for Minnesota, it became clear that he didn’t have a scarf. I made him a scrappy one out of woven cashmere from my mom’s scraps.

Here, I am playing around on the floor with design and color possibilities-

123patches.jpg

I nixed that brown check and added red.

Here it is, laid out on the front porch, finished (yes, we had a little snow last night)-

123scarf1.jpg 123scarf2.jpg

a close-up of construction-

123scarf3.jpg

It is 7 3/4 inches wide and 6 feet 8 inches long.

I’d like to make a blanket like this some day- wouldn’t that be fantastic, a cashmere blanket?!

make a make do pin cushion

I wrote up this article for my doll club’s newsletter, so I thought I might as well put it up here too.
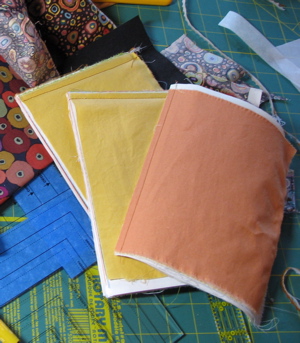
make do 1

make do 2

close-up

make do 3

materials-

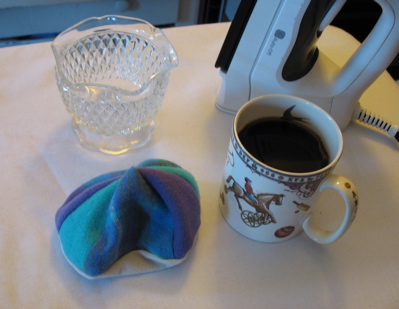
-cups, glasses, anything with an opening to put a pin cushion in or a shaft to put a pin cushion around.
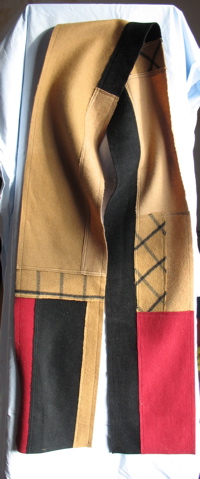
-wool fabric
-embroidery threads
-wool for stuffing

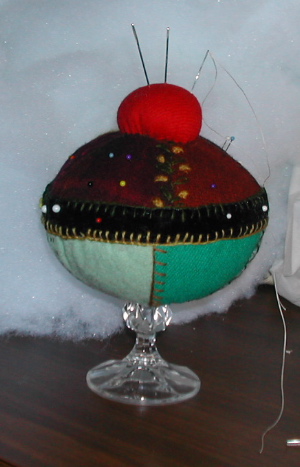
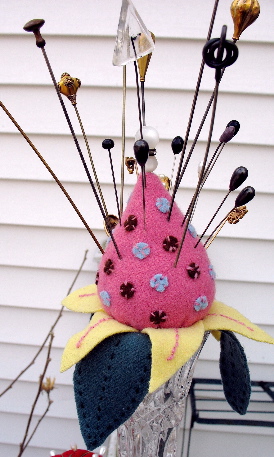
I have had fun making pin cushions by recycling chipped and broken decorative glasses. I have used crystal and pressed glass, wine glasses, ice cream glasses and parfait glasses. I have been using ones that I found at my parents’ house when we were clearing out, and now I keep an eye out for anything special at Yard Sales.

The first one I made was inspired by my daughter. When we picked her up at the end of her first year at college, she handed me a broken wine glass – just a stem with some jagged glass of the bowl. She said to me “I kept it for you mom. I knew you’d want to do something with it!” She knows me so well!

My pin cushions have all been essentially the same- a fabric ball sitting in or on top of and enclosing part of the recycled object. I looked at other peoples’ work on the internet and this is the most common design. I have used wool fabrics for mine. I like wool for several reasons- firstly, I have a ton of it, secondly it has a nice “country” look, and thirdly it seems to hold up well to sticking pins in it all the time. I have not had such good luck when I have used tightly woven cottons, velvets or velveteen’s. The fabric seems to disintegrate sooner then I’d like.

illus a

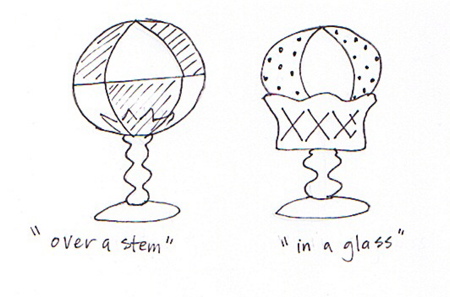
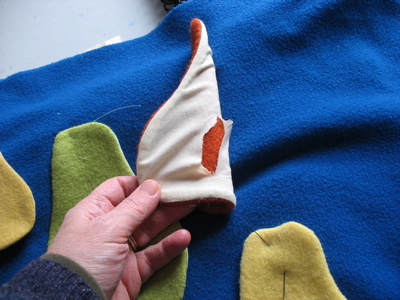
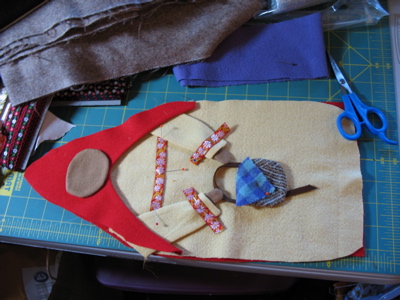
CAUTION- MATH AHEAD! Two easy shapes for making the pin cushions are triangles (or diamonds which are just 2 triangles put together) and a half circle which make a strawberry shape. You need to know the measurement for the circumference of the ball you will make. If you are making an “over a stem” pincushion, that measuement can be approximate. If you are making an “in a glass” make-do, you will need to measure the top edge of your glass.

illus b

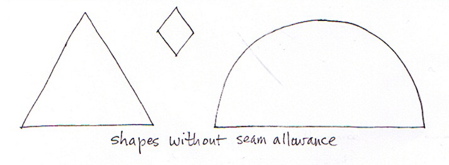
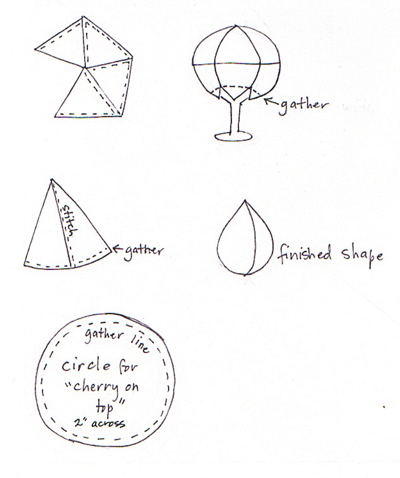
To figure out what size to cut your shapes- For Triangles- the pin cushion will be 4 triangles around. Divide your circumference measurement by 4. That measurement is the size of each of the 3 sides of your triangle. For strawberry- The circumference measurement is the length of the curved edge of the half circle. Don’t forget to add seam allowance to your pattern pieces.

illus c

Putting the pin cushion together-
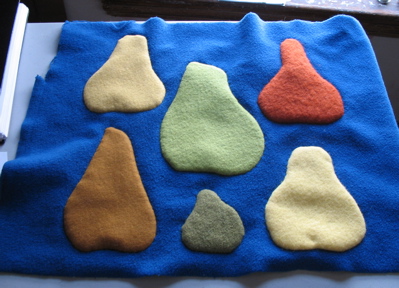
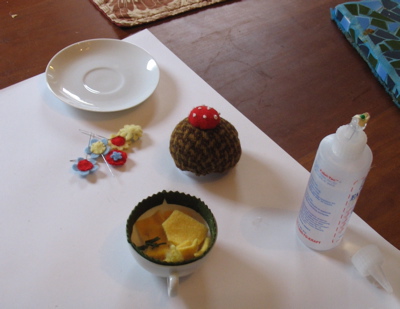
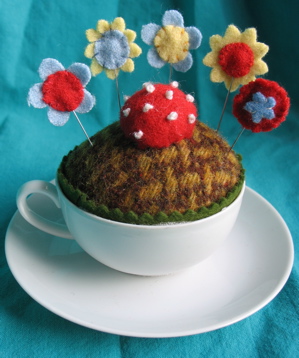
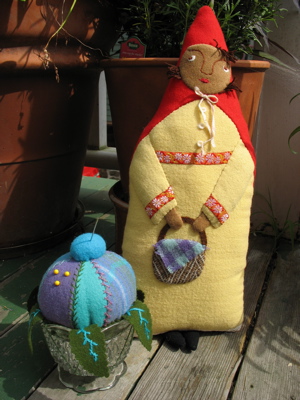
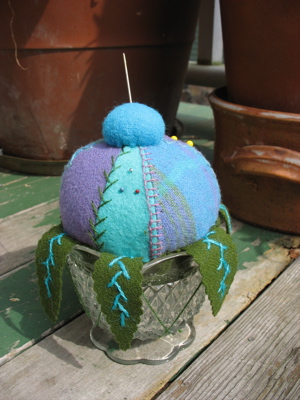
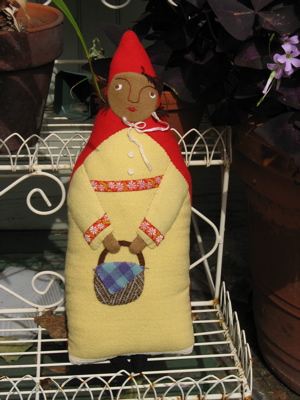
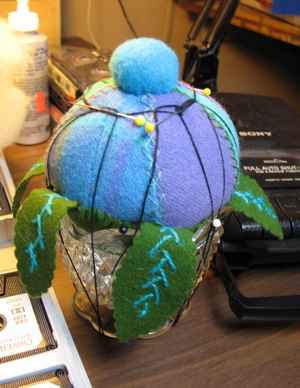
for all pincushions- Sew up the seams. Stuff firmly. Decorate with embroidery or appliques if you’d like. I put some cut-out leaves around some of mine to make them look like flowers. I also stitch a small second pincushion on the top as a place to hold my needles. It looks like a cherry on top!

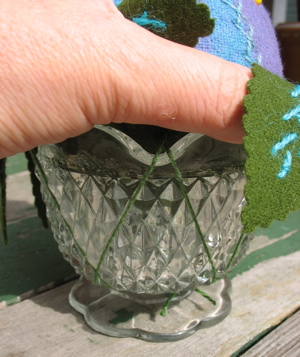
When I used the broken glass, I wrapped the broken top of the glass with some quilt batting so I would not cut myself and the sharp edges would not cut the fabric. When doing an “over a stem” make-do, you will have to leave the bottom open enough to fit in your base. The ball or strawbery is gather up around the base with strong (nylon) thread and tied as firmly as possible. You can put a ribbon or something to hide your stitches.

To attach the “in a glass” make-dos, I used Goop glue and pushed the pin cushion into the opening as firmly as possible. I then clamped it by using many rubber bands and string to hold everything in place until the glue
dried.

illus d

Update 7/09- this post has been getting a lot of traffic lately-  Thanks for visiting! I have written up and am selling a pattern for a make-do pin cushion here on Etsy.

2 finished projects

wow, 2 finished projects to post about in one day!

finished

Here is the finished “make-do” pin cushion for Tina.

pin cushion

I glued the pin cushion to the glass but also put these strings on. I thought it would be a good reinforcement and I also like how it looks-

pin detail

And here is Little Red Ridinghood 2-

rrh2

a detail of her face-

face

and body-

body

and here she is flat- “I fell down and I can’t get up!!!” – sorry, don’t quite know if anyone would be interested in this view but here it is anyway-

fall down

I put up some more dolls and postcards on my Etsy shop if you’re interested.

and now…

This is what I brought home from NIADA-

church hat

It is called “Church Hat”, is about 6″ tall with the pedestal, and is by Annie Wahl. If you are interested in seeing some more photos from NIADA- much better then mine- Deb Wood posted her’s here.

Since I’ve been home my mind has been spinning with ideas. I am inspired to do another gourd doll… a bit late for the NIADA show, but I don’t do well when I feel I am trying to fit my work into a challenge prompt. I cleaned a bunch of gourds and who knows, I might get around to painting them…

gourds

I had several things on my list of things to do, even before I left town. I had promised my sister a “make-do” pin cushion. She picked out the glass and the colors when she was visiting me last month.

pin cushion 1

I got it finished today. Here it is in bondage, no I mean being glued in place-

pin cushion 2

and now another Red Riding Hood. I’ve got to work through some of the bits I’m not satisfied with on the first one-

hood 2

I was so excited to see that my first Red Riding Hood was on Whip Up! Welcome anyone that has found me through Kath’s fantastic blog!

sketchbook/mini-portfolio thing project

So I just did a group of postcards. I had fun drawing little doodles on fabric with Micron Markers. We had a family field trip over to Utrecht to buy art supplies for Peter’s summer classes. Surprise- look what I found! These fantastic markers were on sale, only .99 and in such beautiful colors- So much for Peter’s art supplies!

markers

Well, the new markers inspired this little project that I did today. I was thinking it would be fun to make myself a sketchbook with cloth pages instead of paper. Then, I could snip out little drawings when I wanted to do the applique collage postcards or atc’s. I made myself 2 piles of fabrics and put sheets of freezer paper between each layer of fabric. I machine sewed an edge and then sliced them into sketchbook sized pieces. I’ve ended up with a total of 5, so I am probably set for life.

pads

The fabric “sketchbooks” are way too floopy to use, so I decided they needed some kind of support structure. I made a little portfolio cover to put them in. Here are all the parts layed out. The colors in this photo are accurate- the next photos are sort of washed out. You can see the cardboard covers and spine on the right of the photo.

parts

Here is the front- it has a pocket for my pens and pencil-

front

and the back- it closes with a wrap around tie-

back

here are some pages. You can see the layers of freezer paper. This pad has lots of colors, the other side is mostly white. The 2 pads are held in place with bulldog clips.

pages

and I put a strip of fabric in the back so my little moleskin can have a place too.

flap

I did this using the same technique that I used on this project- wonder-under onto cardboard. I am still amazed.

atc and new bag

annafloor

I have been so behind on so many things. I got these 2 wonderful atc’s a few weeks ago, before the trip to North Carolina (windy world). These traveled from Holland and are the work of Anne-Floor. There are lots of photos of her work at her flickr account.

My project this week has been this messenger-type bag-

bag

I have been thinking about trying to make one all summer. I wanted something smaller then what I am currently dragging around, but I wanted it big enough to hold my sketch book. It still needs a buckle or something to finish the strap but otherwise is done. I copied the design from an old bag I already had (I made it slightly smaller)- a danish school bag it was called. Once I find the right closure, I will have to test it out and see how I like it.

I will be leaving again today. Heading down to Connecticut until late Wednesday.