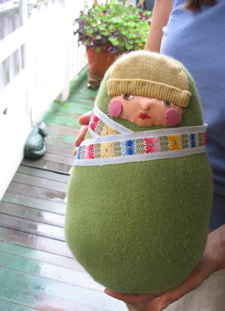
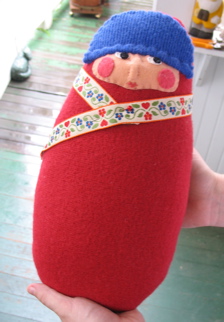
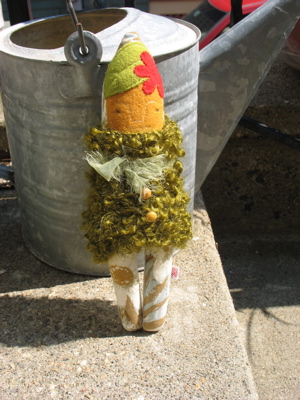
I think I have always harbored a baby on the doorstep fantasy. Baby in the garden is even sweeter.
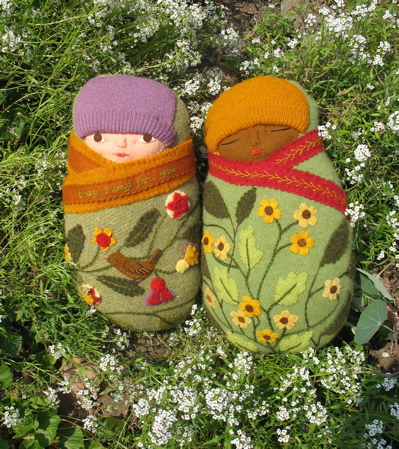
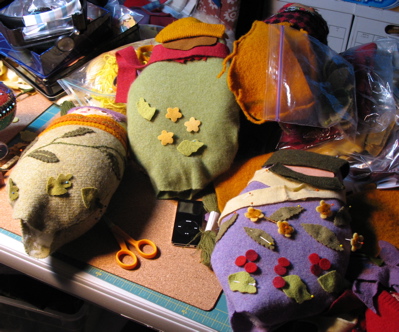
ready for fall-

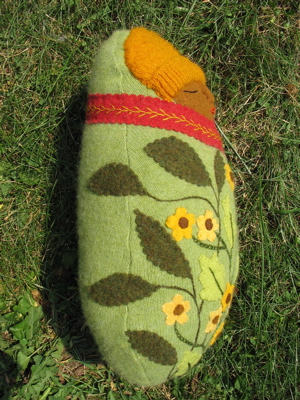
the design goes around the back-
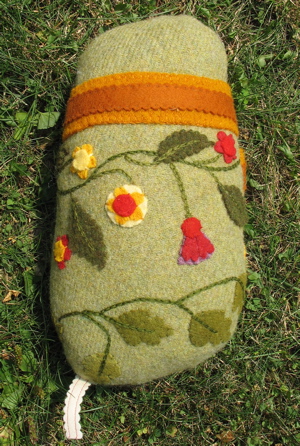
flowers and vines-

around the side, but the back is plain-
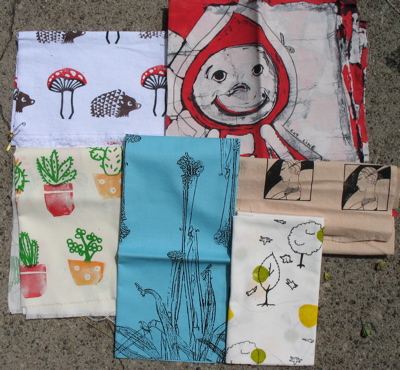
There is another one coming- lilac blanket.
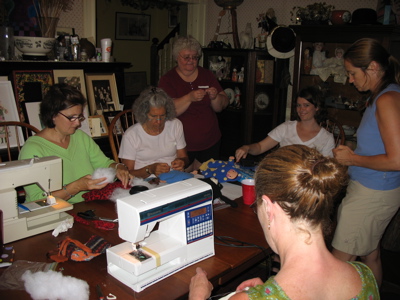
I often brood on my lack of enthusiasm for the business and marketing end of doing “craft work”. I have spent a lot of time this year, trying to do the marketing thing and as a result, have produced much less work. I think of myself as an artist, not a small business person. The selling of my work is a chore that has to be done because otherwise I would fill the house and I’d have no money to buy stuffing. Selling is not why I do it.
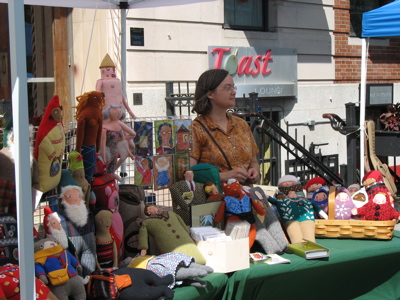
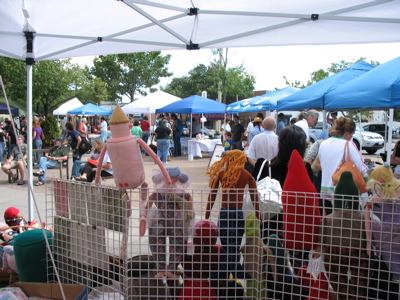
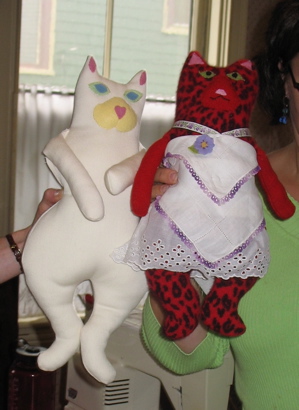
It is hard for me to send out a doll to someone who has bought it from a photograph- like from Etsy. I worry that it will not be what they were expecting. I am always grateful (and relieved) when I hear from buyers who let me know that they are happy with their purchase. I find it very stressful to sell in person, doing craft fairs and the like, so that doesn’t solve the problem. I have always thought of my work more like kittens then merchandise- I want it to go to a good home where it will be loved.
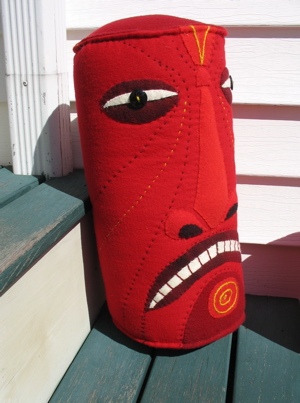
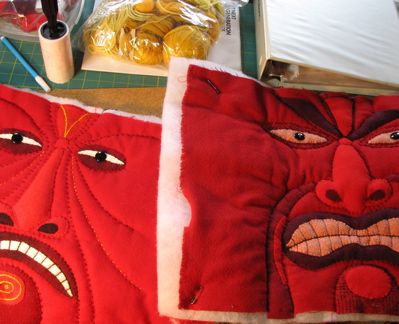
That brings me to the subject of commissions. I am bad, bad, bad at doing commissions. On the one hand, someone asks me to make something for them, I am happy and flattered and I want to please them. Then, if I say yes, I spend the whole time I am making the piece, feeling like they are sitting on my shoulder, second guessing every design decision I make. I can not seem to keep their voice out of my head. I seem incapable of reproducing one of my pieces- which is often what someone asks for. The face I made on Monday will not show up again on Friday. Especially if I am trying to do it! The only direction that I can work with is color- that isn’t a problem for the most part. Know thyself- a life long learning challenge. This is a rambling apology, and excuse I guess, to the most recent frustrated and probably very pissed off person I have dealt with.
Now, I should go back up to my attic and get back to work. Making stuff makes me happy.