This Friday, all day! I’ll be there!
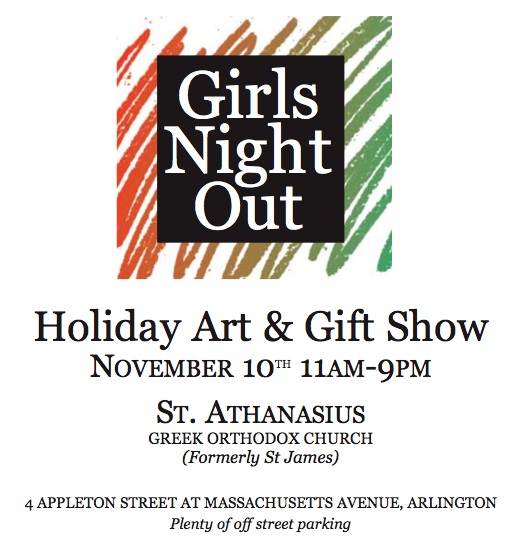
so… I’m getting everything organized, tagging and pricing.
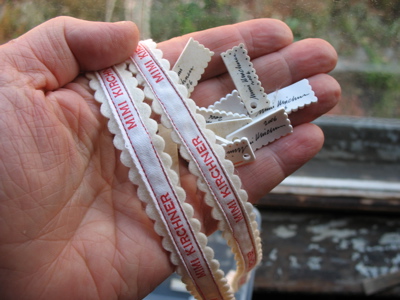
I’ve got to pull out my bin with all my supplies. It’ll be a busy week, but mostly with the business end of things.

This Friday, all day! I’ll be there!
so… I’m getting everything organized, tagging and pricing.
I’ve got to pull out my bin with all my supplies. It’ll be a busy week, but mostly with the business end of things.
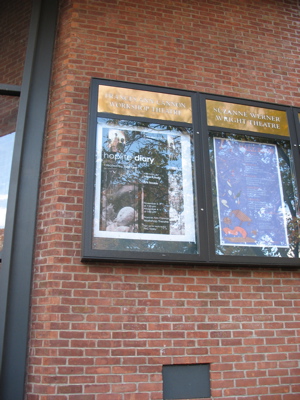
We drove down to New York to see Eleanor at Sarah Lawrence College- she was part of a puppetry performance on campus, the Hoplite Diary. Here is a description from when it was performed another time.
I think a lot about dolls versus puppets. I am fascinated by the mechanics of puppets, how they are constructed, how they move, how they work with the puppeteers. I don’t seem to have any interest in narrative or performance though- that makes it an unlikely art form for me. I am not someone who writes up stories to go with my dolls like many doll artists do. I am interested in making a character that the viewer wonders about- Who is this? Then the viewer makes up their own story. I can have a story or idea about who they are, but I’m not telling!
Other news-
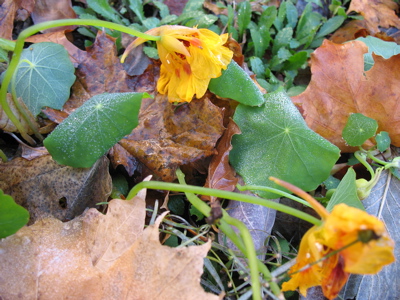
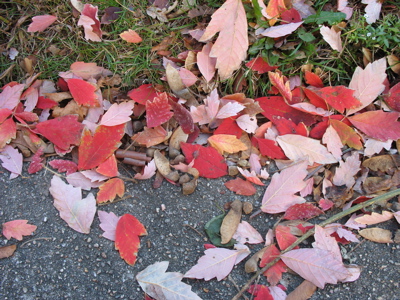
We had our first frost on Thursday night, right on schedule. It always seems to happen around the first weekend of November. I’ve been seeing lots of leaves that look like this-
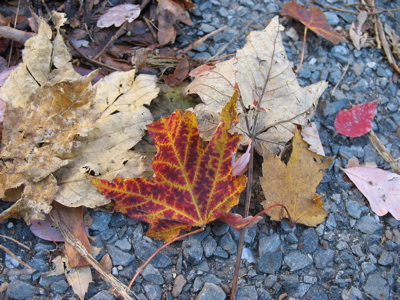
and the paper bark maple is doing it’s beautiful fall shedding-
I am working on some lady dolls-
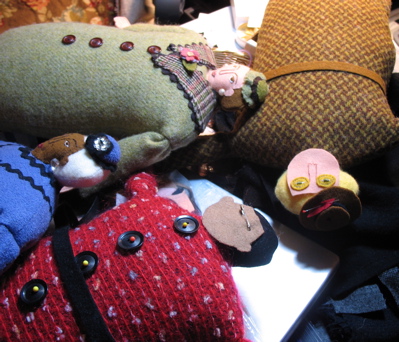
I’ve finished 2 so far.
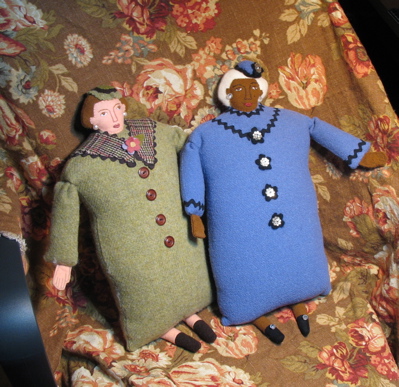
I’m going down to New York for a few days. I’ll post better photos when I get back.
Remember I made those Day of the Dead postcards? Well, I sent them off and this is what I got back-

Thank you Ellia, Rose, Emily, and Rachel! I love them, I feel so lucky – they are all so beautiful! And thank you so much to Emily for organizing it.
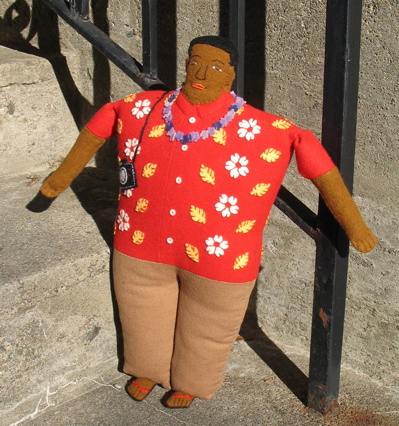
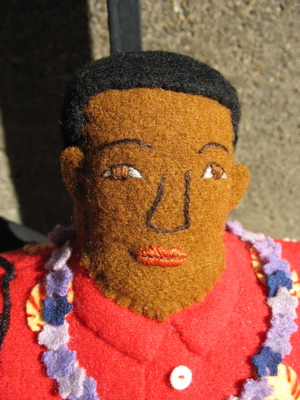
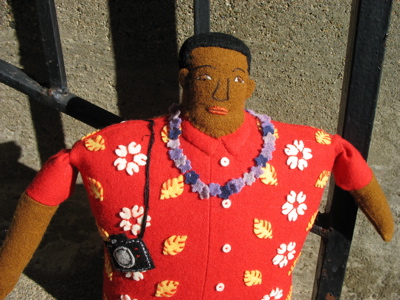
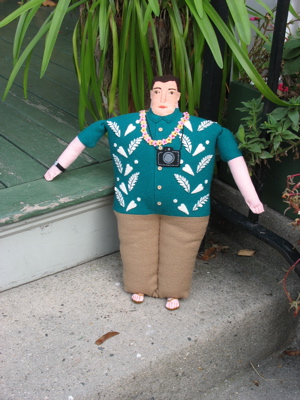
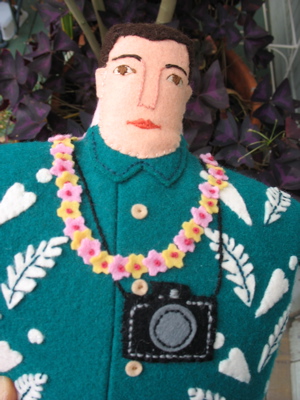
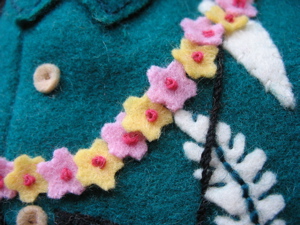
I’ve been thinking about making musicians for a long time, but other dolls kept getting ahead in line. Finally, here is my first-
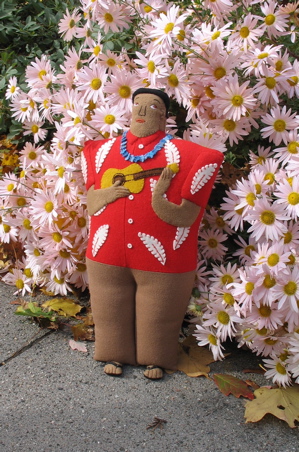
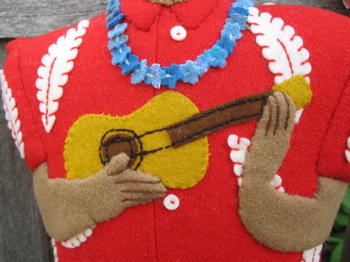
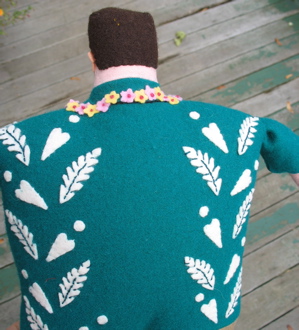
the shirt is appliqued, like on the last doll- the tourist.
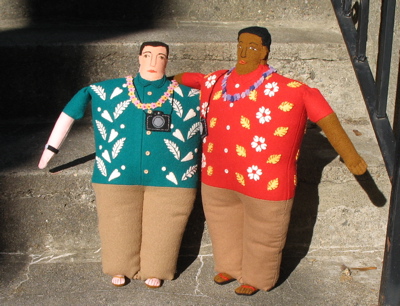
here is a link to a wip photo on flickr. I have another tourist sort of done- I thought he was done, but his expression looks kind of sour so I need to work on that a little.
I am not putting these dolls into my Etsy shop right now, because I am working on inventory for 2 shows I’ll be doing before Christmas. One is in Arlington, MA on Nov. 10 and the other is the Holly Fair in Cambridge (Harvard Square) on December 10 and 11. If you’d like anymore info about either of these, email me and I’ll send you the details.
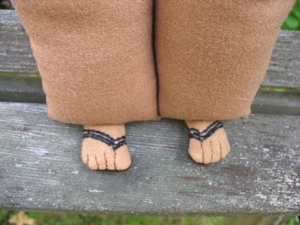
He is all done. It’s a good thing he is a wool doll, because there was a nip in the air this morning when I took these photos. Certainly not sandal weather!
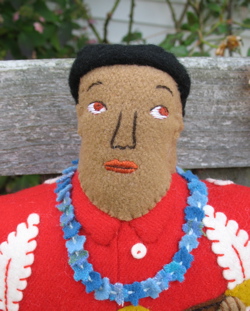
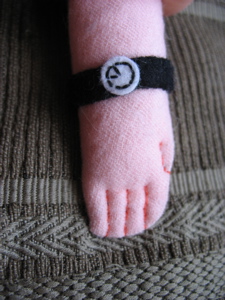
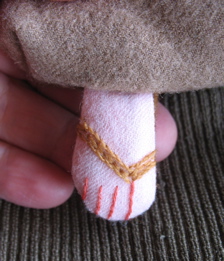
I’m no good at word clues so here are some photo hints-
Hopefully it’ll be done later today, but I probably won’t have the time or light to photograph later. This afternoon, I am going to a jury for a Holiday Show- I’ve got to show them my stuff so they can decide if it’ll work for them. It is one of those mixed emotion things- I want to get in, but am not really sure that it will be the right venue for me. So, I’ll give it a try.
I wrote up this article for my doll club’s newsletter, so I thought I might as well put it up here too.

materials-
-cups, glasses, anything with an opening to put a pin cushion in or a shaft to put a pin cushion around.
-wool fabric
-embroidery threads
-wool for stuffing
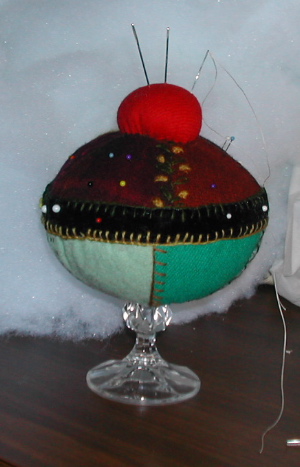
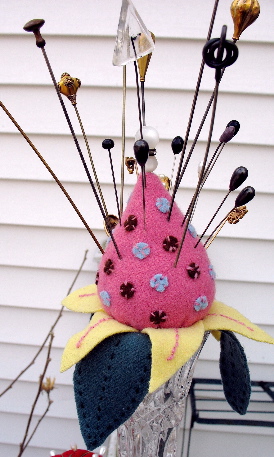
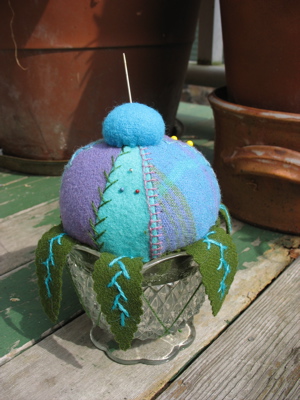
I have had fun making pin cushions by recycling chipped and broken decorative glasses. I have used crystal and pressed glass, wine glasses, ice cream glasses and parfait glasses. I have been using ones that I found at my parents’ house when we were clearing out, and now I keep an eye out for anything special at Yard Sales.
The first one I made was inspired by my daughter. When we picked her up at the end of her first year at college, she handed me a broken wine glass – just a stem with some jagged glass of the bowl. She said to me “I kept it for you mom. I knew you’d want to do something with it!†She knows me so well!
My pin cushions have all been essentially the same- a fabric ball sitting in or on top of and enclosing part of the recycled object. I looked at other peoples’ work on the internet and this is the most common design. I have used wool fabrics for mine. I like wool for several reasons- firstly, I have a ton of it, secondly it has a nice “country†look, and thirdly it seems to hold up well to sticking pins in it all the time. I have not had such good luck when I have used tightly woven cottons, velvets or velveteen’s. The fabric seems to disintegrate sooner then I’d like.
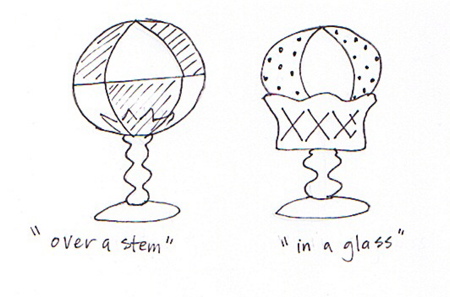
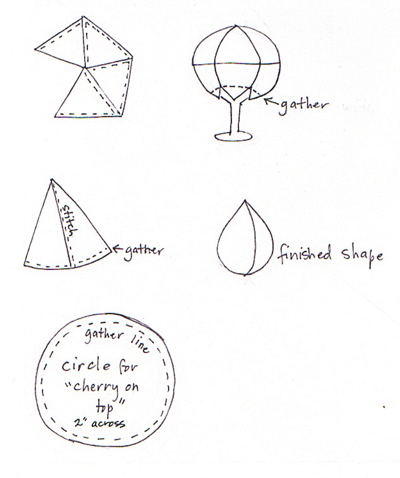
CAUTION- MATH AHEAD! Two easy shapes for making the pin cushions are triangles (or diamonds which are just 2 triangles put together) and a half circle which make a strawberry shape. You need to know the measurement for the circumference of the ball you will make. If you are making an “over a stem†pincushion, that measuement can be approximate. If you are making an “in a glass†make-do, you will need to measure the top edge of your glass.
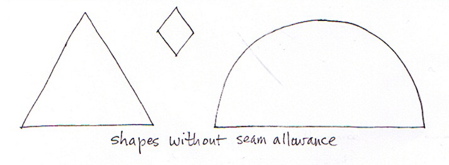
To figure out what size to cut your shapes- For Triangles- the pin cushion will be 4 triangles around. Divide your circumference measurement by 4. That measurement is the size of each of the 3 sides of your triangle. For strawberry- The circumference measurement is the length of the curved edge of the half circle. Don’t forget to add seam allowance to your pattern pieces.

Putting the pin cushion together-
for all pincushions- Sew up the seams. Stuff firmly. Decorate with embroidery or appliques if you’d like. I put some cut-out leaves around some of mine to make them look like flowers. I also stitch a small second pincushion on the top as a place to hold my needles. It looks like a cherry on top!
When I used the broken glass, I wrapped the broken top of the glass with some quilt batting so I would not cut myself and the sharp edges would not cut the fabric. When doing an “over a stem†make-do, you will have to leave the bottom open enough to fit in your base. The ball or strawbery is gather up around the base with strong (nylon) thread and tied as firmly as possible. You can put a ribbon or something to hide your stitches.
To attach the “in a glass†make-dos, I used Goop glue and pushed the pin cushion into the opening as firmly as possible. I then clamped it by using many rubber bands and string to hold everything in place until the glue
dried.
Update 7/09- this post has been getting a lot of traffic lately-Â Thanks for visiting! I have written up and am selling a pattern for a make-do pin cushion here on Etsy.
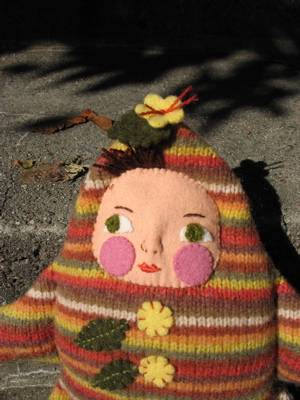
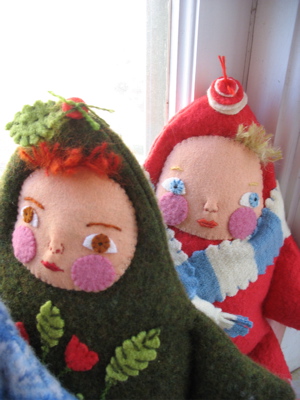
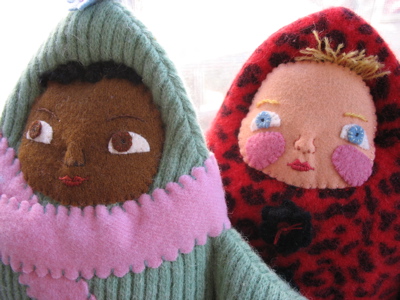
Sweater babies- all ready for the cold weather.
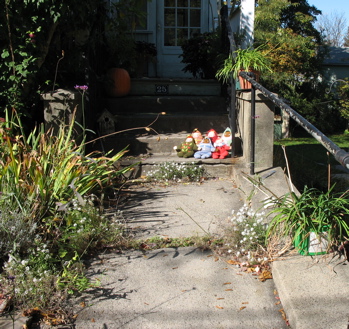
The chorus line arrangement here on Flickr. And here they are, out in the sun, on my front steps-
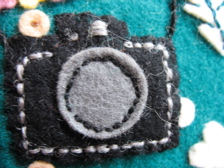
I was feeling totally uninspired and uncreative with the robot and so have put him aside- Here is a peek at what I’m working on- can you guess what it is?
