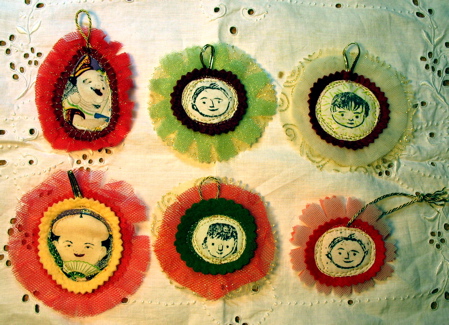
I needed to make an ornament for a holiday swap. This was quick and easy and you could use the same basic idea to make tags, valentines, bookmarks… I don’t know- tons of other stuff!
Supplies needed-
-fabric with decorative image
-iron-on adhesive like Wonder-Under
-Felt- I used wool blend
-nylon net, tulle and/or any sheer or glittery fabric.
-I used gold thread, but you could use anything
-hanging cord or ribbon- 2 inches or more per ornament
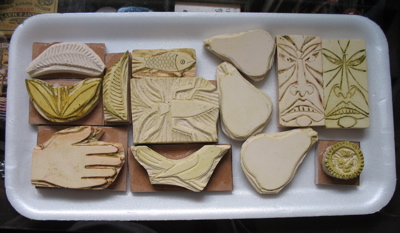
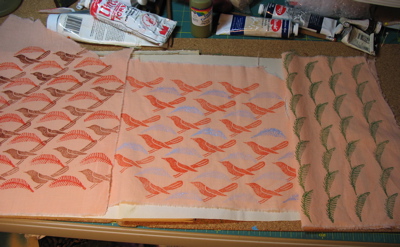
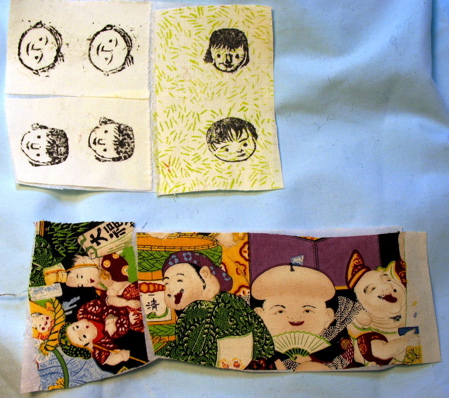
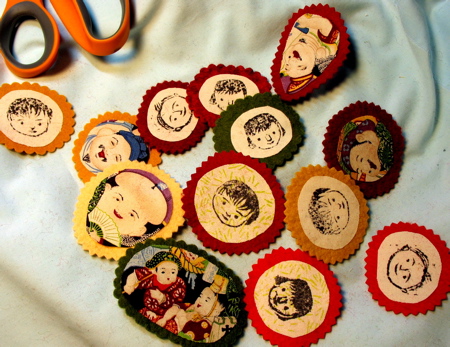
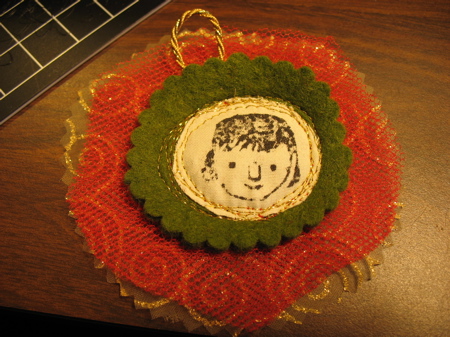
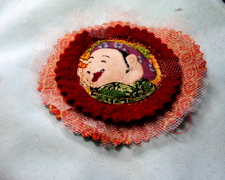
1. Collect fabrics that have images you’d like to use- faces, birds, flowers, whatever. I used some commercially printed fabric with an asian design and also some of the fabric I made last summer with carved stamps. You could use commercially available rubber stamps to stamp fabric.
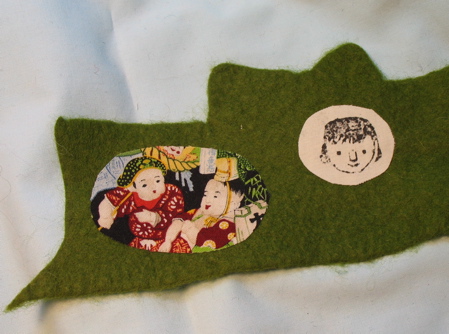
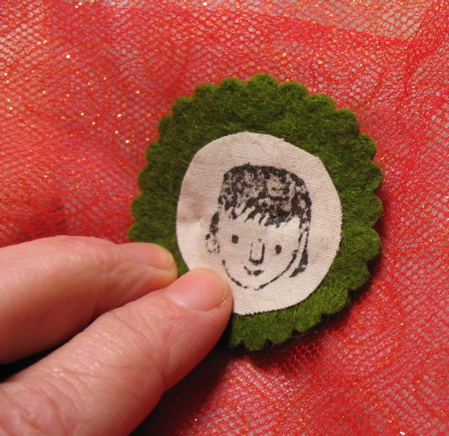
2. Iron iron-on adhesive onto to the back of your images.
3. Trim your images to shape.
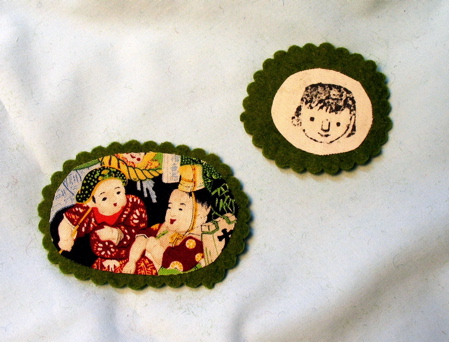
4. Iron onto felt.
5. Cut out the felt, making a frame around the image. Use all those decorative scissors you own but never get around to using. I used pinking shears and scallop shears.
6. Do a bunch!
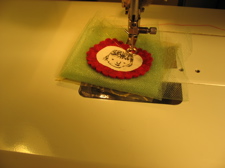
7.Fold up the net so that there are 6 – 8 layers of the net. Make a pile with your little image on top, the layers of net in the middle, and then some other decorative fabric on the bottom (optional). Pin everything together.
7 continued- this photo shows the layers-

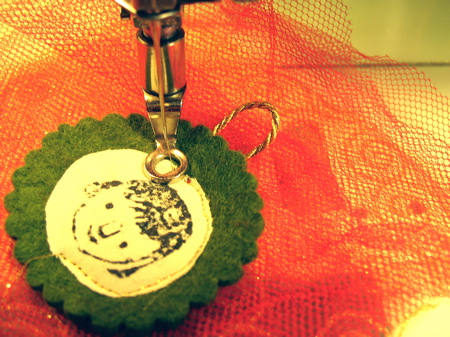
8. Move your “sandwich” over to your sewing machine. (I sewed mine with free motion embroidery, but you could use zigzag, hand embroidery, or whatever else you are comfortable with.)
Fold your hanging cord/ribbon in half and place at the top of the ornament. Make sure you put it far enough down so that your stitches will catch it. Start sewing by going back and forth a few times over the hanger.
… this photo does not show that though, because I forgot to put the hanger in EVERY TIME I made one!!! Mostly I remember to stick it in before it was too late, bit if you don’t, no problem. You can see that some of mine have a cord strung in the top of the ornament afterward. Easy!
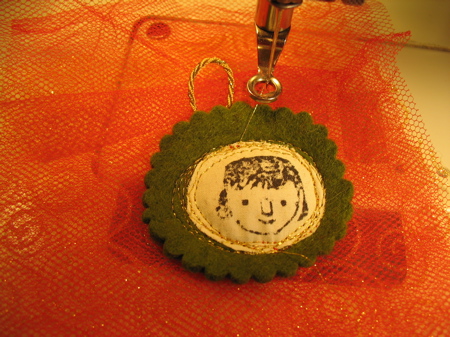
9. Now sew around the edge of the image. Since I did mine with free motion embroidery, I went around the edge enough times so that the gold thread showed up and everything was well stitched down.
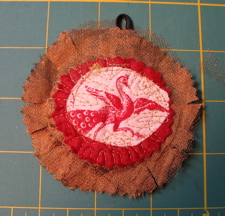
10. Here is a view of the back- I used red thread in the bobbin-

11. When you are finished with the stitching, clip the threads. Trim the net into a nice circle around the edge of your ornament. You can cut the net separately from the bottom fabric.
12. If you want to be even fancier, you can cut the net in decorative ways-
-clip it all the way around for a fringe effect
-cut out wedges and it looks more like a star
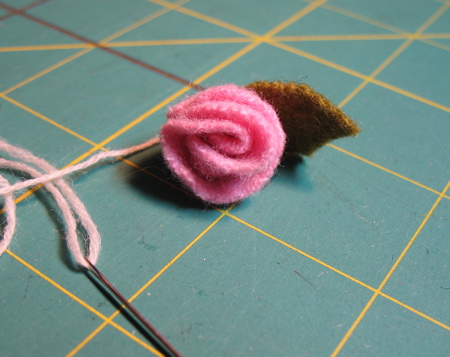
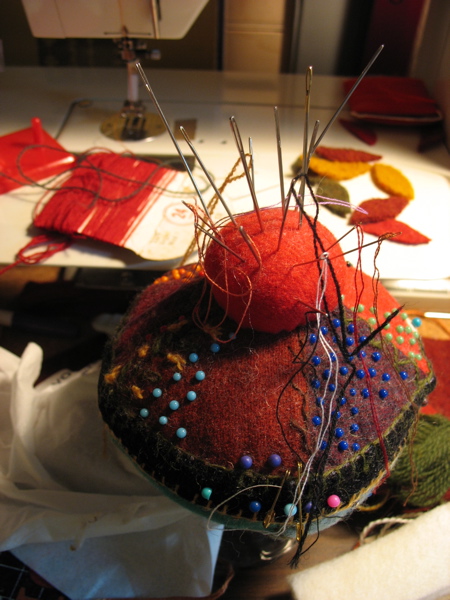
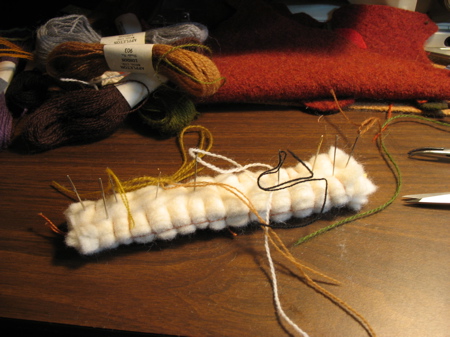
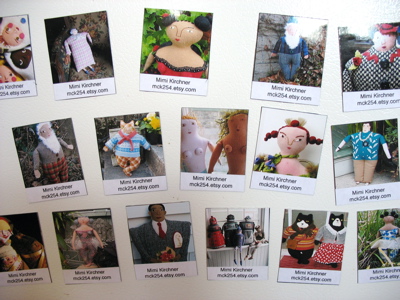
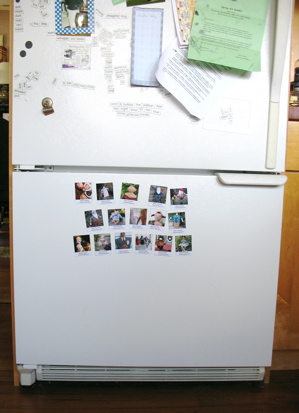
Here are some more photos for information and inspiration-

I’d love any feedback on this. Are the written directions and the photos clear enough? Have I left anything out? I can never quite figure out the fine line between too little information and too much. Have fun!