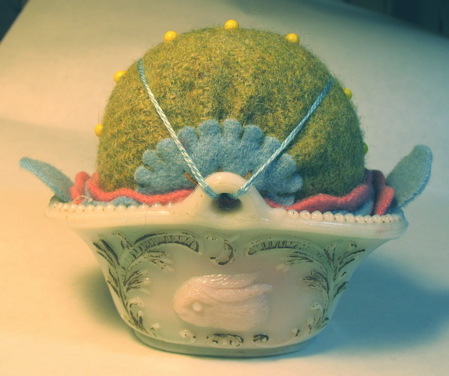
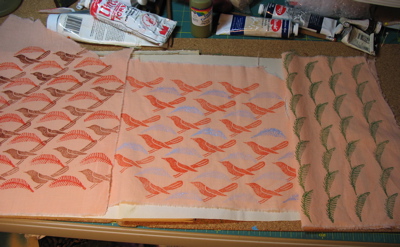
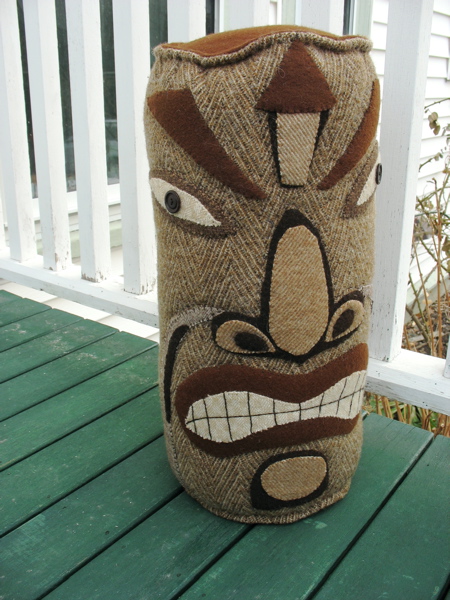
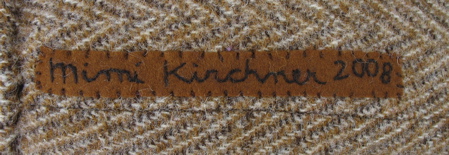
Finished- one tweedy tiki-
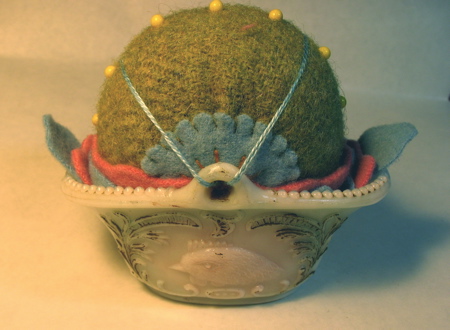
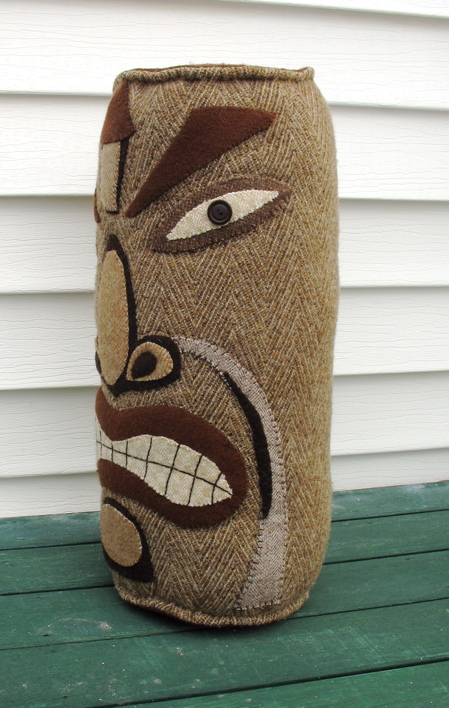
and the side-view-
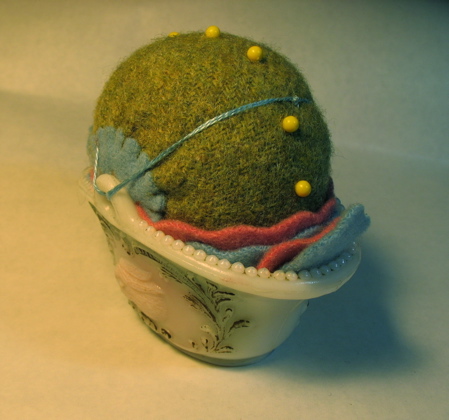
The signature-
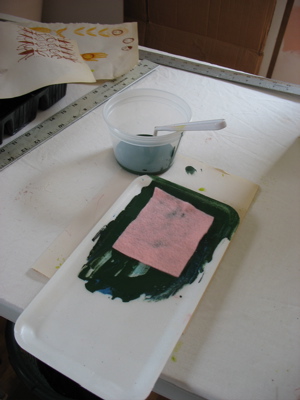
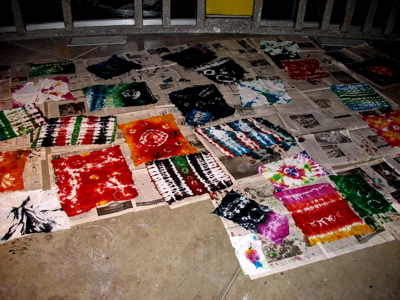
Here is one of the distractions that I was thinking about when I wrote the “revving” post. The tug got strong enough that I spent yesterday and part of this morning playing around with dyes. I have a collection of dye packets that I started accumulating in the mid-seventies when I was in college. They are mostly Cushing Acid Dyes. I have a paper with a photo of what the colors are suppose to look like. I also have my preconceived idea of what olive green or burgundy should look like. I have found neither to be even slightly helpful in guessing how a certain dye packet would look on my wool fabric. I decided it was time to test them all out and make my own reference.
This is what I did-
I collected all my white/off-white/cream wool fabric bits and set aside all the smaller pieces- odd shapes and smaller then 12″ x 12″- to use for my dye samples. I also cut up one white sweater with a 40% angora/60% wool content. I put 1/4 teaspoon (or less) of dye powder into a pyrex dish. (I have 2 pyrex dishes and a microwave that I just use for dyeing.) Dissolved the powder. Added water, added wet fabric- at least 3 pieces of assorted textures, into the microwave for 10 minutes on high. Then I added a tablespoon of salt, stirred, and added a few more pieces of fabric, smushed into the dye. I let that sit for at least another 20 minutes, rinsed, threw it into the washer and dryer and then made my sample cards. I did 16 tests.
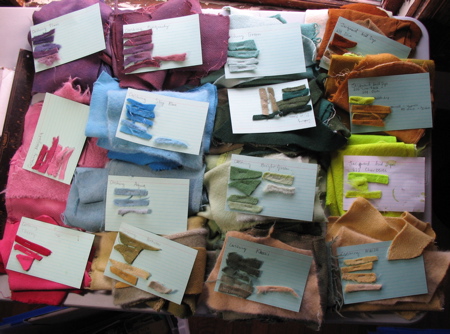
Here is an example card-
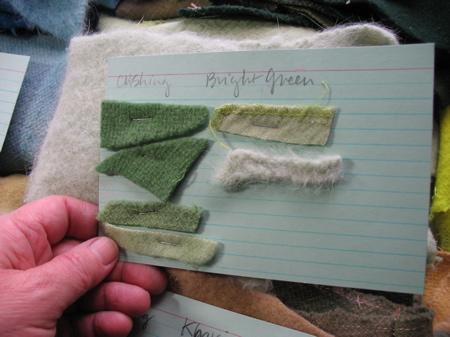
Dyeing this way makes it almost certain that the colors will be uneven- fine with me. The first fabric into the dyebath comes out darkest. The later fabrics can be not only lighter, but very different colors… The fabric texture and weave can really affect the look of the color- for instance the angora always looks lighter and hazy because the fluffy rabbit fur doesn’t absorb the dye like the wool.

Now I have these great piles of interesting and some very odd colors. Lucky me!
I was trying to see if I had something that would get me my favorite acid green, so the few bits left in my stash wouldn’t be so precious. I’m not there yet, but I’ve ruled out a lot of things and I have some ideas for additional experiments. I love doing this- it makes me feel like a mad scientist!