
People often ask me where I get my ideas. Here is the story on this one.
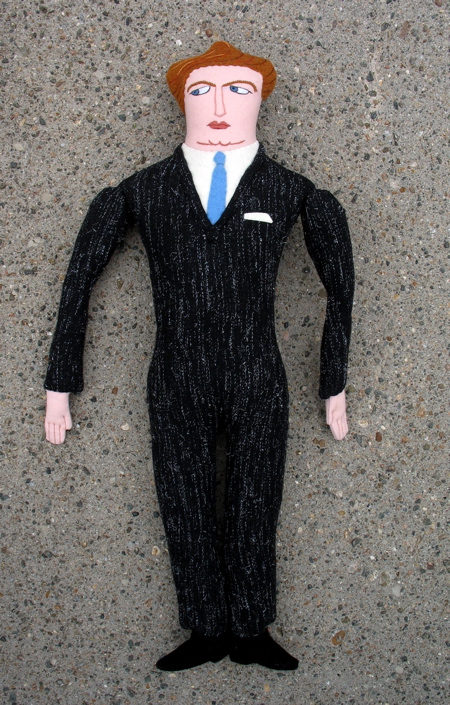
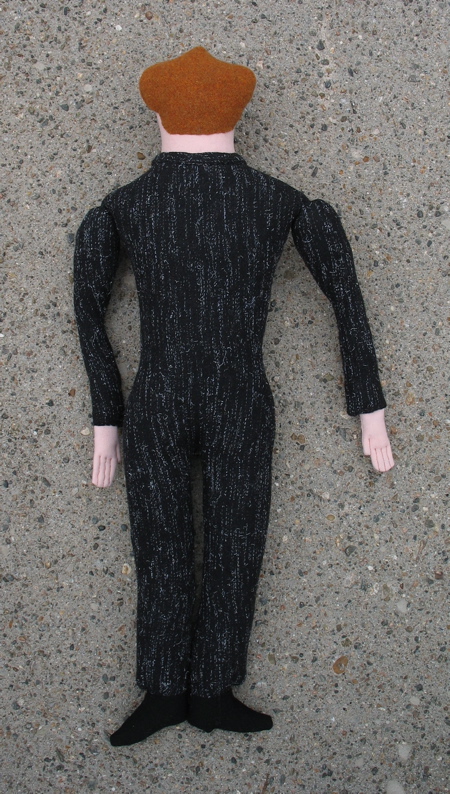
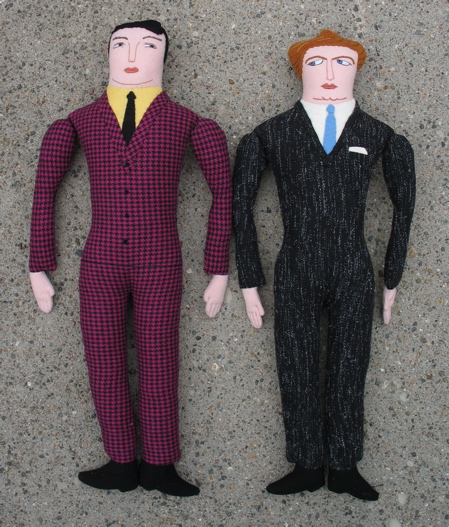
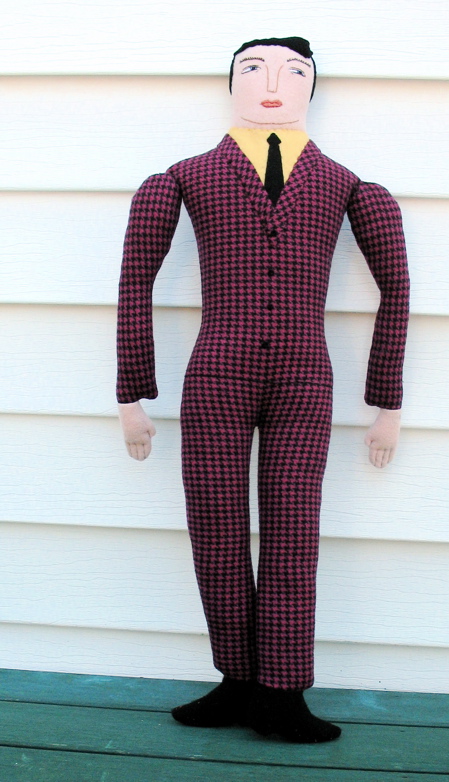
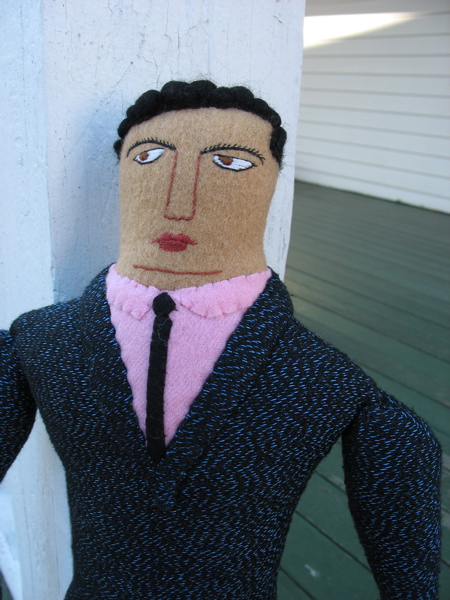
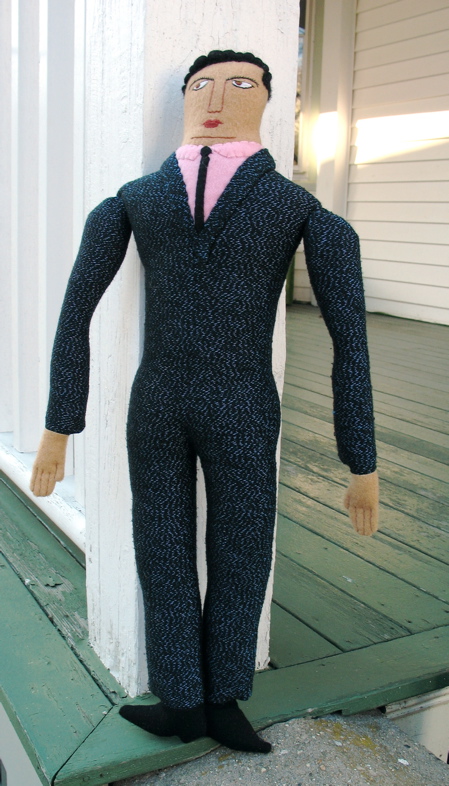
I was listening to Wait, Wait… Don’t Tell Me.  One of the questions on the show talked about a study that showed how very popular and charming people aren’t good at close relationships. Interesting. Hmmm.  And I thought of a doll description- “Mr. Handsome- Not suitable for long term relationship!” And here he is.