I am participating in an Art Party Central event, this coming Saturday at 2:30 and 5:30 Eastern Time. Would you like to come and join in the fun? RSVP here! Or go to the site and RSVP from there. Why should you come? Because you will get a 10% off coupon for MY SHOP and might even win a $50 gift certificate!!! I will talk about my work for a least 5 minutes (lol) and show details of the work. You can ask me questions. And you can see some other amazing artists- it is a virtual Zoom Craft Fair. I’d love to see you there!
In this crazy year of all cancelled in-person shows, I have been exploring new options. There are some really great online shows going on! I hope they continue after the pandemic because wow- Awesome! Some of these shows require a mailing list which, since the days of me doing pottery, I have never maintained. I am hoping to get things figured out with Mailchimp and have links you can click to sign up, but I am a bit overwhelmed with that part of the process right now. Hopefully I will get there soon. So, I will do it the old-fashioned way. Would you like to be on my mailing list? Leave a comment with your email address or send me an email at mimik@pobox.com. In my dreams I would send out a newsy email once a month but I know that won’t happen. More likely it will just be announcements of when I am doing shows. If you already get my blog posts via email, unfortunately it is not the same thing. You still have to give me permission.
Also, Paradise City , which is doing ongoing virtual events. Lots of good stuff there. I bought a beautiful birdbath last month from one of the local artists.
And for now, lastly, Art Party Central. I am scheduled to do one of their shows at the end of June.
It has been such a strange year but thank you so much to all who have supported me and stayed with me! I feel very lucky.
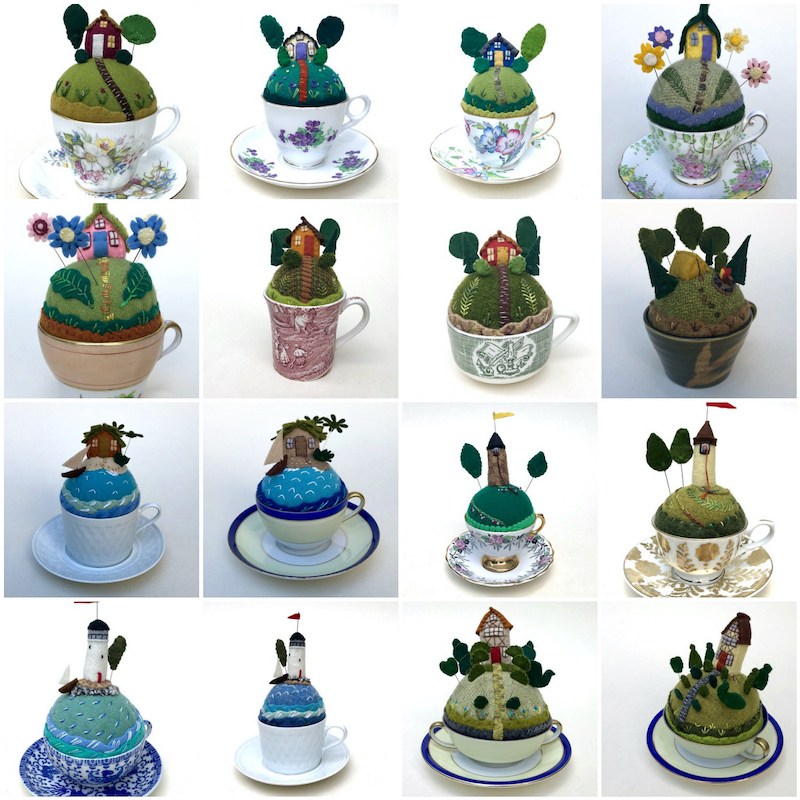
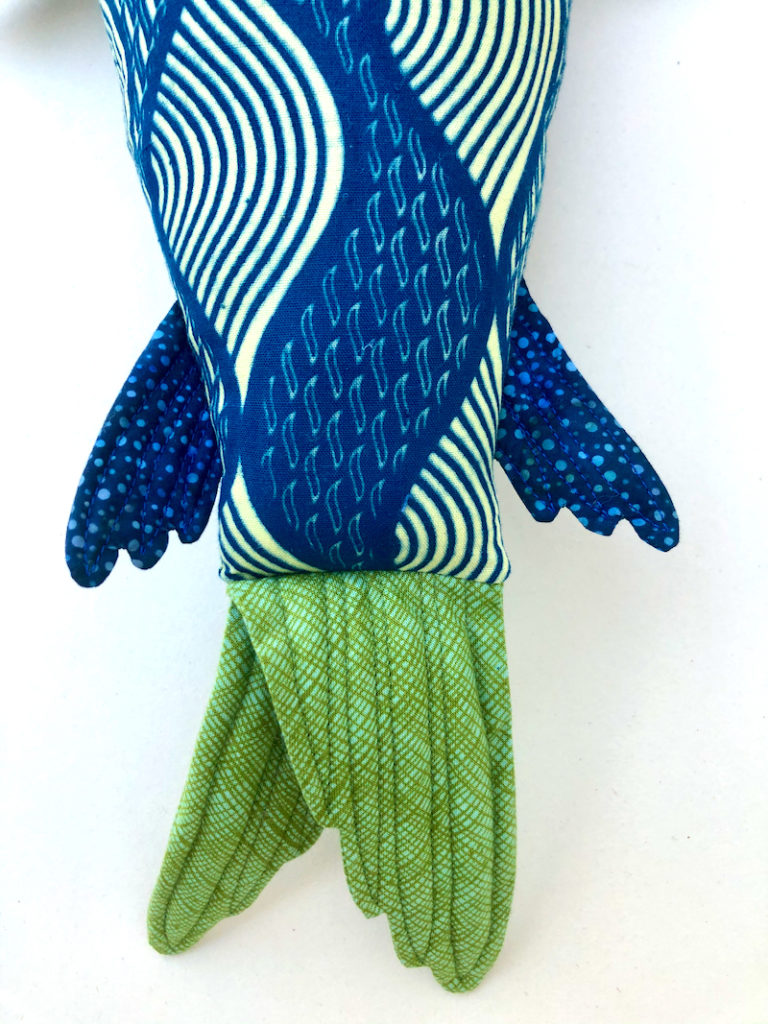
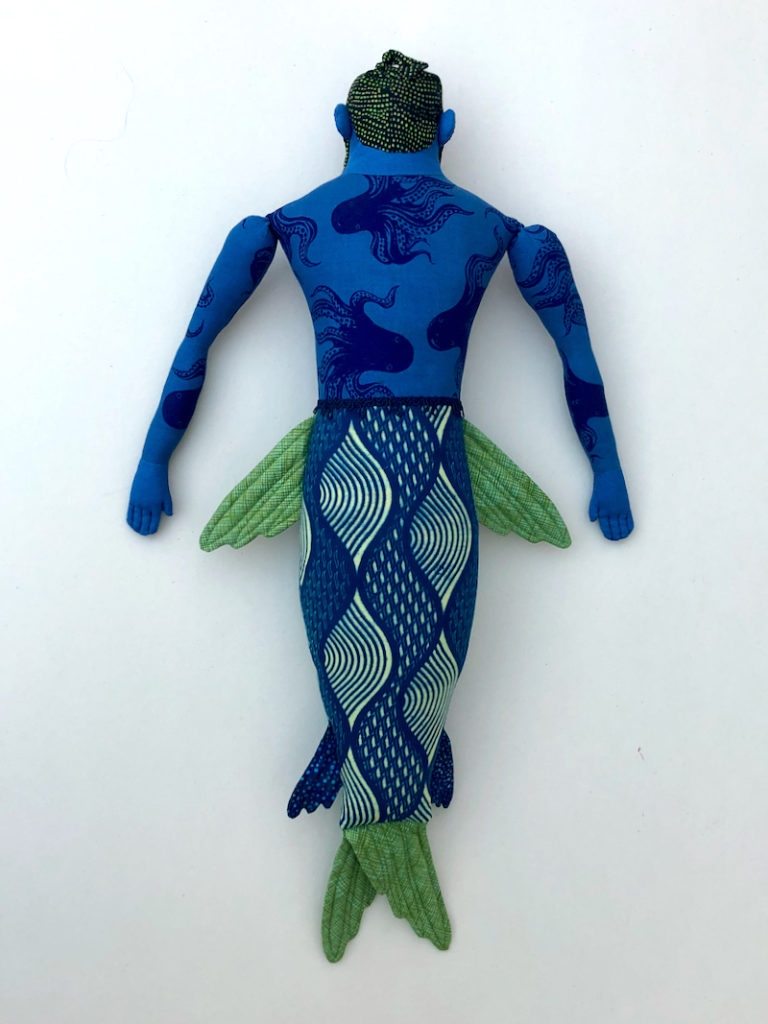
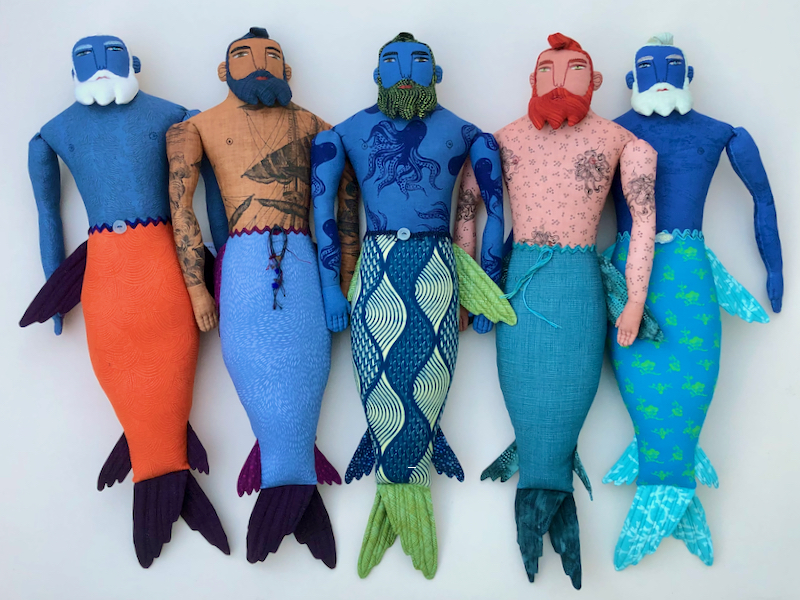
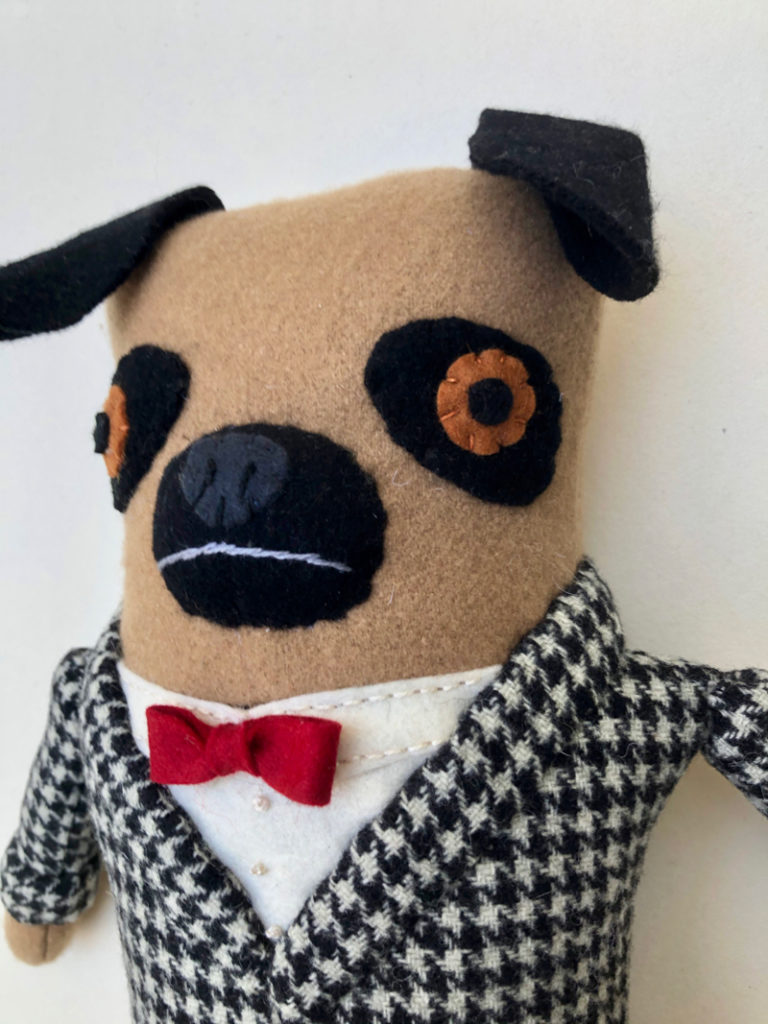
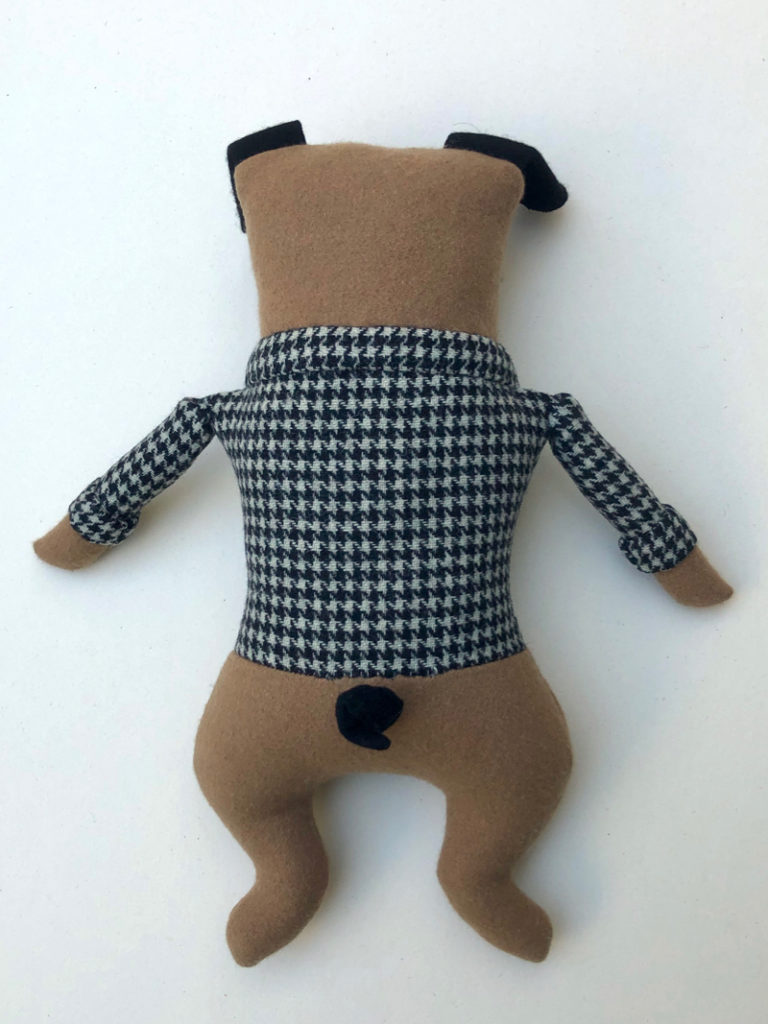
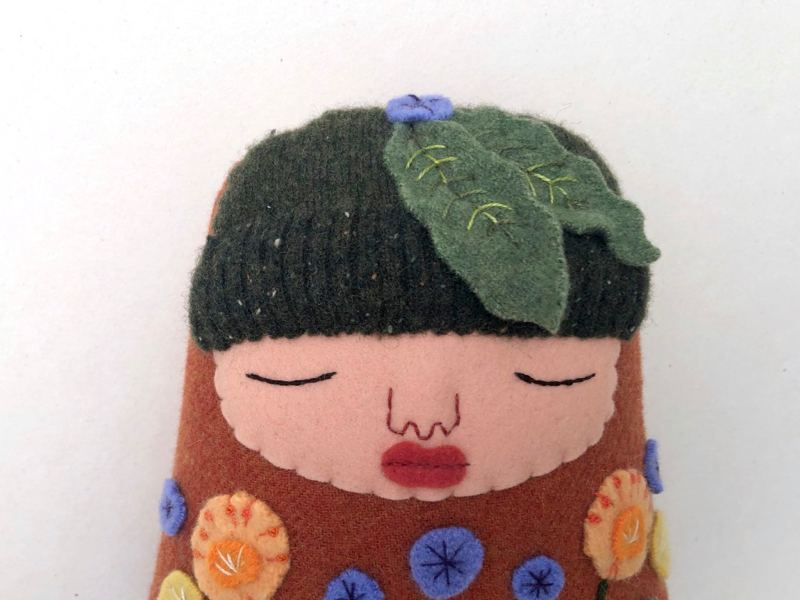
Here is the first one in line. I’ve got a whole stack on my worktable and I’m working to bring them to life this week. (Not all of these will get finished although in my fantasy they do!)
I do a review every year although sometimes it happens a little late (like this year). What a crazy day- I was a bit reluctant to post this today with the high of the win in Georgia followed by the madness in Washington. But I will do it anyway because who knows what tomorrow will bring. And honestly, maybe posting about a crazy year is best done on a crazy day.
I made a lot of masks for family and friends. Oh yes, and 150 scrub caps. I donated 100 caps to health providers (mostly nurses) in the Boston area. Then I sold a bunch on Etsy and donated the money to local causes helping people affected by the pandemic. It relieved some of the stress to feel like I was doing something to help.
I worked on some ornament patterns but my head wasn’t in the right space. This past year I needed meditative creative work, not painfully stretching my cognitive skills! Hopefully this year I can make it happen.
My business was all conducted online this year and I am grateful that I already have an online shop and all the social media set up and didn’t have to worry about that! I have been depending on the Post Office and so thankful that I can mostly get my packages picked up right at my door. This past Fall and up until now, the pressure on the Post Office (political and Covid) has been stressful; I think all my packages made it to their destinations by now? Most have taken at least 2 extra weeks.
So Yikes, what a year. I count my blessing that I have been relatively healthy and so has my family. I am hoping that life can return to a more normal in 2021 although I don’t count on that yet. Lets hear it for a better 2021! I have hope again!
These were my most “liked” posts on Instagram this year- always kind of interesting.
What a week, what a crazy time we are living in. I am having a very hard time pulling myself away from the news which isn’t helping my anxiety or getting any work done. I think most of us white ladies are trying to figure out ways we can do better and that, for me at least, has involved a lot of reading, listening (mostly on Twitter), and no chiming in of my opinions. As a result I haven’t been posting on the social medias. #Black Lives Matter. I’ve got some things to show you now so I will try to get things back on track.
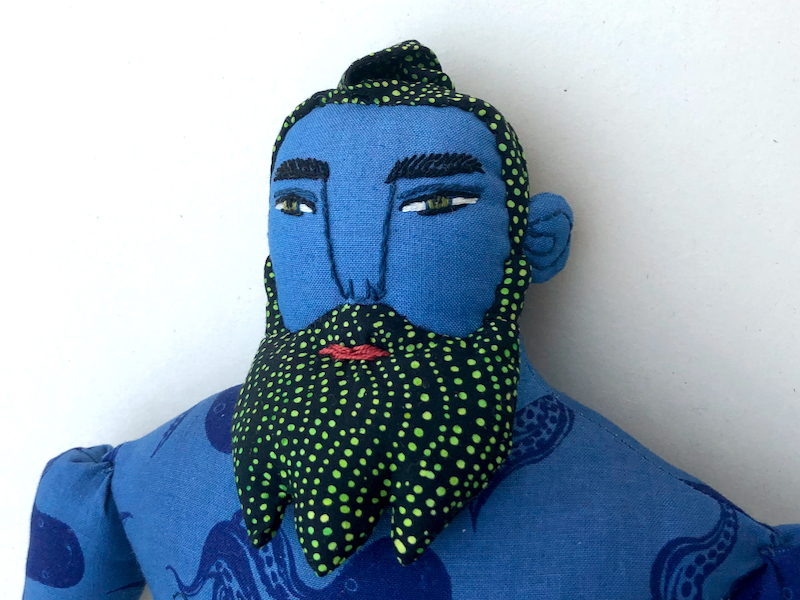
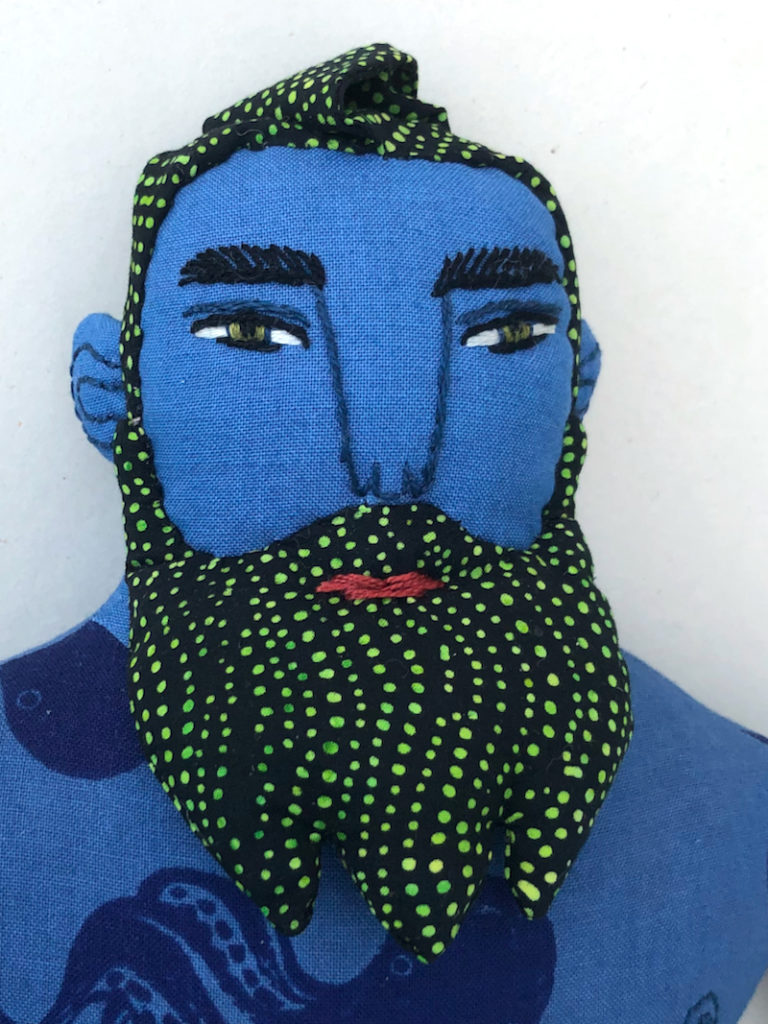
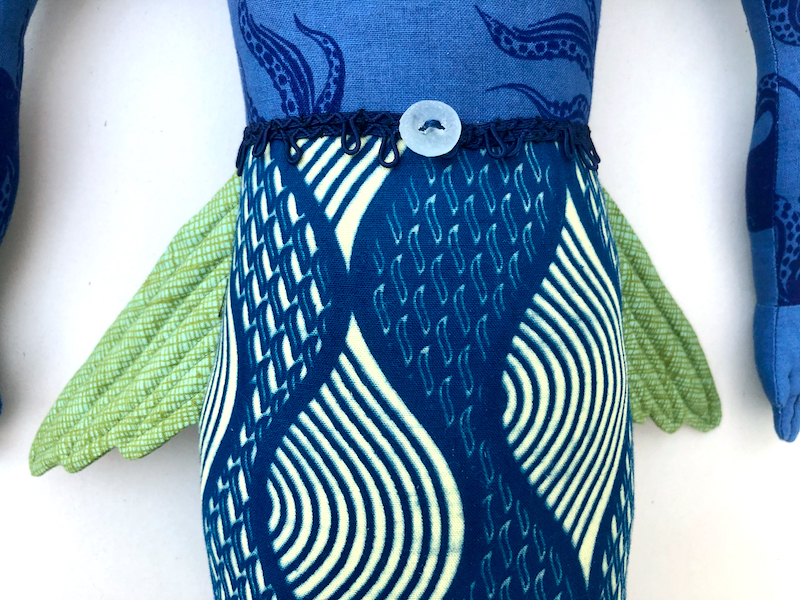
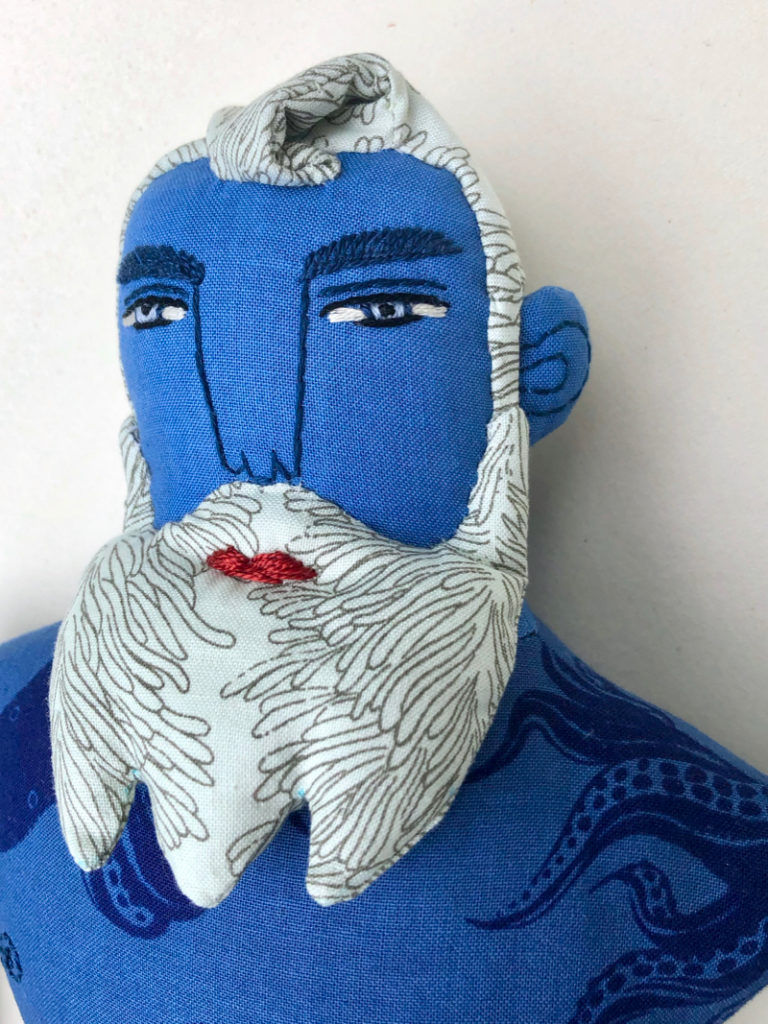
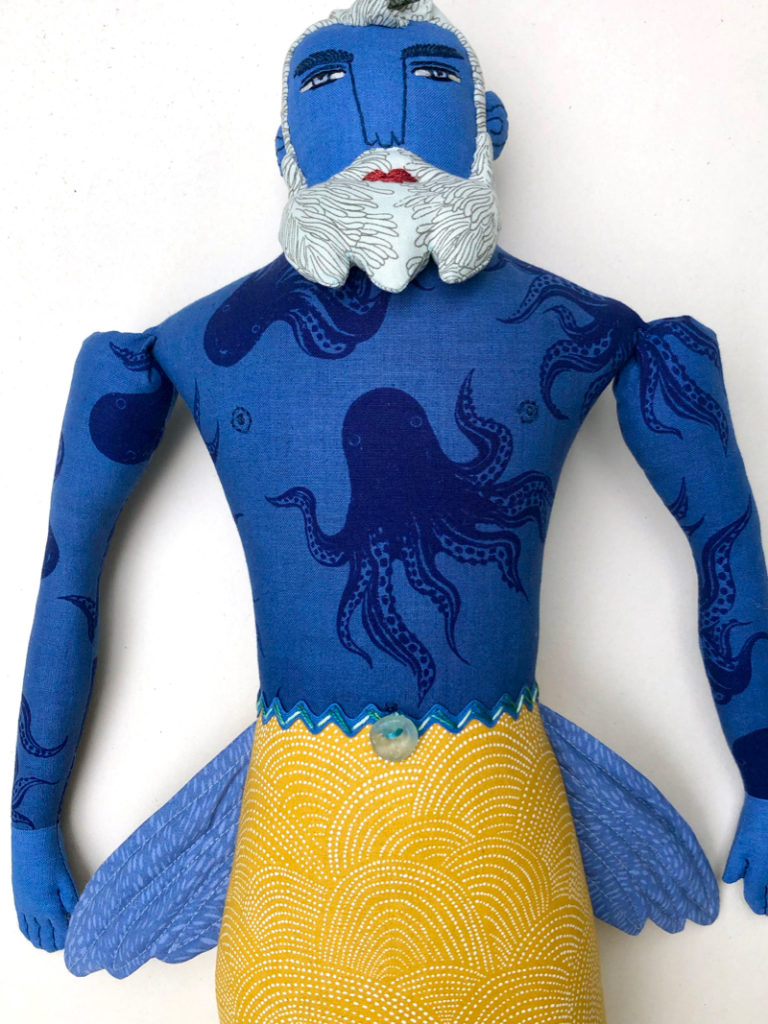
I made 2 green men dolls in December. One went off to a new home but the other just sat in my shop and every time I looked at it, I could only think that I didn’t like those eyebrows! So, I changed them. I almost never do that- I can think of maybe 2 other times in all my doll-making years? Anyway, I think he looks much better now and he is back in my shop.
Lots of soft fabrics- cashmere and angora blends- appliqued onto this sweet baby.
All the babies should all be in my etsy shop by tomorrow evening. Hope you are all coping with this crazy world situation. We have gotten through another week.