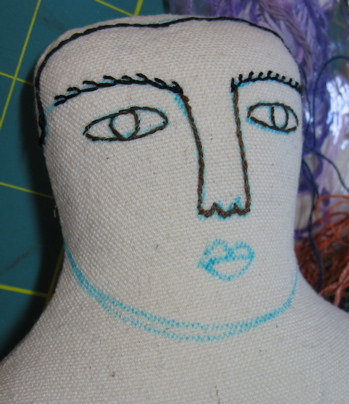
other times, not so much.
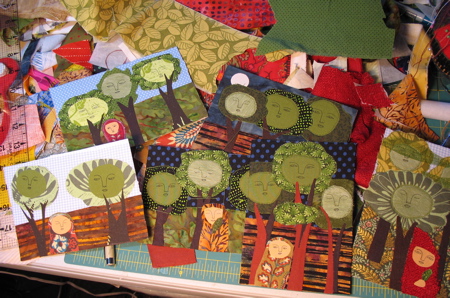
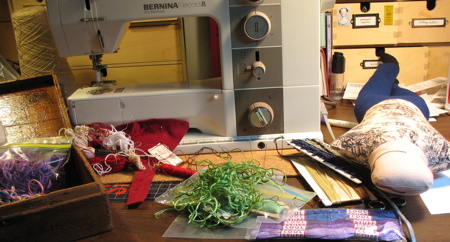
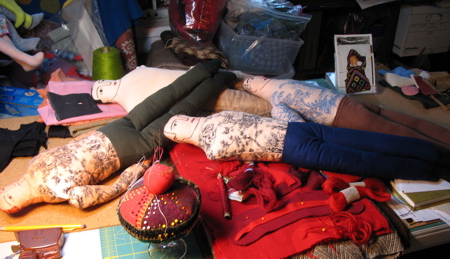
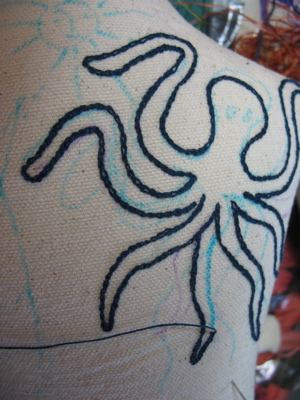
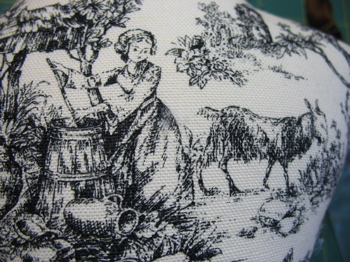
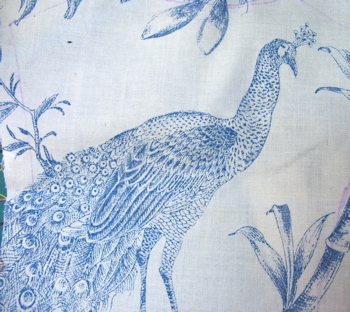
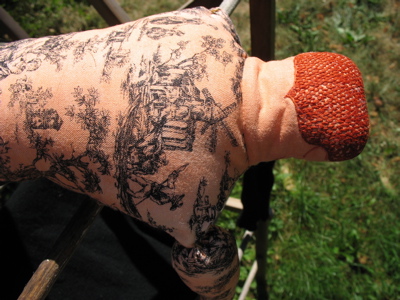
The idea was, make a tattooed man using toile. I scored a great selection of toile scraps at a swap I did with some fellow Boston Etsy people.
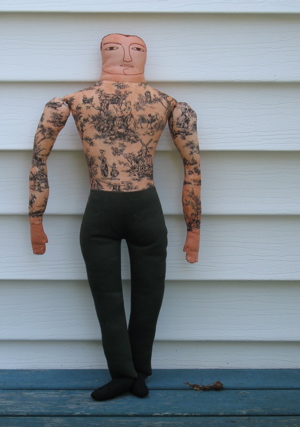
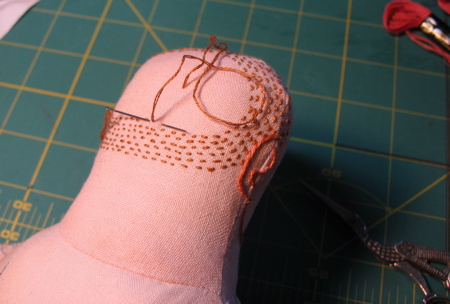
note to self- check to see if decorator fabric has been Scotchgarded, before using on a project that includes dyeing/painting the finished piece. hmph.
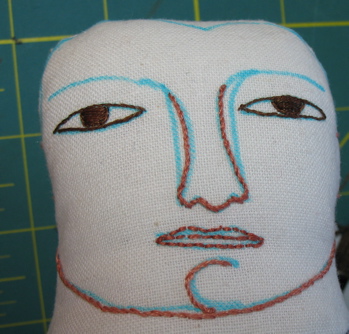
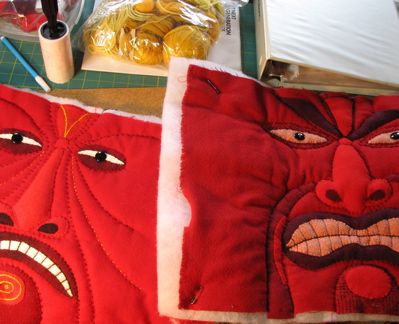
Maybe you can’t tell from the photo, but the color went on unevenly and worse, the fabric looked scabby after the paint dried. Yuck. Since I knew I wasn’t satisfied with it, I thought I might as well see what I could do to make it better.
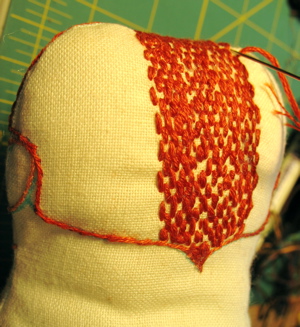
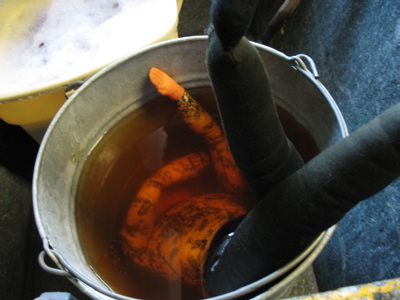
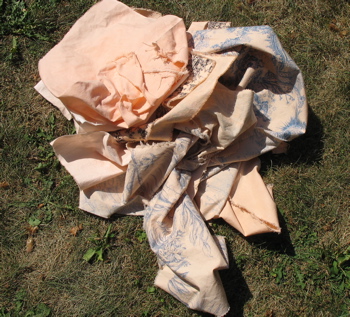
First, I put him through a gentle cycle in the washing machine. That made the texture better and the blotchiness worse. So, I stuck him in a bucket of dye for a soak…
then, another trip through the wash, and out to dry-
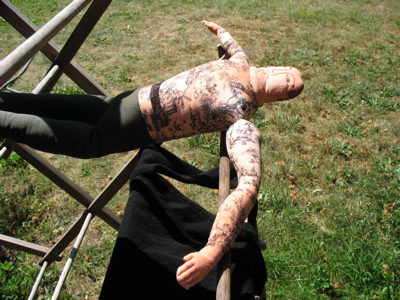
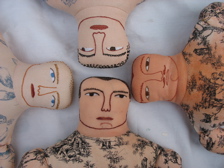
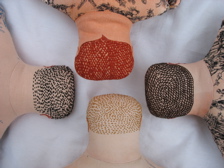
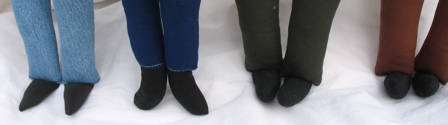
He is still as blotchy as ever, and somewhat misshapened. Not out of shape- I mean he is clearly in great shape! His head is lumpy as you can see.
I’m not quite sure where I will go next with him, but I have now dyed a selection of fabrics to try again with.
and another thing…
Fresh peaches are one of my all time favorite seasonal treats-

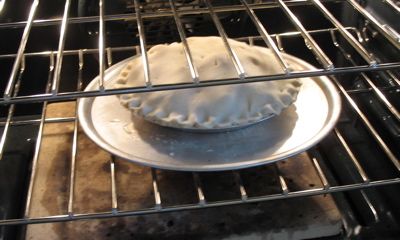
well, and then we ate it!