Windy Day Lady and Blog-iversary

My blog is 15 years old today. How crazy is that! We’ve come a LONG way together.

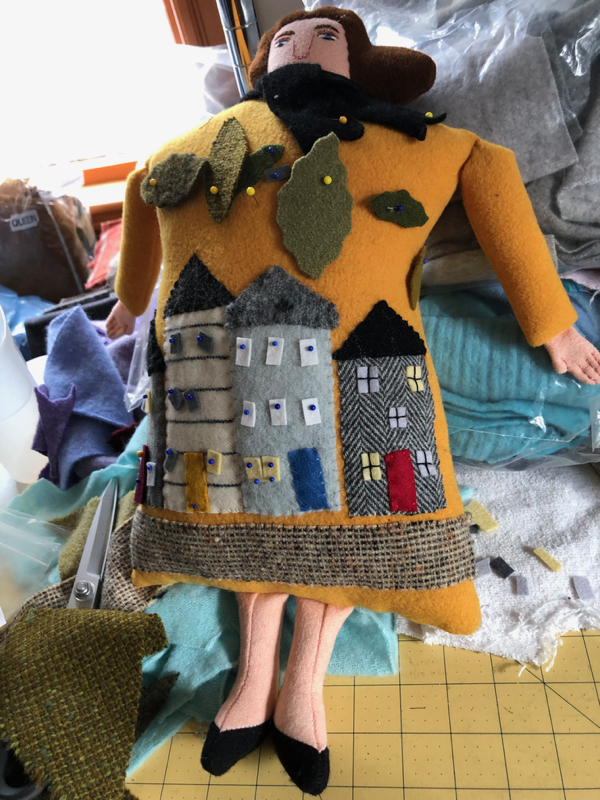
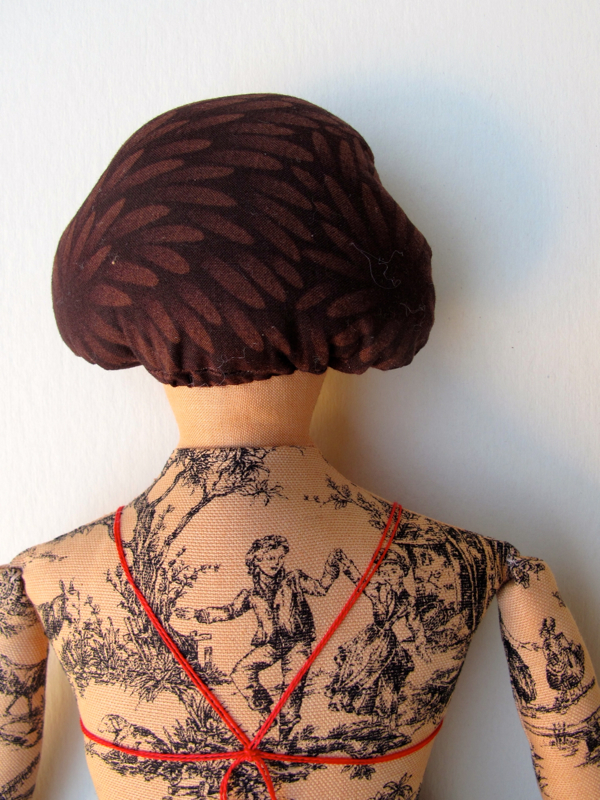
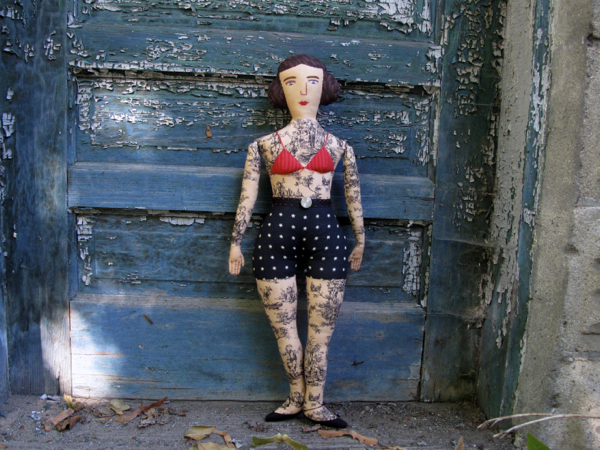
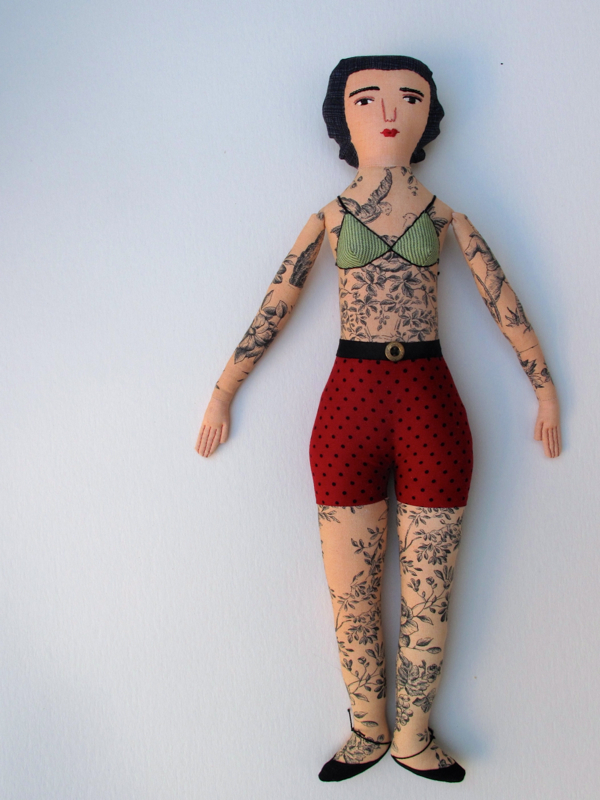
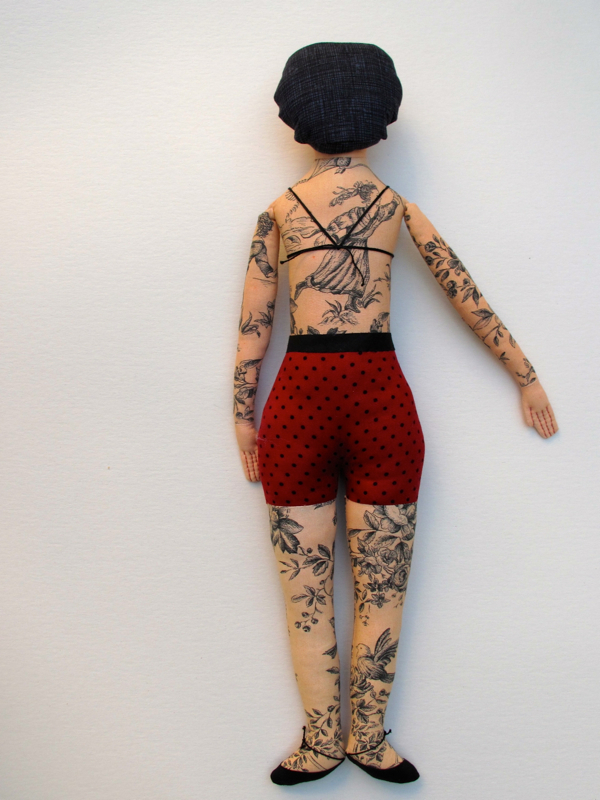
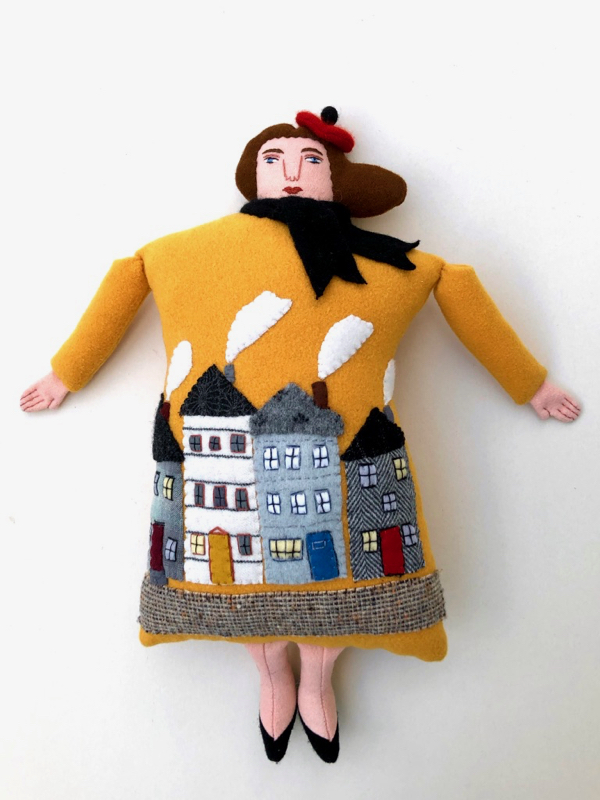
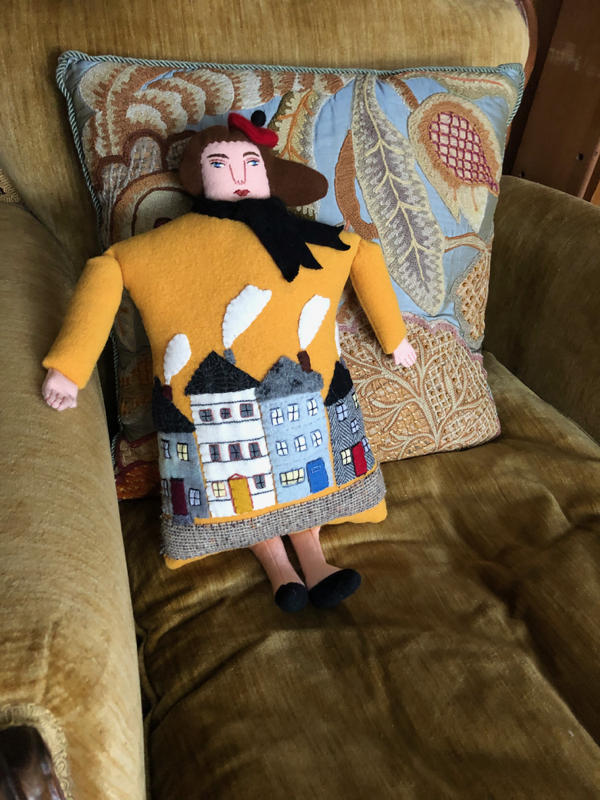
Here is my windy day Lady pillow doll.

2-13-lady 2 - 1

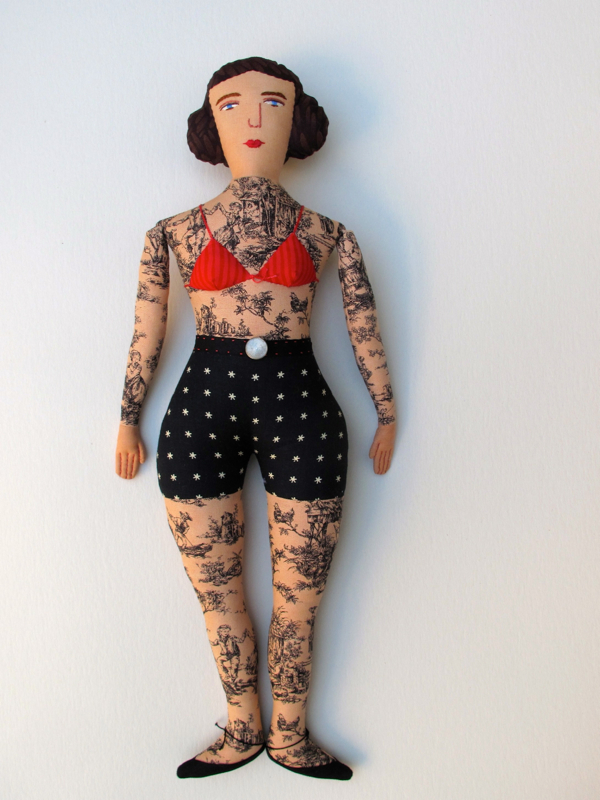
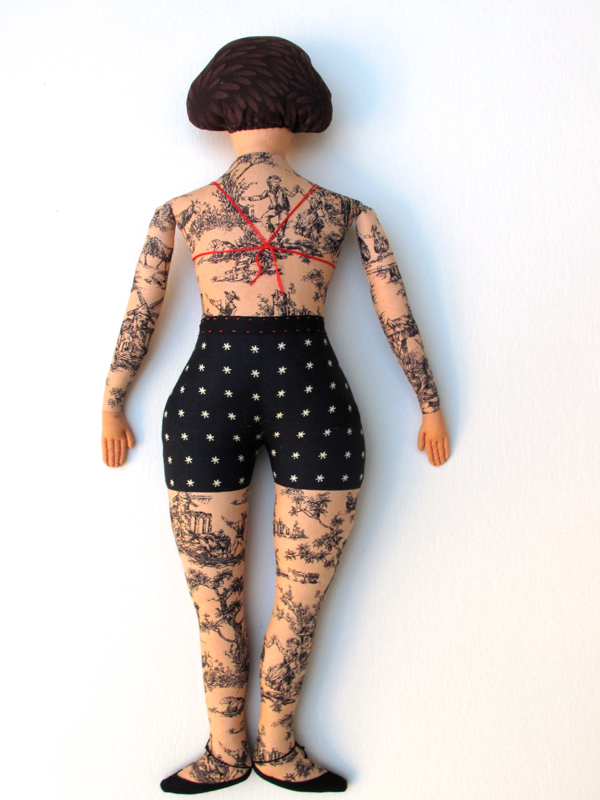
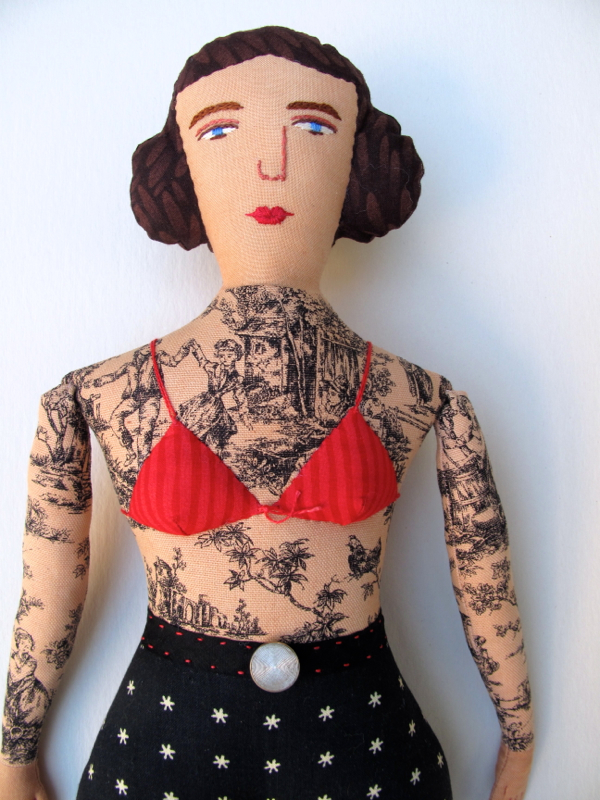
She is reminiscent of this lady that I made so many years ago (April 2010!). Also, my tiny world pincushions. Someone messaged me an amazing photo of a chair with appliqued town imagery and I’d link to it but I couldn’t find any artist attribution so that doesn’t feel right. Anyway.

edited- I found it! Cityscape chairs.

She has her cashmere hat and scarf for this blustery day.

2-13-lady 2 - 2

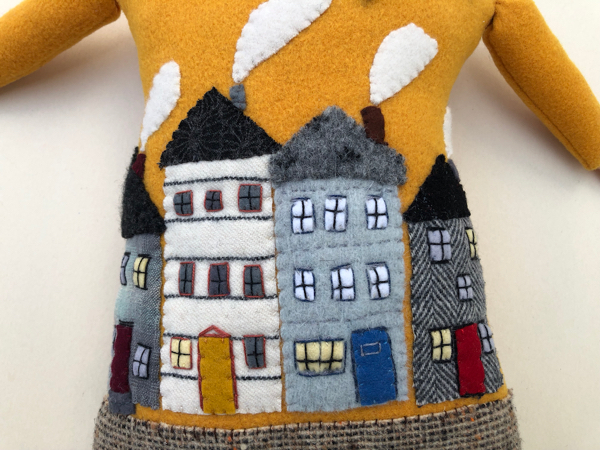
Details of the houses-

2-13-lady 2 - 4

2-13-lady 2 - 5

2-13-lady 2 - 3

2-13-lady 2 - 1 (1)

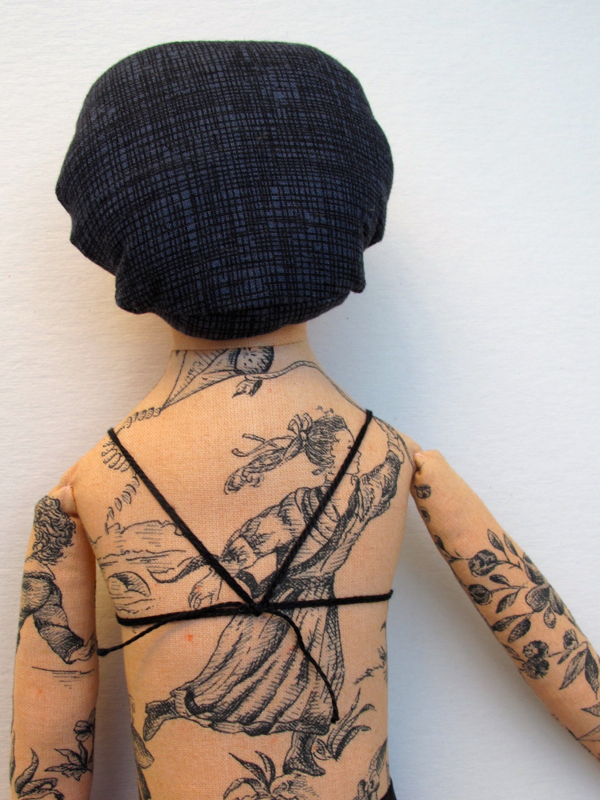
And here is one more photo from when I was working on her. You can see that I tried out some other ideas that didn’t make it into the finished piece. I was planning trees and blowing leaves but changed to chimneys and smoke.

2-13-lady 2 - 1 (2)

lady in red

The same as this one but different (body pattern). And this one, but different (costume).

The hair style can be hard. This was the second version.

The hair is made from a cotton fabric that I over-dyed with dark brown. I had to over-expose this photo so you can actually see it.

I found a new photo wall- hurray! And it is not blocked by snow!

process- part 2

Once the doll is stuffed, most of the rest is hand stitching. Breasts sewed on with a ladder stitch.

The face is sketched on with water-soluble marker.

Figure out what kind of hair-do she needs and then draw up a pattern. I always draw a pattern because if I love how it comes out, I want to remember how I did it!

Pin the hair in place and stuff.

Sew.

Stitch the face.

Hah- That makes it sound so easy! I often cut the embroidered faces off several times before I am satisfied.

Stuff the arms and stitch the fingers.

Arm to shoulder.

Hmm. She needs a belt. Pull out a variety of trims and hope I have the exact right color.

A strip of vintage cotton bias tape-

A length of vintage cotton rick rack.

And a button.

Spritz all the blue lines, let her dry and she is done!

Thanks for all the comments so far- I’m glad everyone is enjoying seeing how I put these together. Tomorrow I hope to take her “beauty” shots. It was too wet outside today for a photo shoot.

flower lady 2

I liked the flower design so much, I decided to do it again in a different color palette. This one looks like the night blooming version-

I love working with complementary colors.

When I decided to try this again, I thought it would go much faster the second time. Didn’t happen. I still had to argue with myself about the right colors and do the face 2 times before I was happy with her.

I had some fun taking photos and then I couldn’t decide which ones I liked best!

.