goodies from a past project…

Yesterday I received a package from Ellia- of Green Bean Baby fame. The Paperbag Swag project continues on! It was my package of swag. Is there anything better then a surprise package in the mail, stuffed with goodies?!

There are the pieces of projects, yet to be made- papers, buttons, vintage fabrics-

Such yumminess- I really have to make some more fabric postcards- I am feeling inspired!

But the best part was the personal gift part… and these are on top of the book pages she already did for me! Look at these fantastic magnets-

Swoon! Now the dilemma- hog them to myself up in my studio where I could stick them on my metal desk, or risk them in the kitchen where they might get *gasp* dirty… hmmm. Thank you Ellia!

paperbag swag- the last page

Remember the paperbag swag project? I finished a page way back in July of last year (2007) and then… nothing. The project went on a long vacation. Hopefully we are all back on track now. I am so happy to be finishing and I can’t wait to get my book back with all the artwork from everyone else! This is due in the mail on June 4. I spent the last month thinking about a design and the weekend actually putting it together.

My last page is for Kristin. I have enjoyed working on this page because I’ve met Kristin in person and so there feels like a real connection. Her theme is Journey.

Getting the color right in the photographs is a challenge. In the picture below, the blue is right and the green is wrong.

I am so impressed by people who embroider words- ack-hard! I did a mix of machine embroidery, hand embroidery and ribbon embroidery.

I did some little drawings that I was planning to incorporate into the piece but in the end, didn’t use them. I made a bookmark out of them. They are suppose to show home, family, art.

Here is a gluing it into the book photo. I always get nervous at this part- what if I totally mess it up!

And, the swag!

Some other links connected to this project-

Theresa most recent post about it. Kristen. Cathy. Amy. Ellia.

Paperbag swag month/page 5

This month I am working on Amy’s book. I already showed the first 3 steps of the project. Here is the rest. Tons of photos ahead.

After doing the background, I sewed the figures onto the fabric and cut it into the pages afterward. This is the pre-cut photo. Sorry it is a bit out of focus.

76uncut.jpg

I glued rickrack onto the edges- silver and blues. Photo of glue drying-
76rickrack.jpg

Then the part which always feels like a huge step- gluing the pages into the book-

76glue.jpg

… in case anyone wants to see my oh so complicated system for clamping, weighting and gluing.

Phew- they are in! I’m committed! Now for the finished photos-

76spread.jpg

left page-

76leftpage.jpg

right page-

76rightpage.jpg

close-ups-

76closeup2.jpg

76closeup3.jpg

I had so much trouble with this face- I did it over 3 times!

76closeup4.jpg

I wrote “Momma’s Dream” on this piece. When my kids were little, the one thing that seemed like bliss was when everyone, even me, was asleep and safe- ah, peace. Amy’s theme for her book is balance, but I don’t really think you get much balance with three little babes. You get through every day, trying to keep your sanity intact, and if you can relax, laugh and still notice the beauty around you, you are doing an amazing job!

Finishing this project has overlapped with starting the next- the printed fabric swap that Bitter Betty organized… this is all new to me, but more about that learning process another day…

76desk.jpg

a Monday report

How cool is this?! This is a first for me, my artwork in a book-
72book.jpg

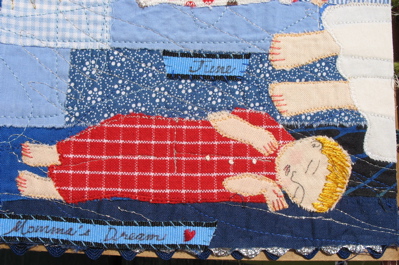
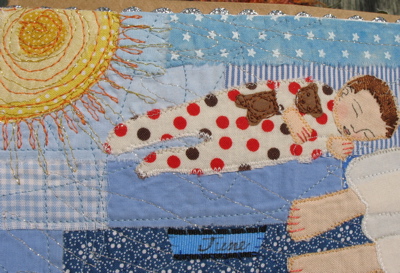
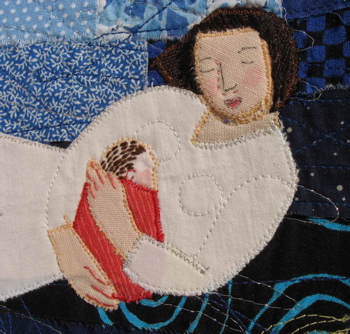
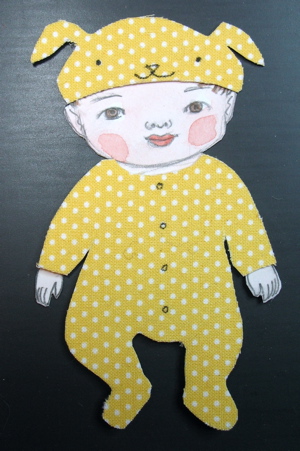
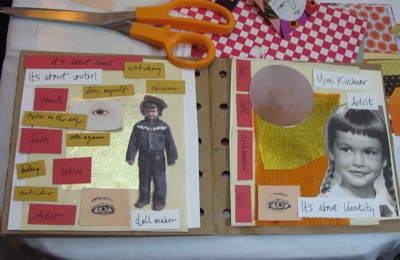
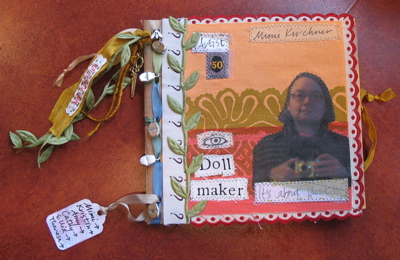
I am talking about this book– Making Gourd Dolls & Spirit Figures, by Ginger Summit and Jim Widess. I just got my copy and am pleased as punch! I can’t quite figure out why they put someone elses doll (the one the upper left hand page) on a page with my name on it, but… hey, I am very glad to have the photos of my dolls together! The book has a great range of examples and instructions for making dolls from gourds- very interesting.

Other stuff-

Am I the last person to read this post on Yarn Harlot? It resonated with me.

I fell in love over the weekend. I’m going to have to get one of these for my garden- Lady in Red Hydrangea.

I saw on my stats that someone had searched for “m kirchner pottery”. That was how I used to sign my pots. I had this crazy idea, right out of college (actually someone told me!) that it would be better to make my signature gender ambiguous so I would be taken more seriously. That was 1976. I don’t think I fooled anyone. My imagery hasn’t changed much when I switched over to fiber arts.

I’ve killed my website, which never was much of a website anyway. Mostly it was just a front door to my photo galleries. Now if you go to Mimi Kirchner.com, you will be here at the blog. This is where the action’s at anyway. Hopefully this will be an incentive to do some clean up chores and rearrange the furniture around here. I hope this doesn’t mess anything up for anybody.

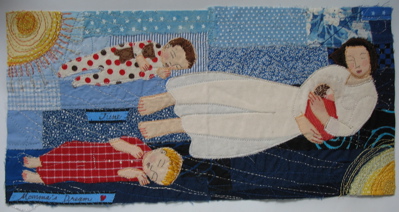
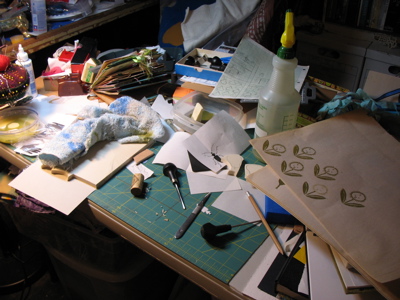
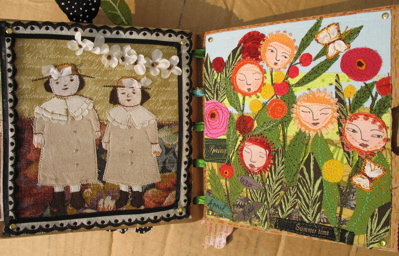
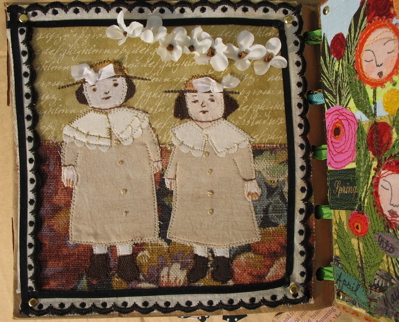
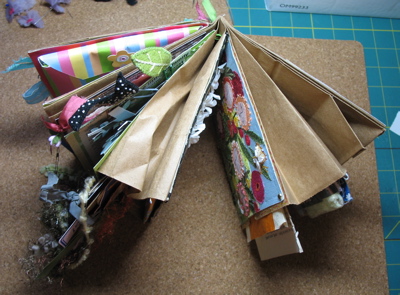
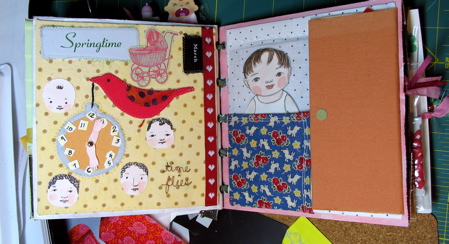
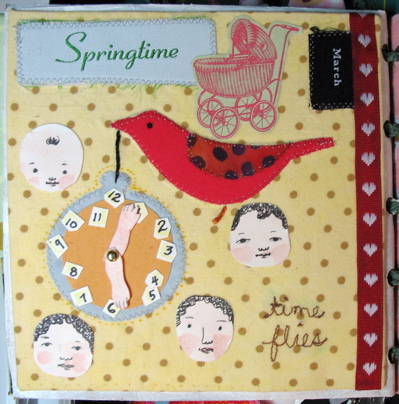
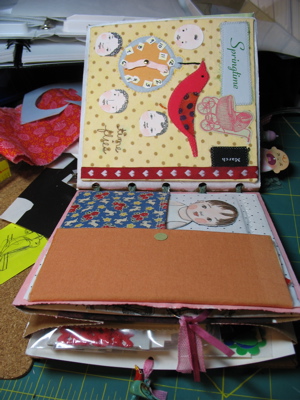
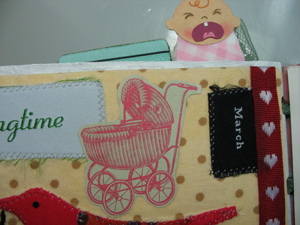
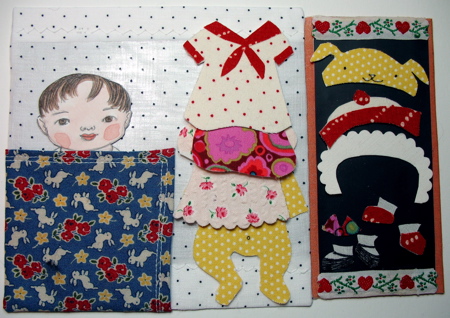
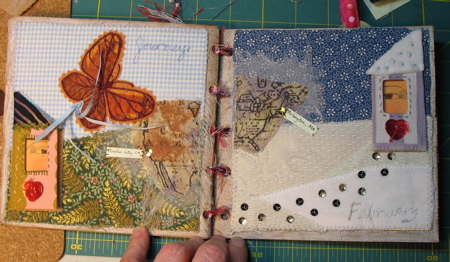
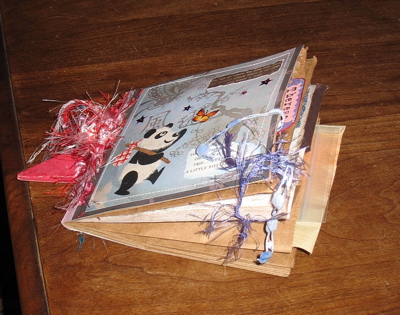
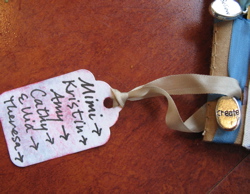
And, I am working on Amy‘s paperbag swag pages. The thing I’ve loved about this project is that it has given me a place to try out some techniques/ideas/materials that never seemed to fit in anywhere else. I have always admired Abby’s scrappy patchwork fabrics and have wanted to try making some.

72fabric.jpg

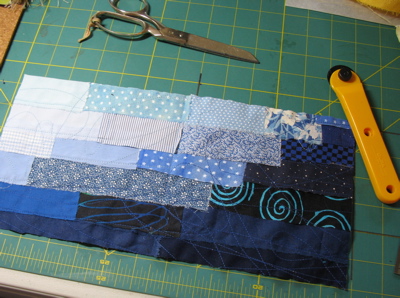
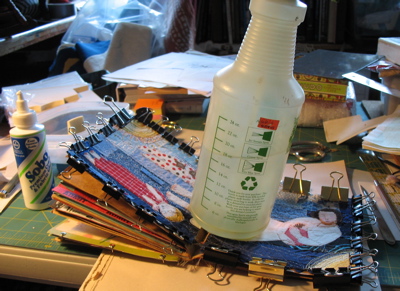
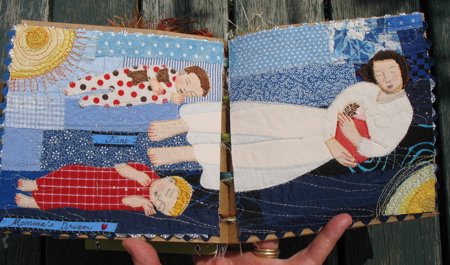
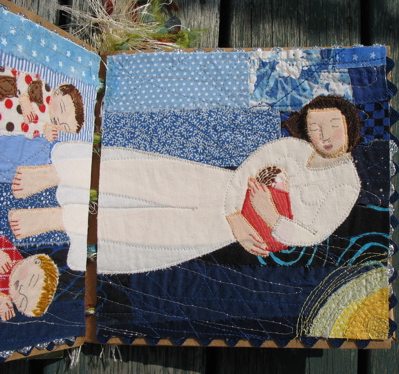
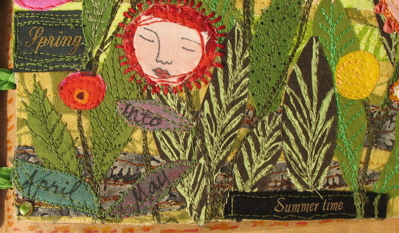
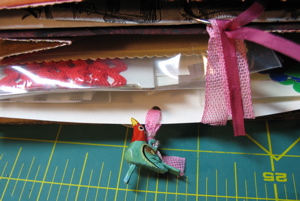
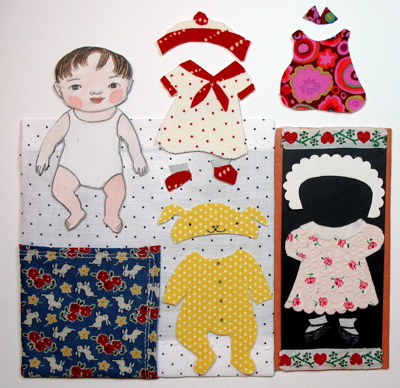
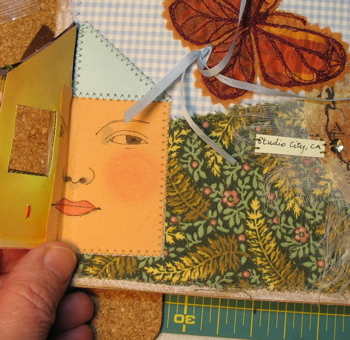
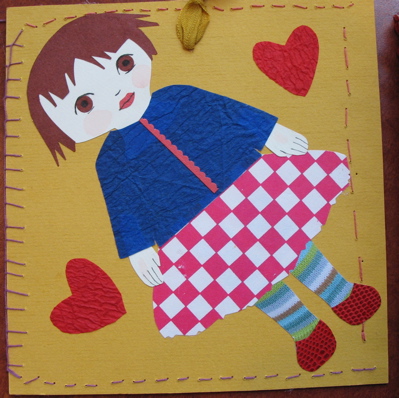
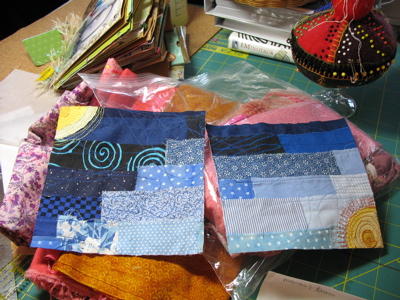
Mine seems a little more uptight then hers, but it works for me. Next step- pages and some applique-

72pages.jpg

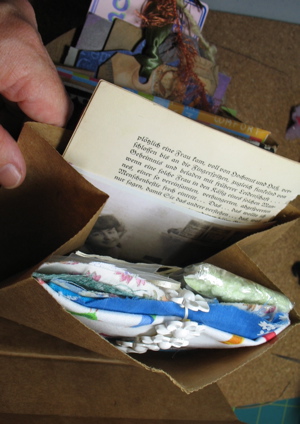
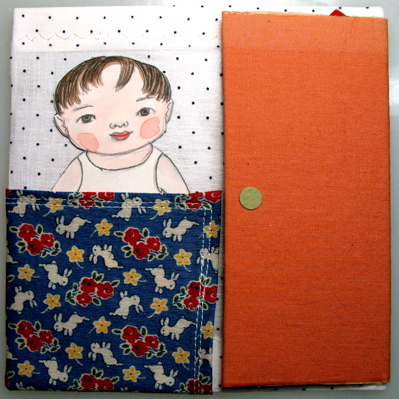
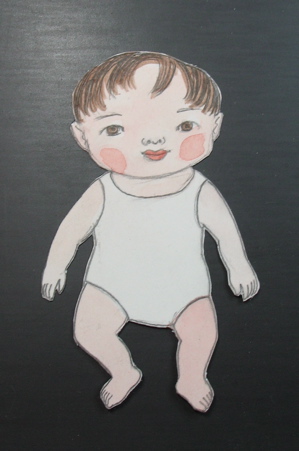
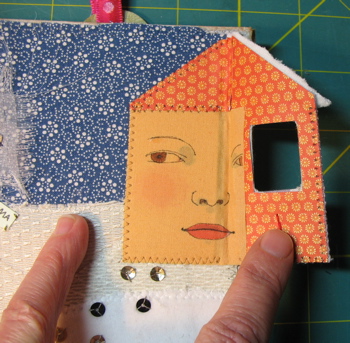
and then sketches for the next part-

72sketch.jpg

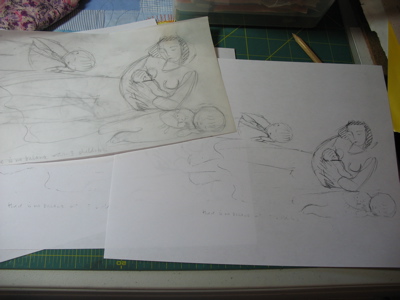
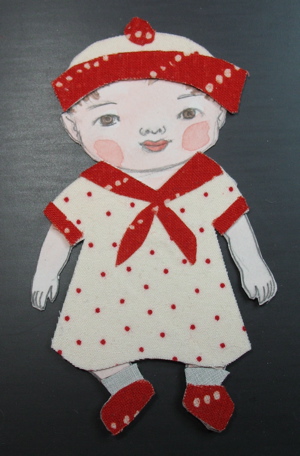
I love my copy machine. I did the drawing and then copied it in several sizes to see how it works on the piece.

Lastly- flower of the day- Butterfly weed-

72flower.jpg

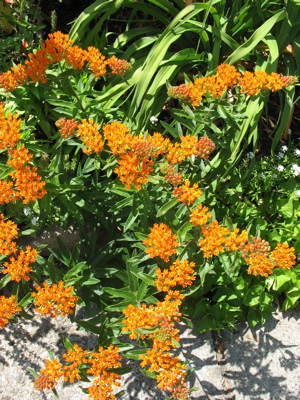
I am posting these now to get me through the winter.

Paper Bag Swag- month 4

I’ve got Month 4 done of my paper bag swag project. You might be thinking that you haven’t seen one of these for a while- well, you are right. We had a one month “vacation”… ahem. Well, Amy and Ellia had good excuses. For the rest of us, not so much. It was just life, taxes, school, kids, travel, etc. Anyway, hopefully we are back on track. Theresa will keep us in line! Two more pages/months to go .

I was working on Cathy’s book this month. Her theme is inspiration, but I’ve got to tell you something- I just did what I felt like doing and then thought about how I could fit it into the theme… that is a real art confession. Of course, personal history and nature, very inspiring!
61spread.jpg

Playing with the idea of an old sepia tone photo in fabric-

61left.jpg

The garden coming to life in April and May-

61rightside.jpg

this says it all- Spring into Summertime, April into May-

61detail.jpg

I put a few more detail photos on Flickr-here, here and here.
Swag!

61swag.jpg

And a side view. I’m going to have to find a big box for this!

61bookside.jpg

Kristen, it’s going in the mail today!

had to add one more picture…

61flowerdetail.jpg

the spread- month 3

Here’s my paperbag book spread, artwork glued in place, pocket filled with swag.
44spread.jpg

Ellia‘s theme was time (not having enough of it I think!) and all I could think of is how fast time goes by when the babies are little. And then they are grown up.

44left.jpg

Ellia is ready to have her second baby any minute now so all her pages are baby themed. She won’t be getting her book back until the baby is several months old though!

This is a view from the side- the book is very fat. And is now half done.

44booka.jpg

A little bird bead for pulling out some treasures-

44bird.jpg

and I love how Theresa’s crying baby clip peeks out of the top of the book!

44booktop.jpg

The photos aren’t great because the weather and the sun aren’t cooperating when I need perfect photo light- so I had to take these with artificial light- not the way I like to do it. Now I need to go find a box to pack it up and send it on to Kristen.

Paper dolls

I’m working on my paperbag swag for March- it’s gonna be a little late. I am working on Ellia’s book. A fun part of participating in a project like this, is that it gives me a chance or a place to try out ideas, techniques, materials, that don’t seem to fit in with the regular artwork I’m doing.

This month I’ve made a magnetic paper doll. I was able to get a magnetic sheet- adhesive on one side- at my local art/craft store. It is like the magnets that are a business card and you stick on your fridge. I would have been happier with a stronger magnet but this was what they had. Here is my paper doll page-

43pagea.jpg

Baby has a blanket and a closet. Open the closet-

43pageb.jpg

Here is everything, all spread out-

43pagec.jpg

And now, the fashion show. Here is Baby-

43baby1.jpg

And here is her sailor dress-

43baby2.jpg

an outfit for the hot summer days-

43baby3.jpg

a bunny sleeper for going out on a cool night-

43baby4.jpg

and a pretty dress to visit grandma-

43baby5.jpg

Well, I was having a great time playing with her anyway! It made me remember paper dolls of my childhood. I remember a drawer full. I liked cutting them out. I liked trying on the dresses. I didn’t like the tabs though- frustrating to cut and they didn’t really hold the dress on. Then they got put in the drawer where they got wrinkled and mixed up with other paper dolls and all the clothes and what a mess! I don’t think I ever played with them more then once each.

Tomorrow I will show the rest of the spread. I’ve got to go figure out my pocket full of swag…

paper bag book- month 2

I just finished my pages for Theresa’s book.226pages.jpg

I stuck closer to my comfortable medium this time- fabric and sewing.

Here is the west coast house open-

226westhouse.jpg

and the east coast house-

226easthouse.jpg

The hard part was figuring out how to put the goodies into the pocket without having everything spill out, every time anyone picked up the book. I made a card and attached my little goodie bags to it. I put papers and other stuff straight into the pocket- the things that are less likely to fall out. Look how fat the book is already! I can’t wait to see how they look in a few more months!

226fatbook.jpg
If you are interested in seeing other paper bag books, I found some by putting “paper bag book” into an ebay search. Very interesting.

Paperbag Swag

I am doing a round robin project with 5 other blogger/artists. Theresa organized it. We have a flickr group and there is a description of the project there.

I started out thinking paper collage would be fun to try. This whole thing seemed very new to me- pushing me out of what I usually do. Not a bad thing. This is how I started-

126starta.jpg

I worked and pushed and tried all sorts of stuff. This picture is midway through my process. The left side ended up as the insert-

126inserta.jpg

The right side collage ended up in the trash. I worked and worked on it. I thought it was finished enough that I even glued it onto the cover. I just wasn’t happy with it though. I kept trying to add more to make it better. Finally I decided I wasn’t willing to send out something I was so dissatisfied with- it would be embarrassing! I had to remind myself- Don’t be afraid to throw something away and start over! I scraped it off and did this instead-

126cover.jpg

Much better! It’s funny how smoothly things can progress once you are moving in the right direction. Sewing and fabric was much more comfortable for me- even when combined with paper and collage. Here is the rest of it-

back cover-

126backcover.jpg

other side of the insert-

126inserb.jpg

the edge-

126edge.jpg

126mimi.jpg

126tag.jpg

My theme was me- a self portrait. I think because that’s what I wanted to try once I got into the collage thing. I will be posting about this project every so often in the next 6 months. I’ll be mailing it off to Kirsten tomorrow.